

Then we began the twisted feat of marking out our grid on the wall. I shared with Joy and my client that I’m really a math nerd at heart. In high school, I used to participate in math bees. I love algebra, geometry… any math problems. So measuring diamonds is something I have a love/hate relationship with! I love to measure them on walls (the love part); yet it’s impossible to measure them in the middle of a window over blinds (the hate part). UGH!
Making a grid of squares on the wall that looks like a checkerboard helps you to tape off perfect diamonds. So go with me here. If your diamonds will be 36 inches tall, we will snap a horizontal chalk line every 18 inches (1/2 of your diamond height up the wall). Make little tick marks with chalk at both corners of the wall (I use my kid’s sidewalk chalk). You stand in one corner with the end of the chalk line and have someone else stand at the other end of the wall to snap your chalk. Do that at 18 inches, 36 inches, 54 inches, 72 inches and 90 inches. You wouldn’t chalk the last line because it is either at your ceiling line or trim line. Remember, if the chalk color in your chalk line tool is similar to your wall color, it will be harder to see, but easier to clean up. Chalk GENTLY.… dark chalk lines can ruin a finish.
Basically your wall should look like a grid or a checkerboard of chalk right now.
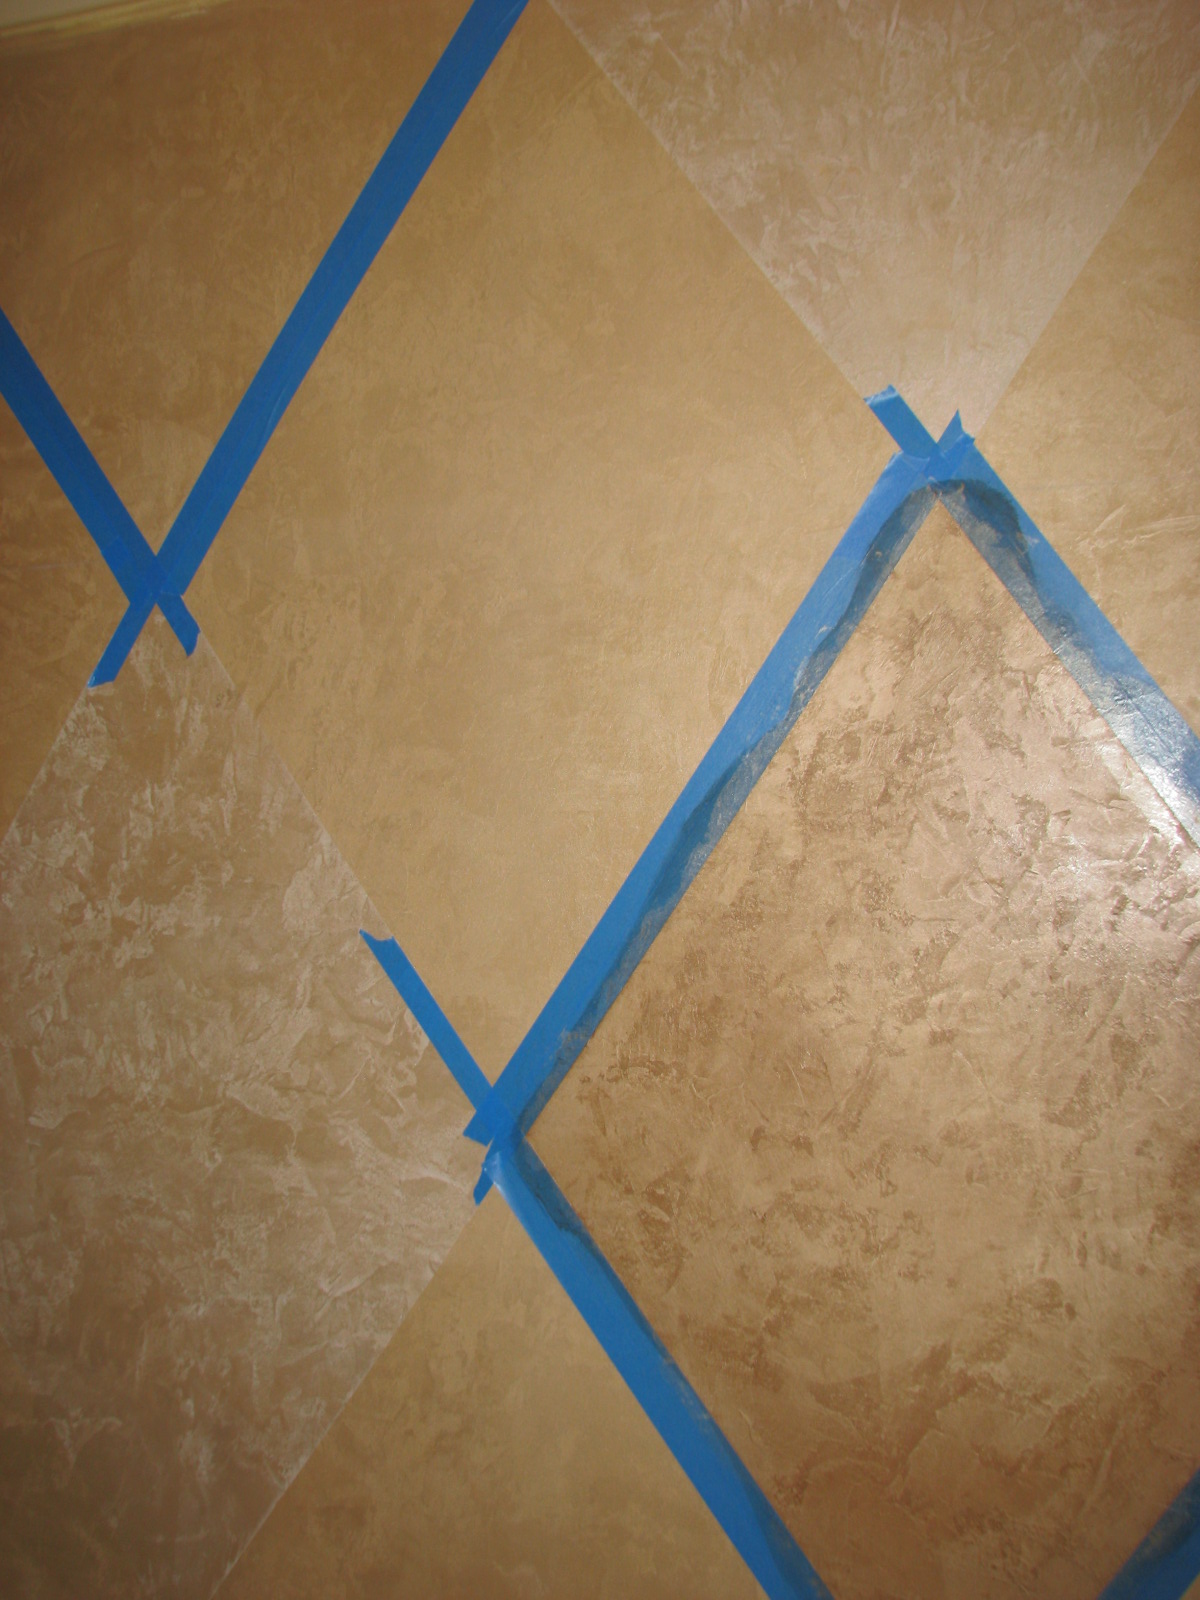
Next comes the taping. If your wall is freshly fauxed or painted… I would do a test on my tape first in an inconspicuous spot to make sure my tape is not going to pull off my faux/paint . I prefer Diamond Vogel brand tape. You can also use 3M’s blue tape for faux finishing.
This is where the diamonds come to life. The grid was created so that you can tape corner to corner for perfect diamonds. Remember to tape on the OUTSIDE of your chalk line so that you can use a damp rag or sponge to remove the chalk once the tape is up and before you paint. You don’t want chalk to show up on your beautiful finish!
Most of our time on a diamond job is spent on measuring and taping with blue painter’s tape. And ….perhaps re-measuring and re-taping (sorry for that itsy, bitsy mis-tape Joy). Note our seriously professional stand for our laser level….
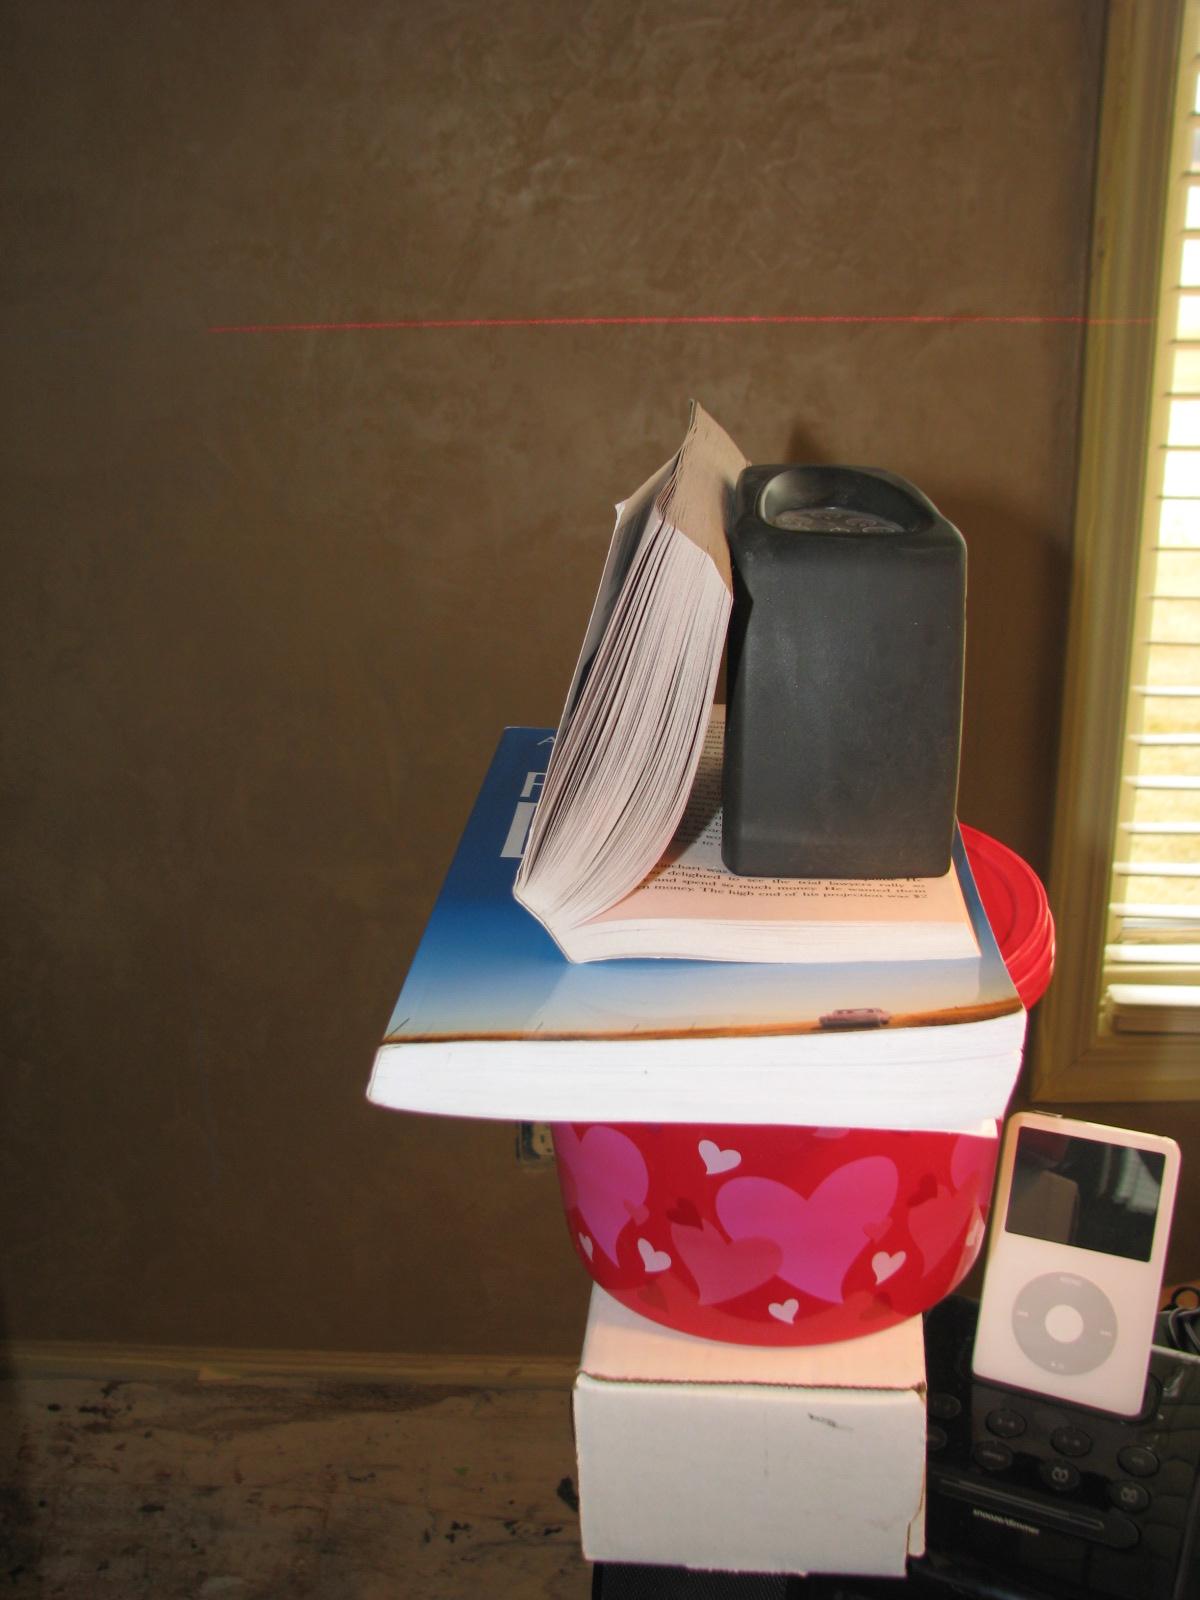
I was introduced to laser levels by one of my paint mentors, Allison Bade! It makes diamonds and stripes so much easier. If you have any desire to do either of those projects, I really suggest you snag one of these bad boys, like this one HERE. Mine’s a gem!!!
I’m rabbit trailing here…. but I’ve decided “in my spare time” to invent a laser level that is on a collapsible bottom. So it kind of looks like a turtle’s neck or one of those fancy liquid measuring cups from The Pampered Chef. It can go up or down. Then I wouldn’t have to use my client’s nightstand decor and my Valentine snack box from my mother to prop my level up! Thank you, Cheryl, for just letting me grab from your personal things! This invention will come right after I invent a “Chandafan” (ceiling fan with a chandelier on it)! Wish me luck folks! Back to our diamonds, just to keep it all straight in our minds…. we taped off the diamonds that would get a final white skim coat of lusterstone over them. “W” equals “white” ….
 Moving right along to the darkest diamonds. We taped those and prayed we hadn’t messed anything up. Then, we did a stain over them to darken them up. When you’re doing 3 colors of diamonds, it really is difficult to keep it straight. I completely recommend getting yourself some graph paper and coloring it out on paper first.
Since we had faux finished diamonds on faux finished walls, one of my girls just put the Lusterstone product on her finger and ran the length of all the tape before staining some of the diamonds dark. Again… then the bleeds would be tone on tone and wouldn’t be seen. And just for the record….we did try to skip this step. We stained our first diamond brown and it bled everywhere. I will share a tip that has taken me 8 years of business to learn: Shortcuts will always make you pay in touch-ups later.
If you do need to do some touch-ups…. keep a box of Q-tips handy!
Then the next day, faux finish or paint every other diamond. Un-tape the entire wall or room.Finally, we cleaned off our chalk lines and added upholstery tacks where ever the diamonds met.
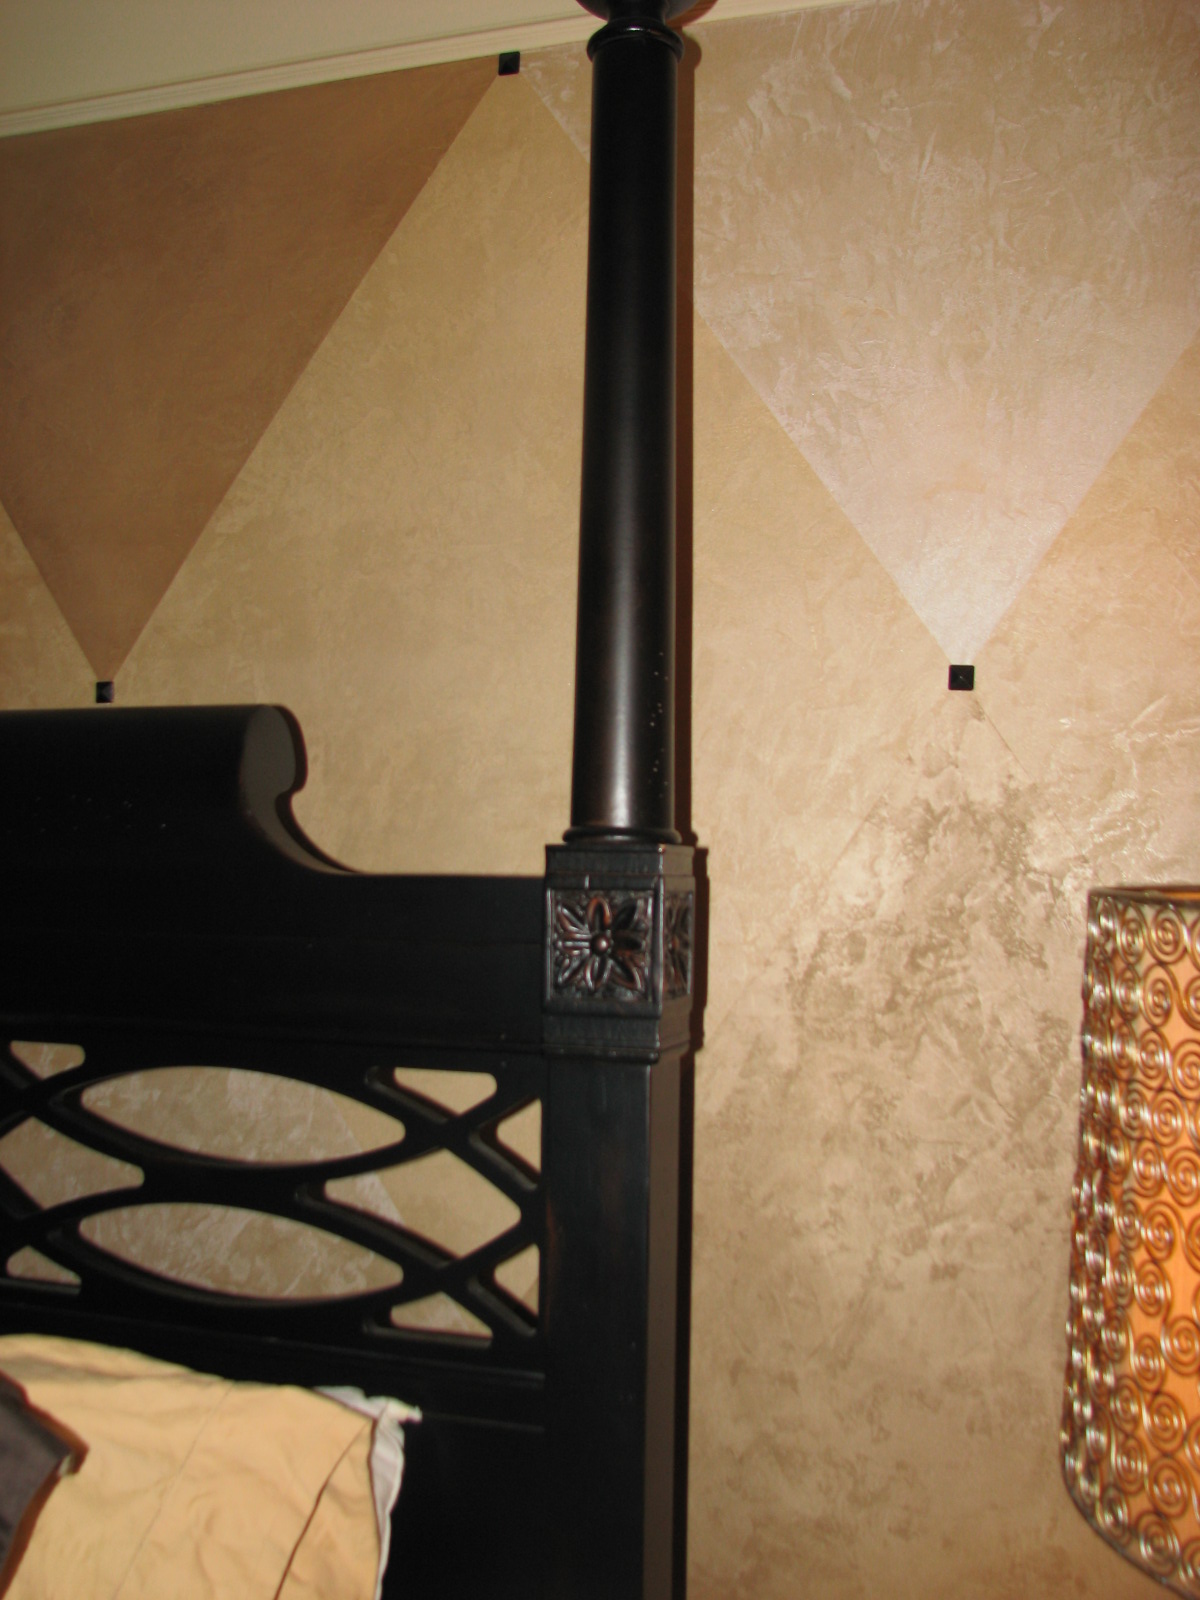
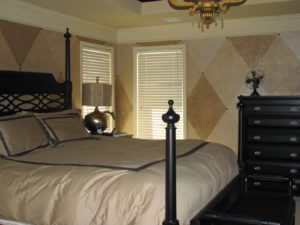
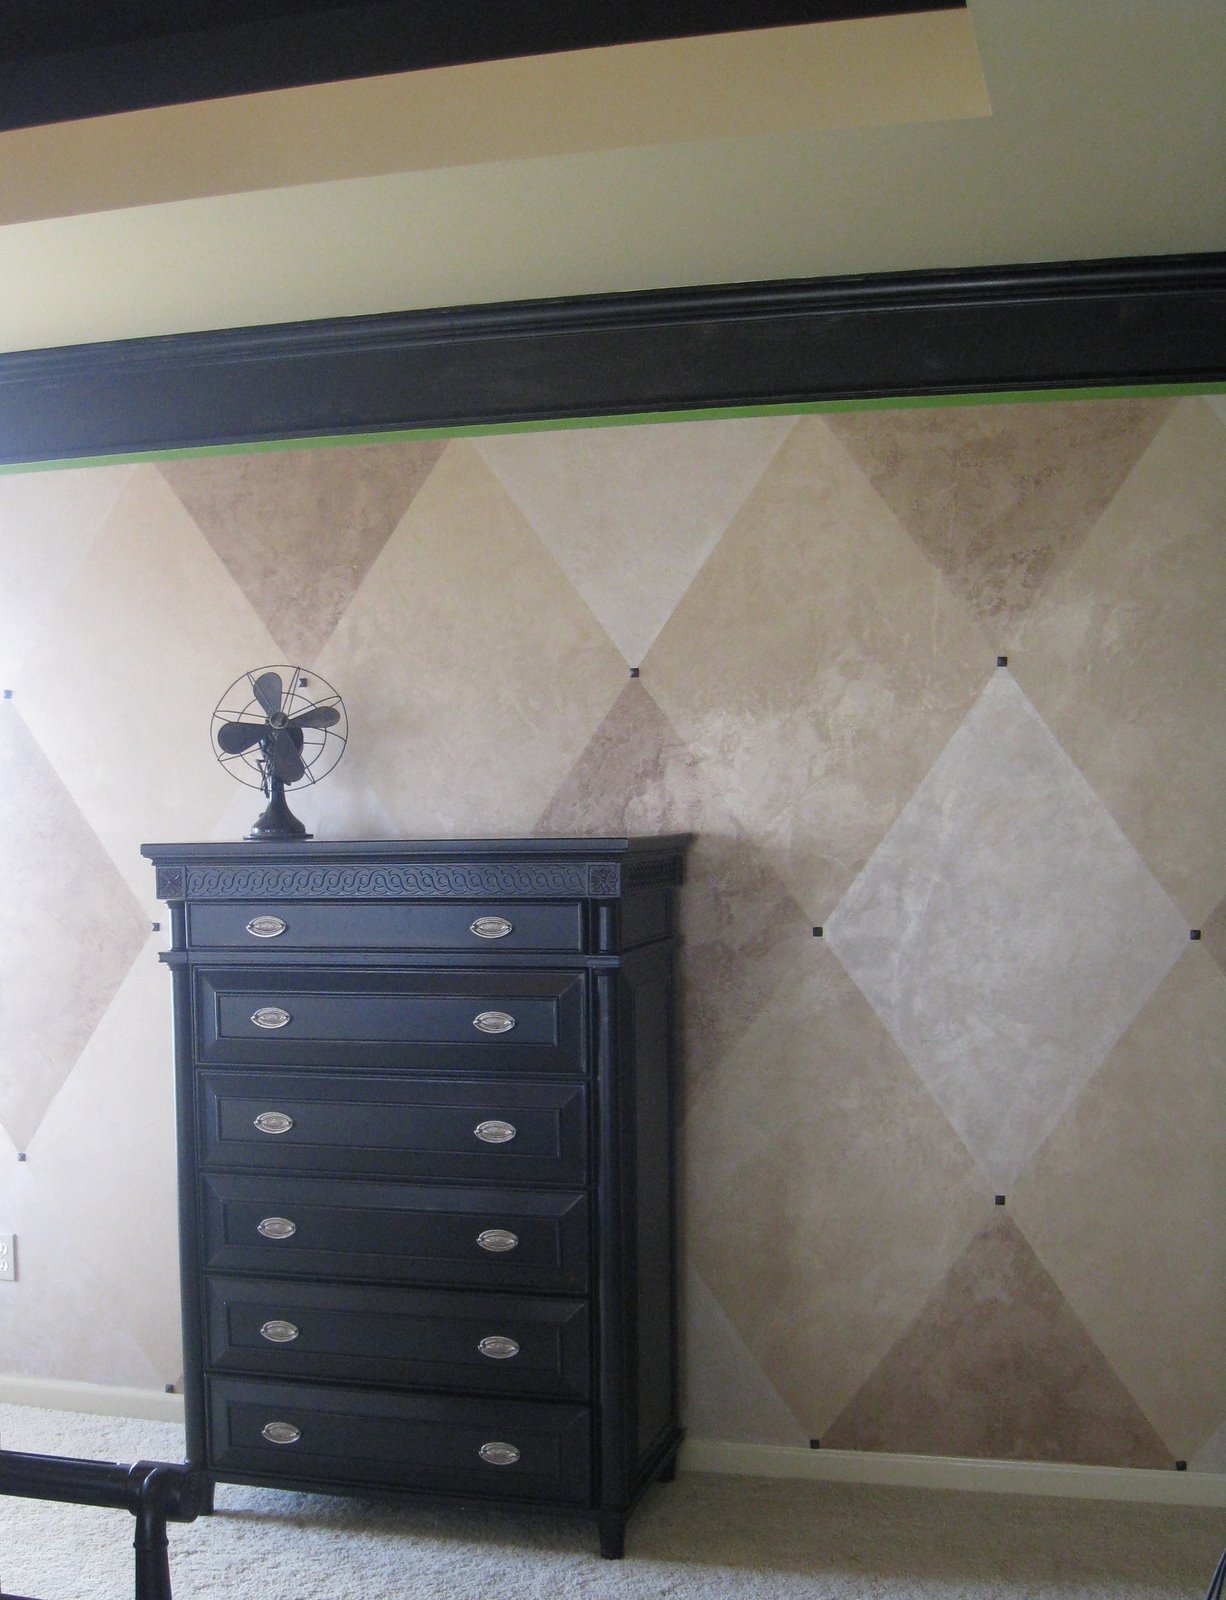
This room was gorgeous to begin with. But the faux just added some warmth and depth to the wall. I hope you all love it as much as we do!
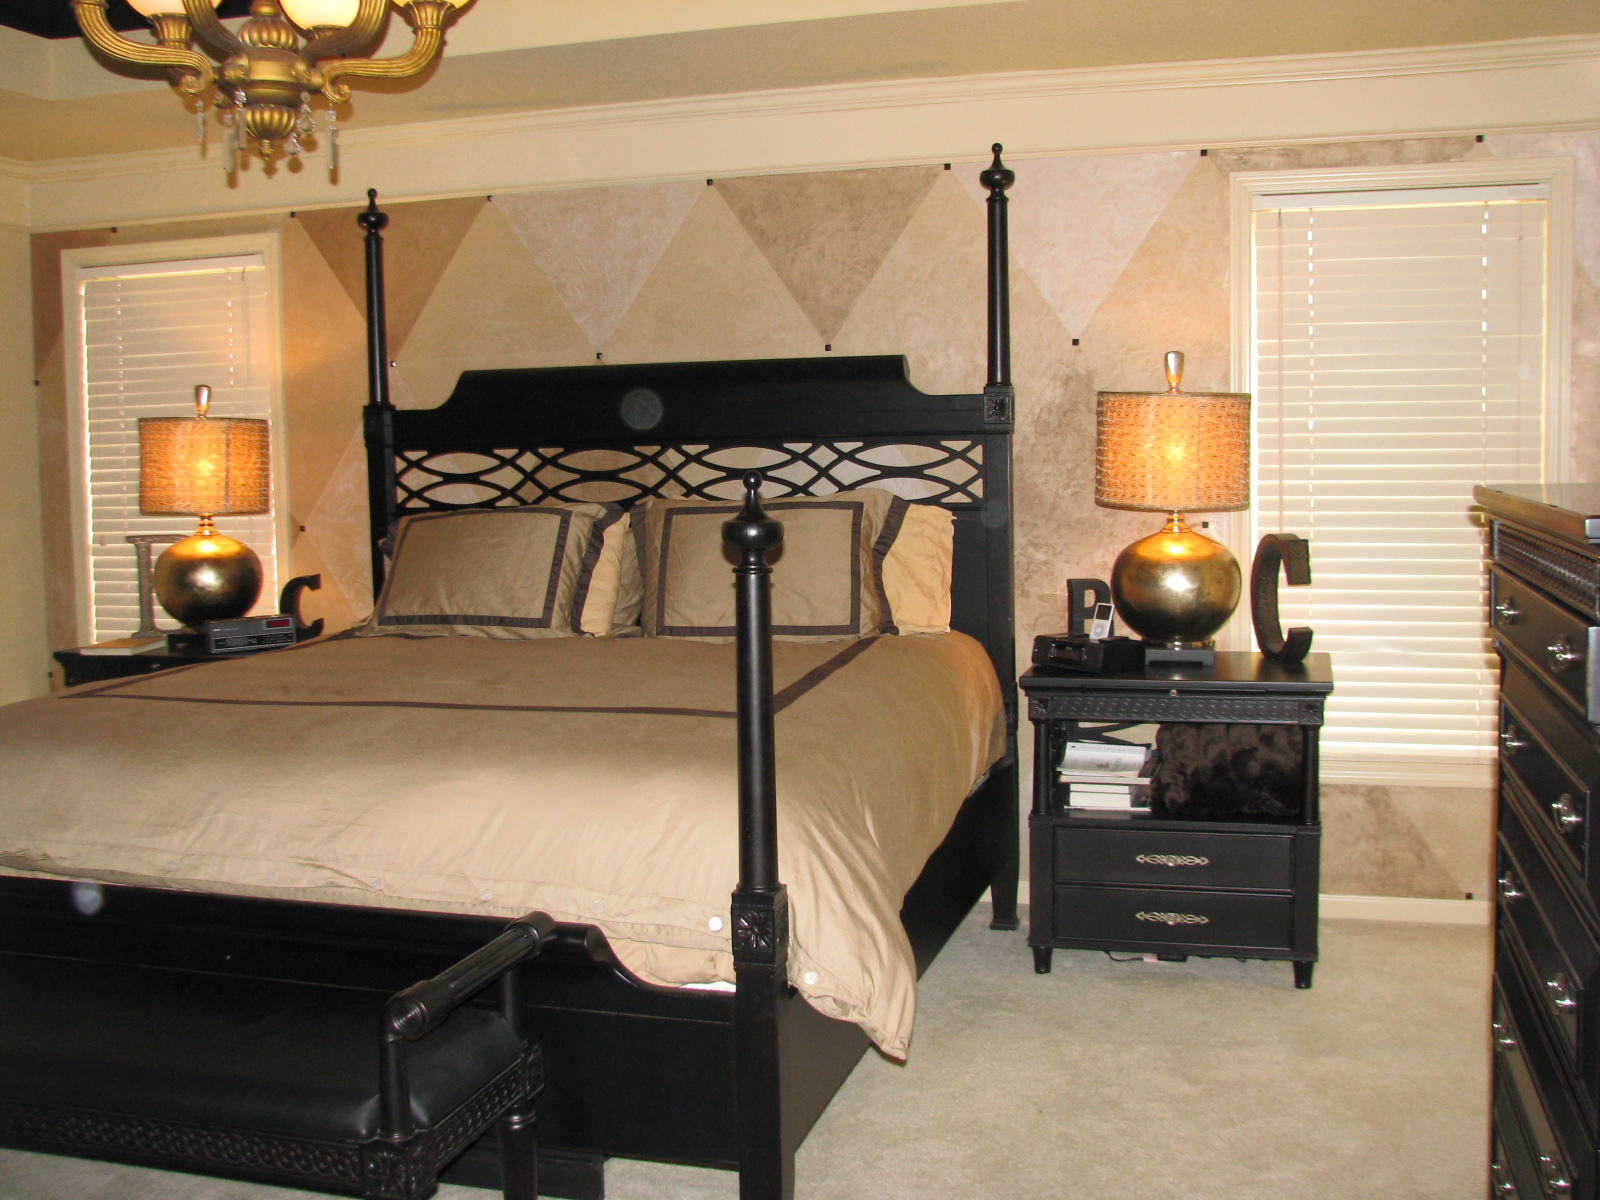
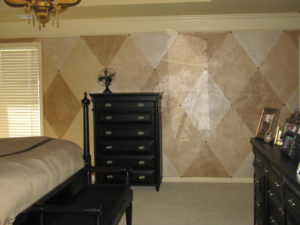
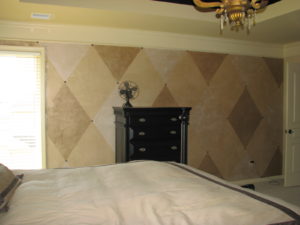
So dreamy in fact, that Cheryl called me up and asked us to do the 2 walls on both sides of the focal wall in the same pattern. Look at how pretty this is when the diamond pattern “wraps” to the next walls.
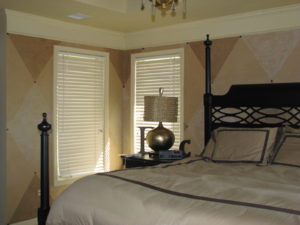
I wish you could come through the computer and “FEEL” these walls. If you have never felt Lusterstone before… it’s just lovely. It has a velvety texture to it…. so soft and pretty. And it looks like butter….
Cheryl has actually painted her crown molding black since we were last there…
Accent and feature walls are so much fun to have in your home. If you’re wanting to learn a few new techniques, join my Paint Finish of the Month club where you’ll have access to 20 of my DIY Finish Videos – including some gorgeous wall finishes!! You’ll also learn two new finishes each month from the industry’s top painters!
Happy Painting,
LOVELY and like the lusterstone effect!!! And I bow down to you, because I must admit I won’t even show Harleys in my ‘folio! Math was my best subject as well, but I just don’t have the patience – you guys rock!!
I cracked up at your piled high tower to raise the level – I will have to share, one day, the photo where I did a very similiar thing – trying to raise a projector in a clients bathroom!
That is incredible!! I never knew I could get so excited about painting! You make me want to faux everything in my house…including the kids!
I am mathematically challenged…I don’t know if I could ever do something so precise…my hat off to you! Again!
Jen, you really have a gift. Everything you do is beautiful! I love that diamond pattern!
My girl is not quite as busy as the boys. They are master destroyers. I’m thinking of hiring them out for babyproofing peoples homes. Seriously, they can have a room trashed in a matter of minutes! Baby girl is still not walking, though. She will take about 5 steps and that’s it! How about Ava? I bet she is running!
oh, I forgot to ask, how do you get the upholstery tacks to stay in?
I love it!!
It is to die for! and the crazy thing is people it is even better in person!
OOOOhhh, la la….love it!!
Suzanne
pics are amazing but really – nothing like the real thing baby!
Another FANTABULOUS job! Thanks for showing us the diamond love!
~Misti
OH MY GOODNESS!!! This is my new favorite finish!! I love it!!!! I also love how the black furniture sets off the light colors in the room. WOW! You and my sis (Joy) are amazing!!
The walls look wonderfully fantastic!!!! I would have a hate hate relationship w/ the entire job, I don’t like taping (ugh), I don’t like having boundaries to paint within (ugh) and three I don’t really enjoy painting walls (ugh). Now, I DO paint walls and other things in my home…I love the outlook, but not the work so much.
SO, kudos to you and Joy for the GREAT looking room! You two gals rock!!
Just gorgeous!! Wow!!
Your room turned out lovely. The measuring, the remeasuring, the taping, the laser stand. It all brought back the funny memories I have of the room we did. The client must have thought we were nuts – up in that room for a long time seemingly not doing a thing. Good work Jennifer!