
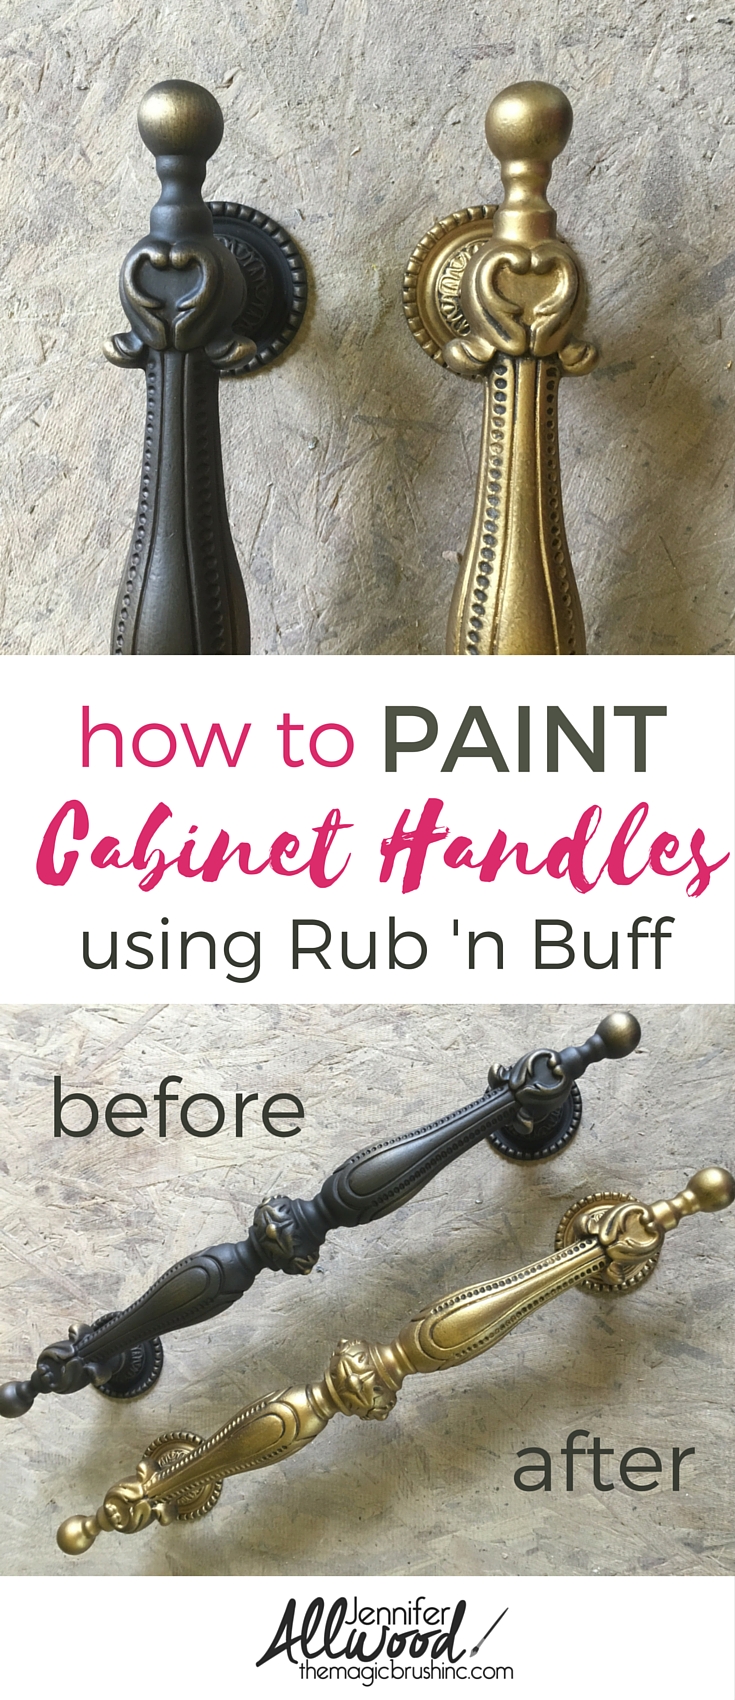
Last week I was in my favorite store, the Hobbily Lobbily as our 8 year old calls it, and I was purchasing “Rub and Buff” to paint some cabinet handles. I mentioned it on my Facebook LIVE video and so many of you asked about it that I decided to make you a quick tutorial. This stuff is soooooooooooooooooo easy to work with you guys!!!! Watch!!!!!
(This post contains affiliate links for the products I use, love and recommend.)

Rub and Buff comes in a variety of colors.I used the gold leaf on this hardware transformation. I have also used the copper color and I reallllllllllllllllly want to try the black one on something!

And literally this is all you need. Product and rag. And the product is so concentrated that one little tube will last you about 2.48 years. For realz.

Here is a closeup!
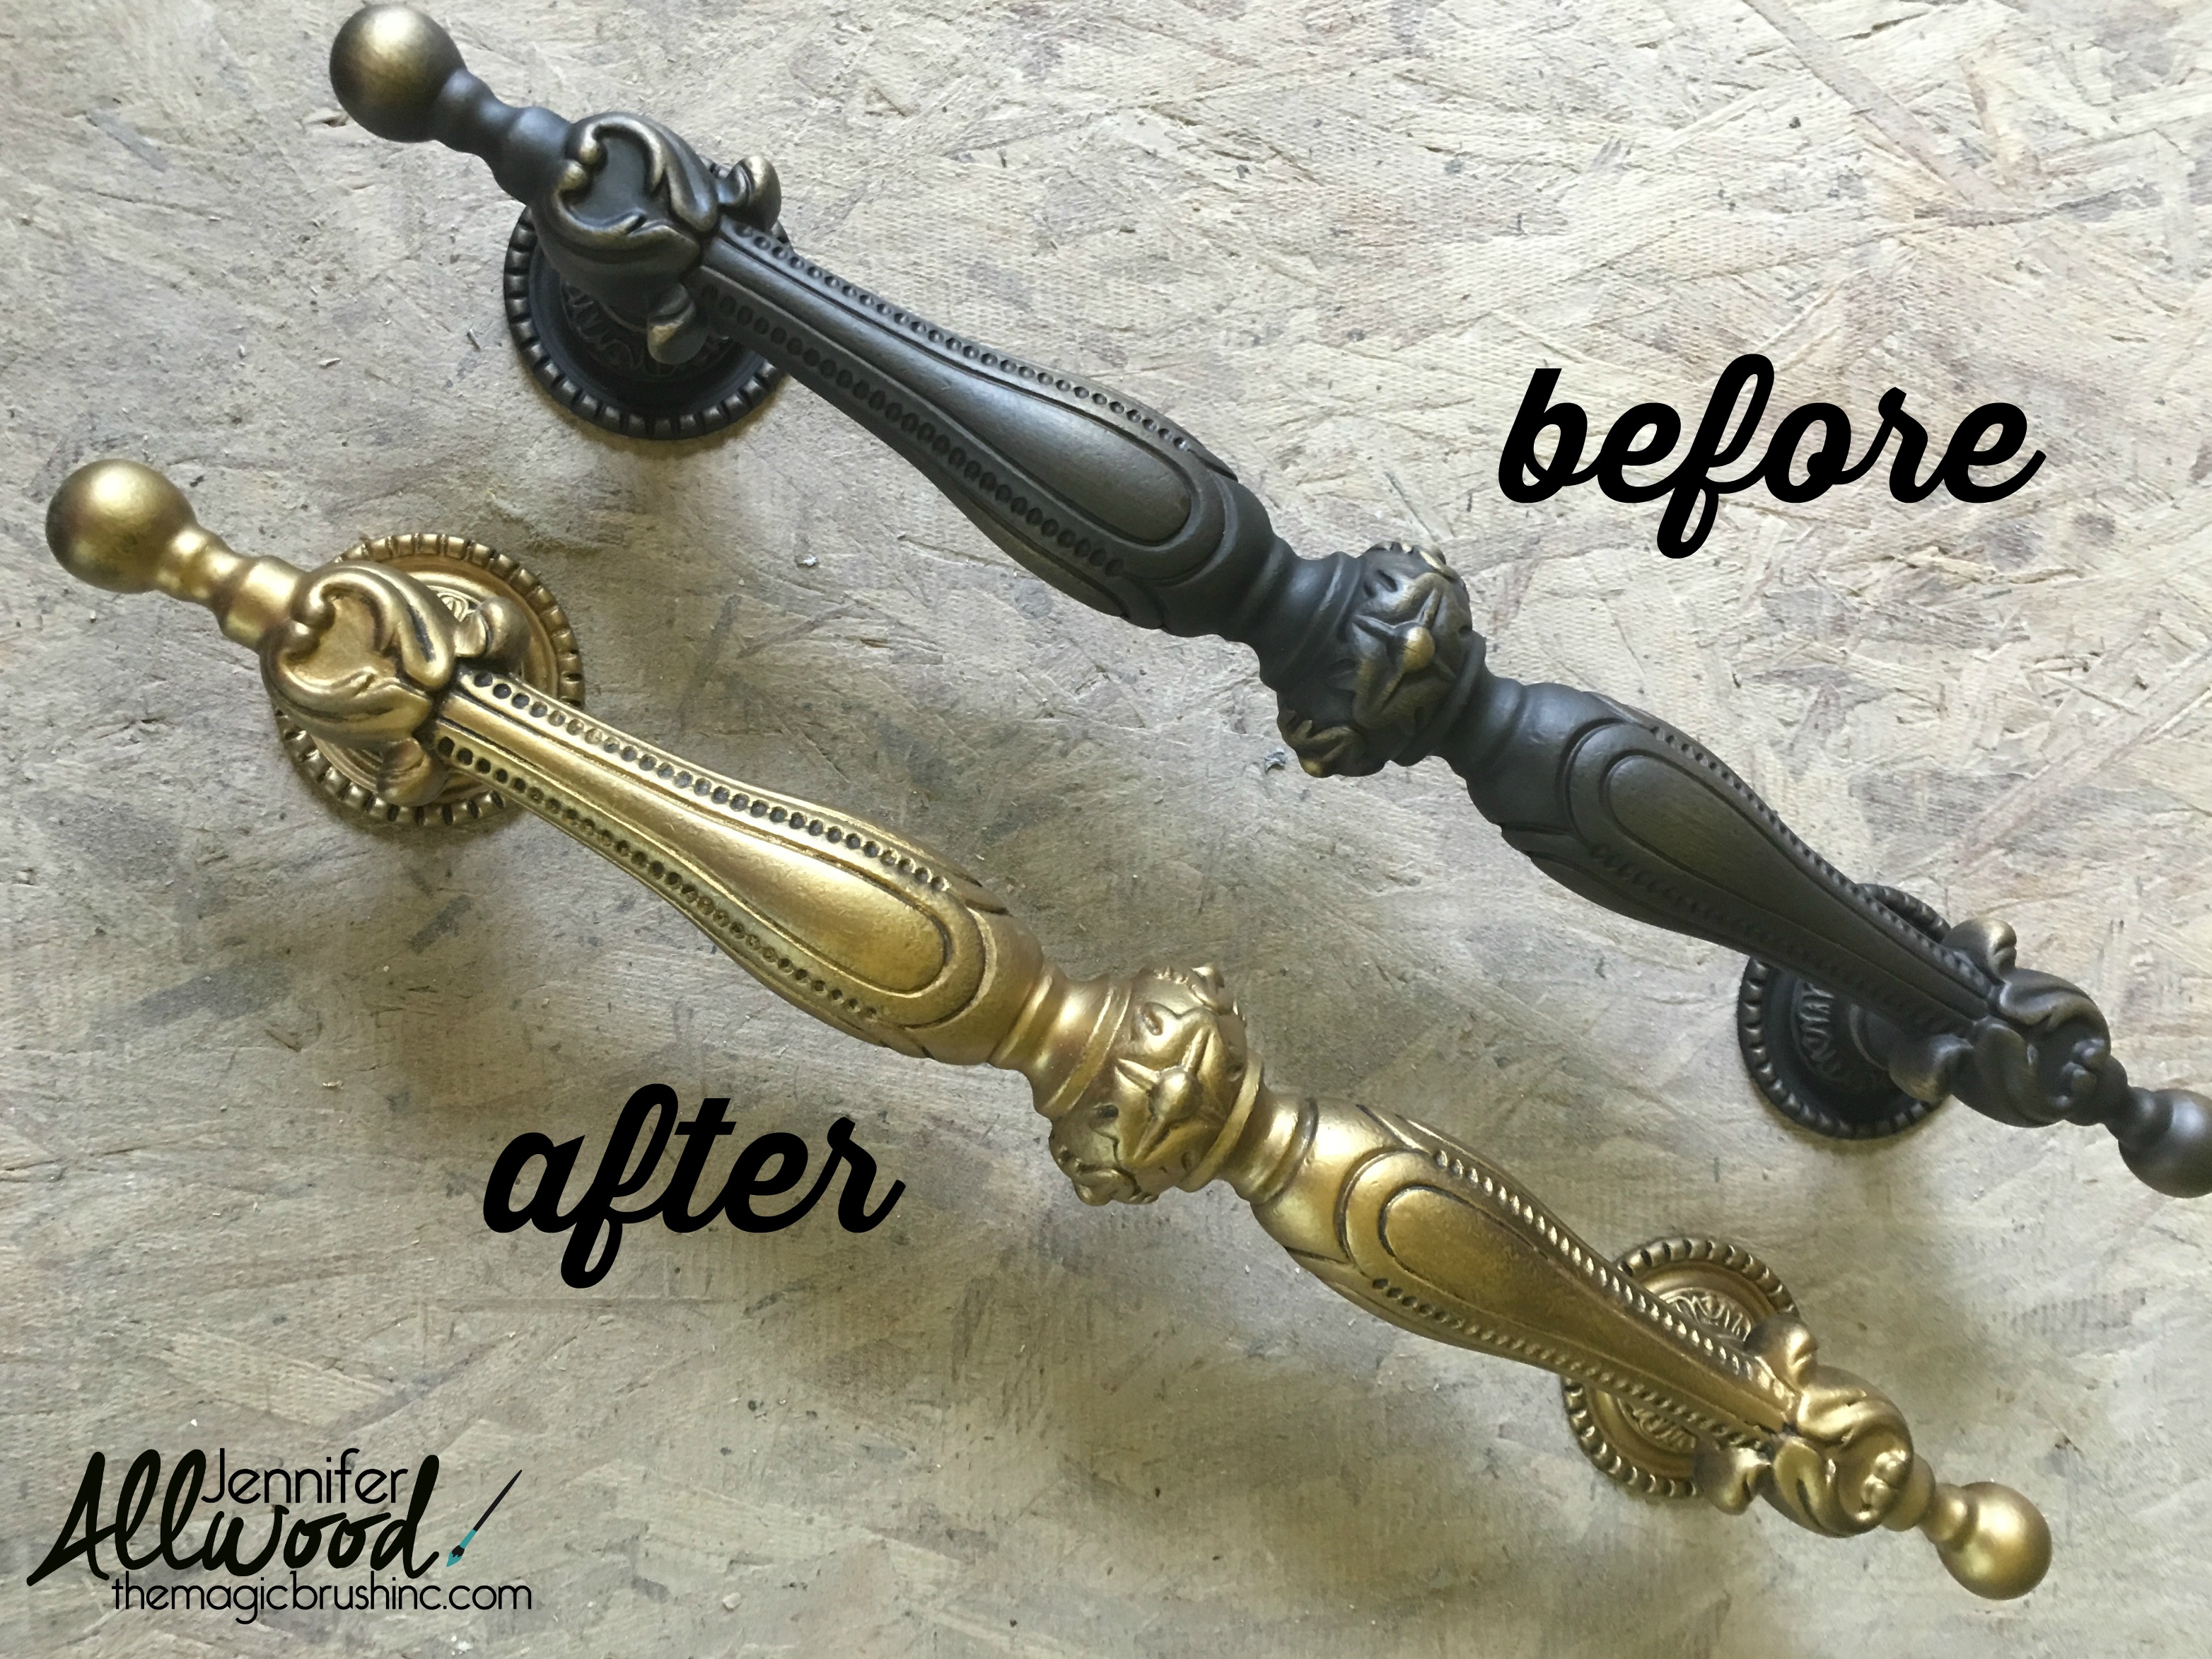
And again, the before and after of my mini painting cabinet handles project.
I hope that’s good info for someone looking for an easy update by painting cabinet handles. We have also used Rub and Buff on cabinet edges, barstools, the trim on my desk, a light fixture, highlights on a frame, etc!!! (if you beg me for a pic of my desk, it will incentivise me to clean it up. ha!)
And if you like the idea of painting hardware, check out my previous posts with painted pantry door handles and my painted curtain rod. They are great finishes to help you utilize the hardware you already have but update it fast!
For more simple DIY painting projects and decorating tips that have a BIG impact, check out my 10 EASY Home Updates to do Before Dinner video. It’s free!
Happy painting,
Jen
I want to try to make a black light look bronze.