I just finished a new 4th of July table centerpiece.
Since I have been in the middle of a serious moss-covering binge, it was time for something different.
This post contains affiliate links for products I use and LOVE! Any purchase goes to support my blog and DIY adventures — thank you!

So I decided to decoupage some styrofoam balls!
This is a super quick, easy, inexpensive project!

First, you need some patriotic napkins. Miss Vicki found these for me at TJ Maxx.

Then, some styrofoam balls. I got these at Hobby Lobby. In retrospect, I wish I had bought their paper mache balls because styrofoam does melt a little when you decoupage it. Lesson learned.

And you need a chip brush and decoupage medium. I use 1Gel from Heirloom Traditions to decoupage with (remember this project with the gift wrap on the drawers?). 1Gel is easier to work with than Mod Podge because it isn’t as thick and it dries without air bubbles. Plus its a transfer medium, a decoupage medium AND a top coat all in one. ( If you’re doing some HTP shopping, check out my favorite chalk type brushes too – they are amazing and will come in handy when painting furniture or working with chalk-type paint on your next project. )

So your first order of business is cutting the cute stripes off the side of the napkin. Keep those however for the striped balls. Also, I cut in from every corner on the napkin so it will fold around the Styrofoam ball easier.

Note: cutting a straight line is CLEARLY not mandatory for this project.
#kindergartnercuttingskills

Cover a section of the ball in the 1Gel and fold the paper up. Repeat. Repeat. Repeat. Also, please note my glaze covered hands. #painterproblems
The balls will look a little scary at first. But let them dry overnight (or, set them out in the 100 degree Kansas City heat so they will dry in 30 minutes for a blog post. Either one.)
For my visual learning friends, check out this Facebook LIVE video that I did making the project. (and be sure to set up your Facebook so that you are notified whenever I go LIVE!)

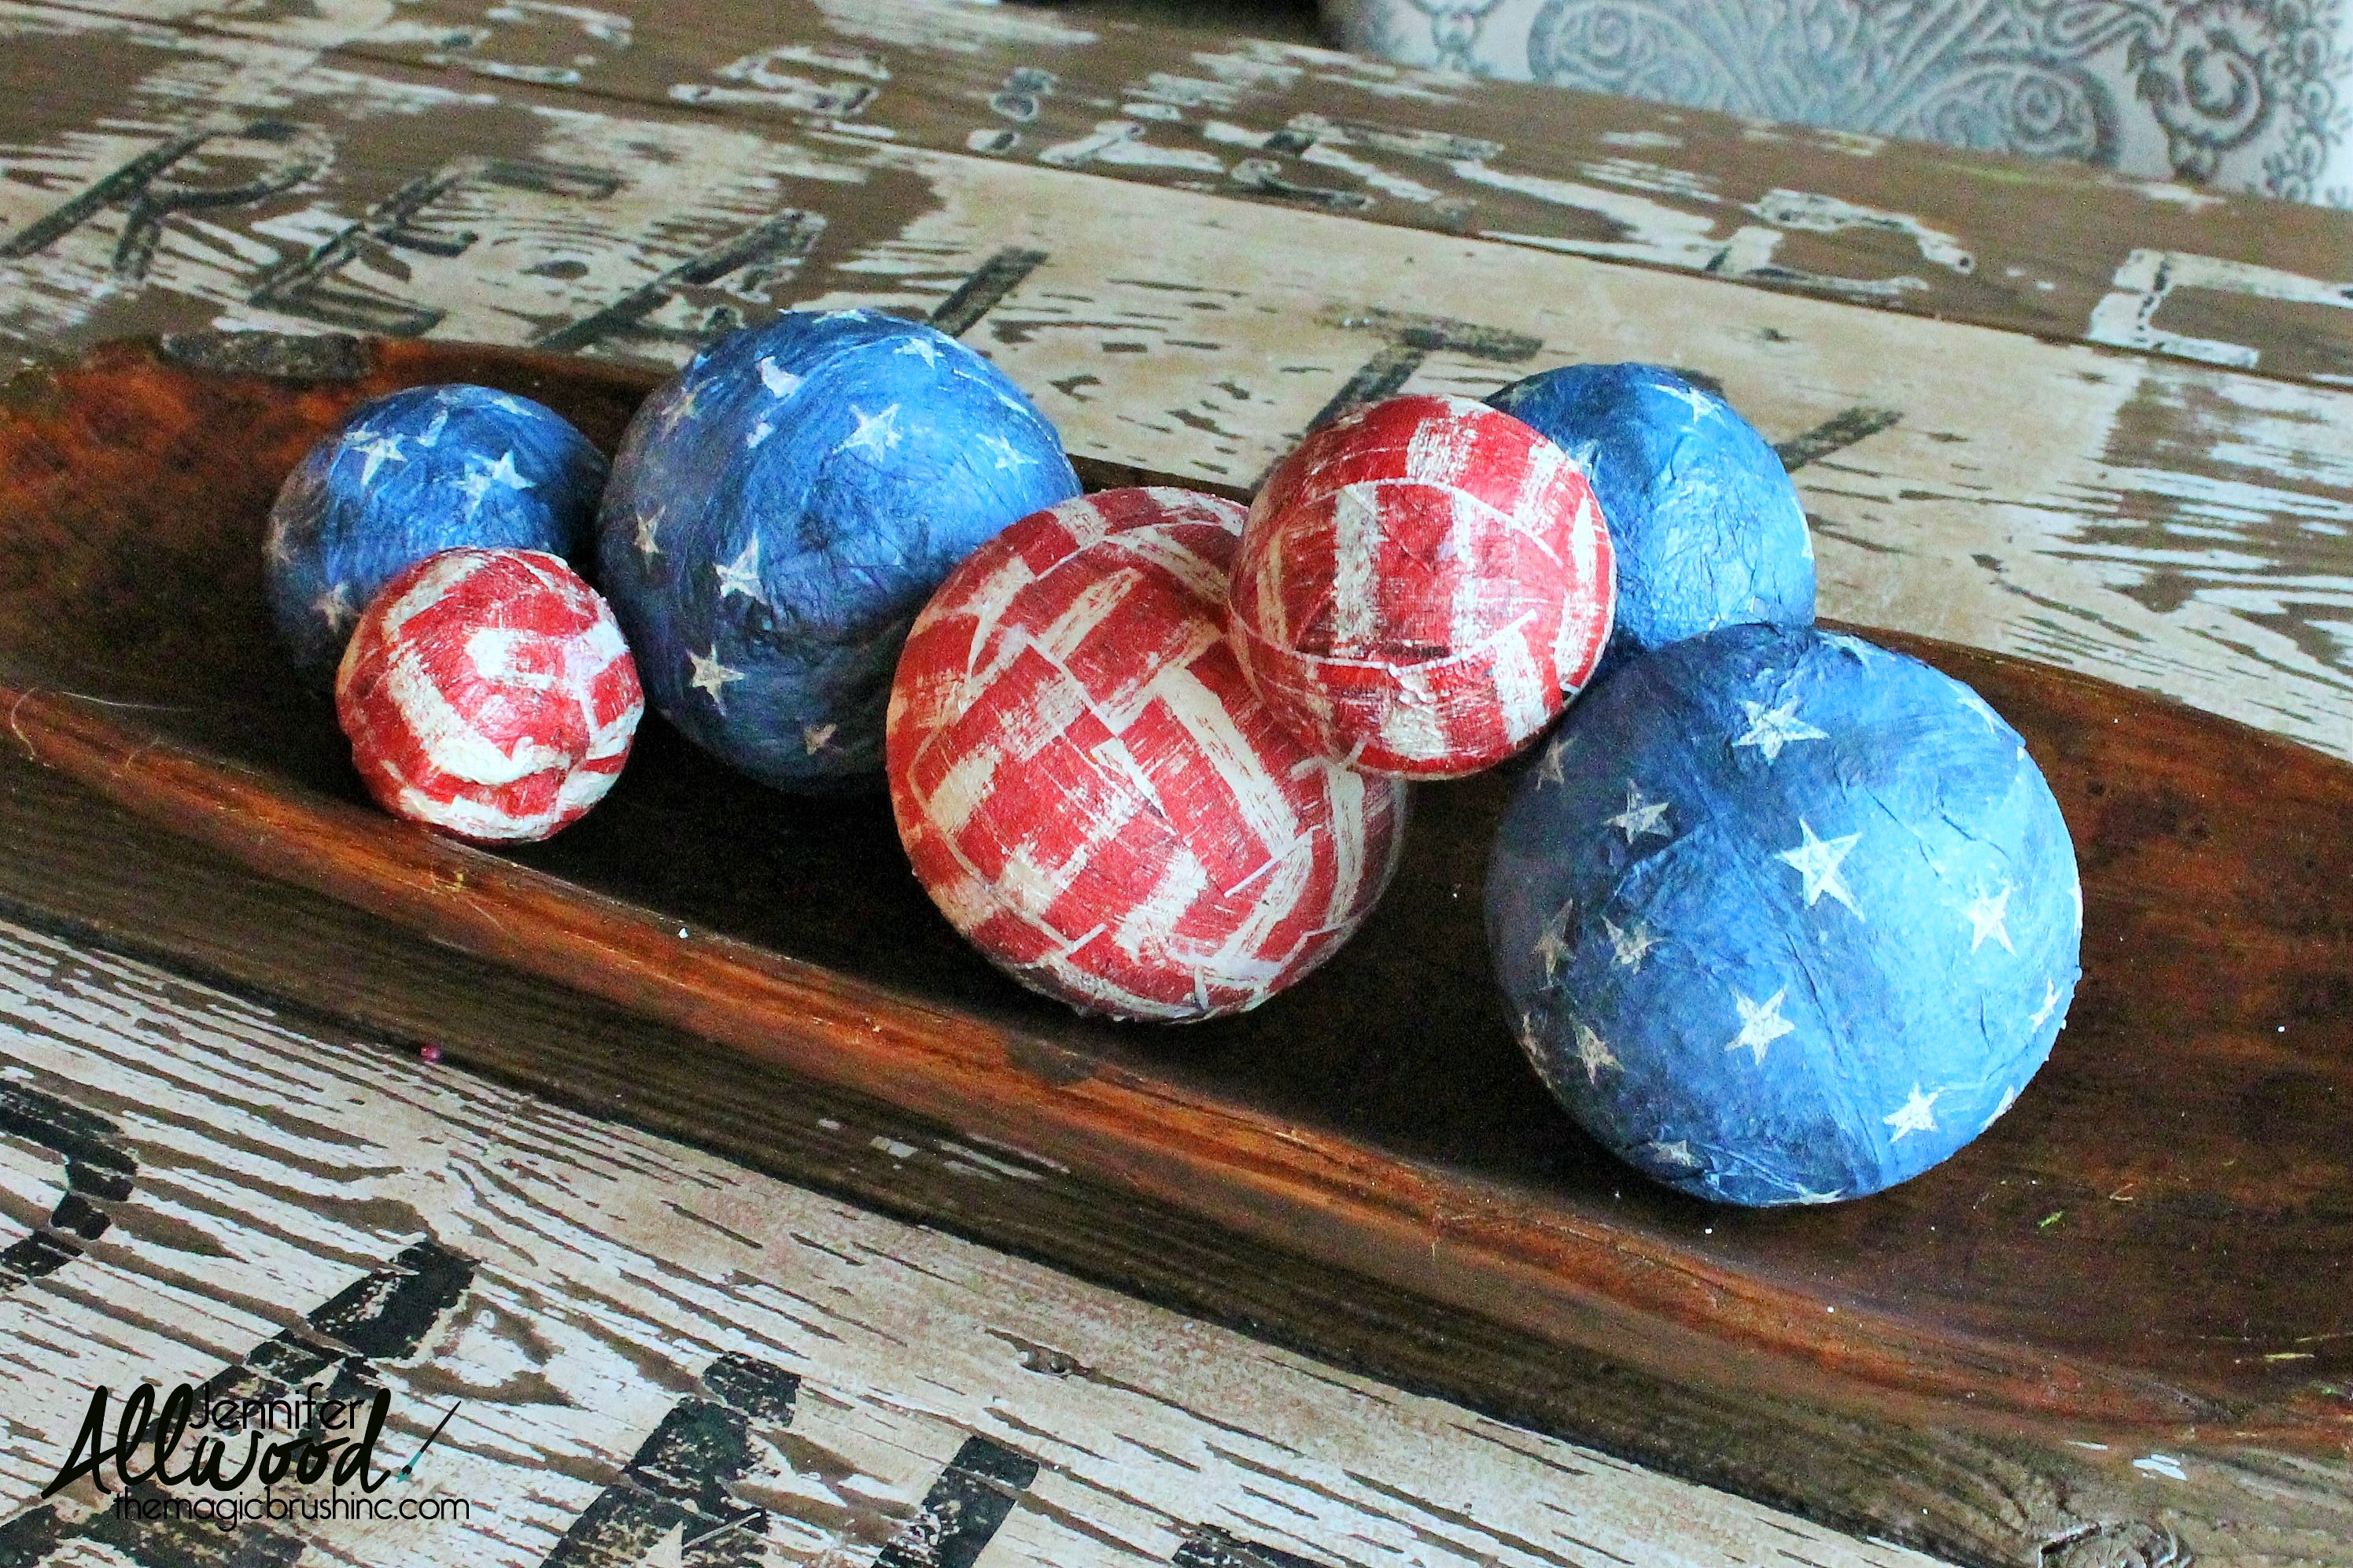
And they are done. I threw mine into a bread bowl and this is my 4th of July table decor!
See, decor projects do not have to take all day. This is seriously about a 20 minute project beginning to end! And even the kids can help!
Have fun!
Jen
For more fun painted home decor ideas, check out my chalkboard paint slide show!

I made the Pallet Flag, for this July. All the neighbors have been so nice, bragging
about it. Guess they thought I was an Artist. (Little do they know) Ha!
anyway, I enjoyed making one for our “Hot”, Kansas City.
Wishing you a fun and safe July 4th.
Pam
Very nice, and so easy. Can’t wait to share!
I love this idea and the possibilities are limitless! Beautiful napkins are available for all occasions…I am visualizing these balls wrapped in fall napkins! Thanks for sharing!!
This is absolutely fabulous! I can’t believe those are made with napkins. They are perfect for rustic 4th of July decor. Thanks for sharing your tutorial with us at Merry Monday this week!
Did you use cloth or paper napkins?
Hi Kelly,
They are paper napkins!
Vicki at The Magic Brush, Inc.