
Don’t buy a new lampshade! They are super expensive. One way to add character and save money is paint your own!!
Painting lampshades can be a fun way to dress up old ones with color. My striping tips don’t only apply to lampshades, but to any time painting stripes on anything: . striping furniture and walls, using strips horizontal or vertical, or even a chevron pattern.
Please watch these two videos to learn how to paint a striped lampshade. These instructional videos are part of my Paint Finish of the Month Club which I have decided to share for you for free! If you’d like to expand your portfolio by learning a new finish every month, please check out my club here.
(this post may contain affiliate links for the products I use and LOVE … for your shopping convenience)
DIY Striped Lampshade Supplies:
Diamond Vogel, yellow, 1.5 inch tape or you can buy regular blue painter’s tape here
Two main tips:
- The tape job you do
- Trying to get no bleeding
To do stripes on a lampshade, tape off every couple of inches. For round items, start by taping off north, south, east, and west, then diagonals, and then fill in the rest. Next, after putting your strip of tape down, you want to seal it as much as possible with your fingernail.
Some degree of bleeding will occur no matter how well your tape is sealed. The trick is to put down the first color that closely matches the color it already is so it seeps tone on tone, then put your color on.
Another option is to use a matte clear coat if you do not have a similar color. Paint along the tape edge where the heaviest bleed would be plus the middle as well so the next color will go on evenly.
To make sure there is a nice crisp line where the two colors meet, paint one or two stripes and the take the tape off to make sure you’re putting enough paint on. When you go to paint and you load your brush, you’ll accidentally put too much on it so it’s easier if you load it off to the side on the tape and then work it back on to your project.
You want to take the tape off immediately after painting. This will allow you to check and fix any bleed immediately.
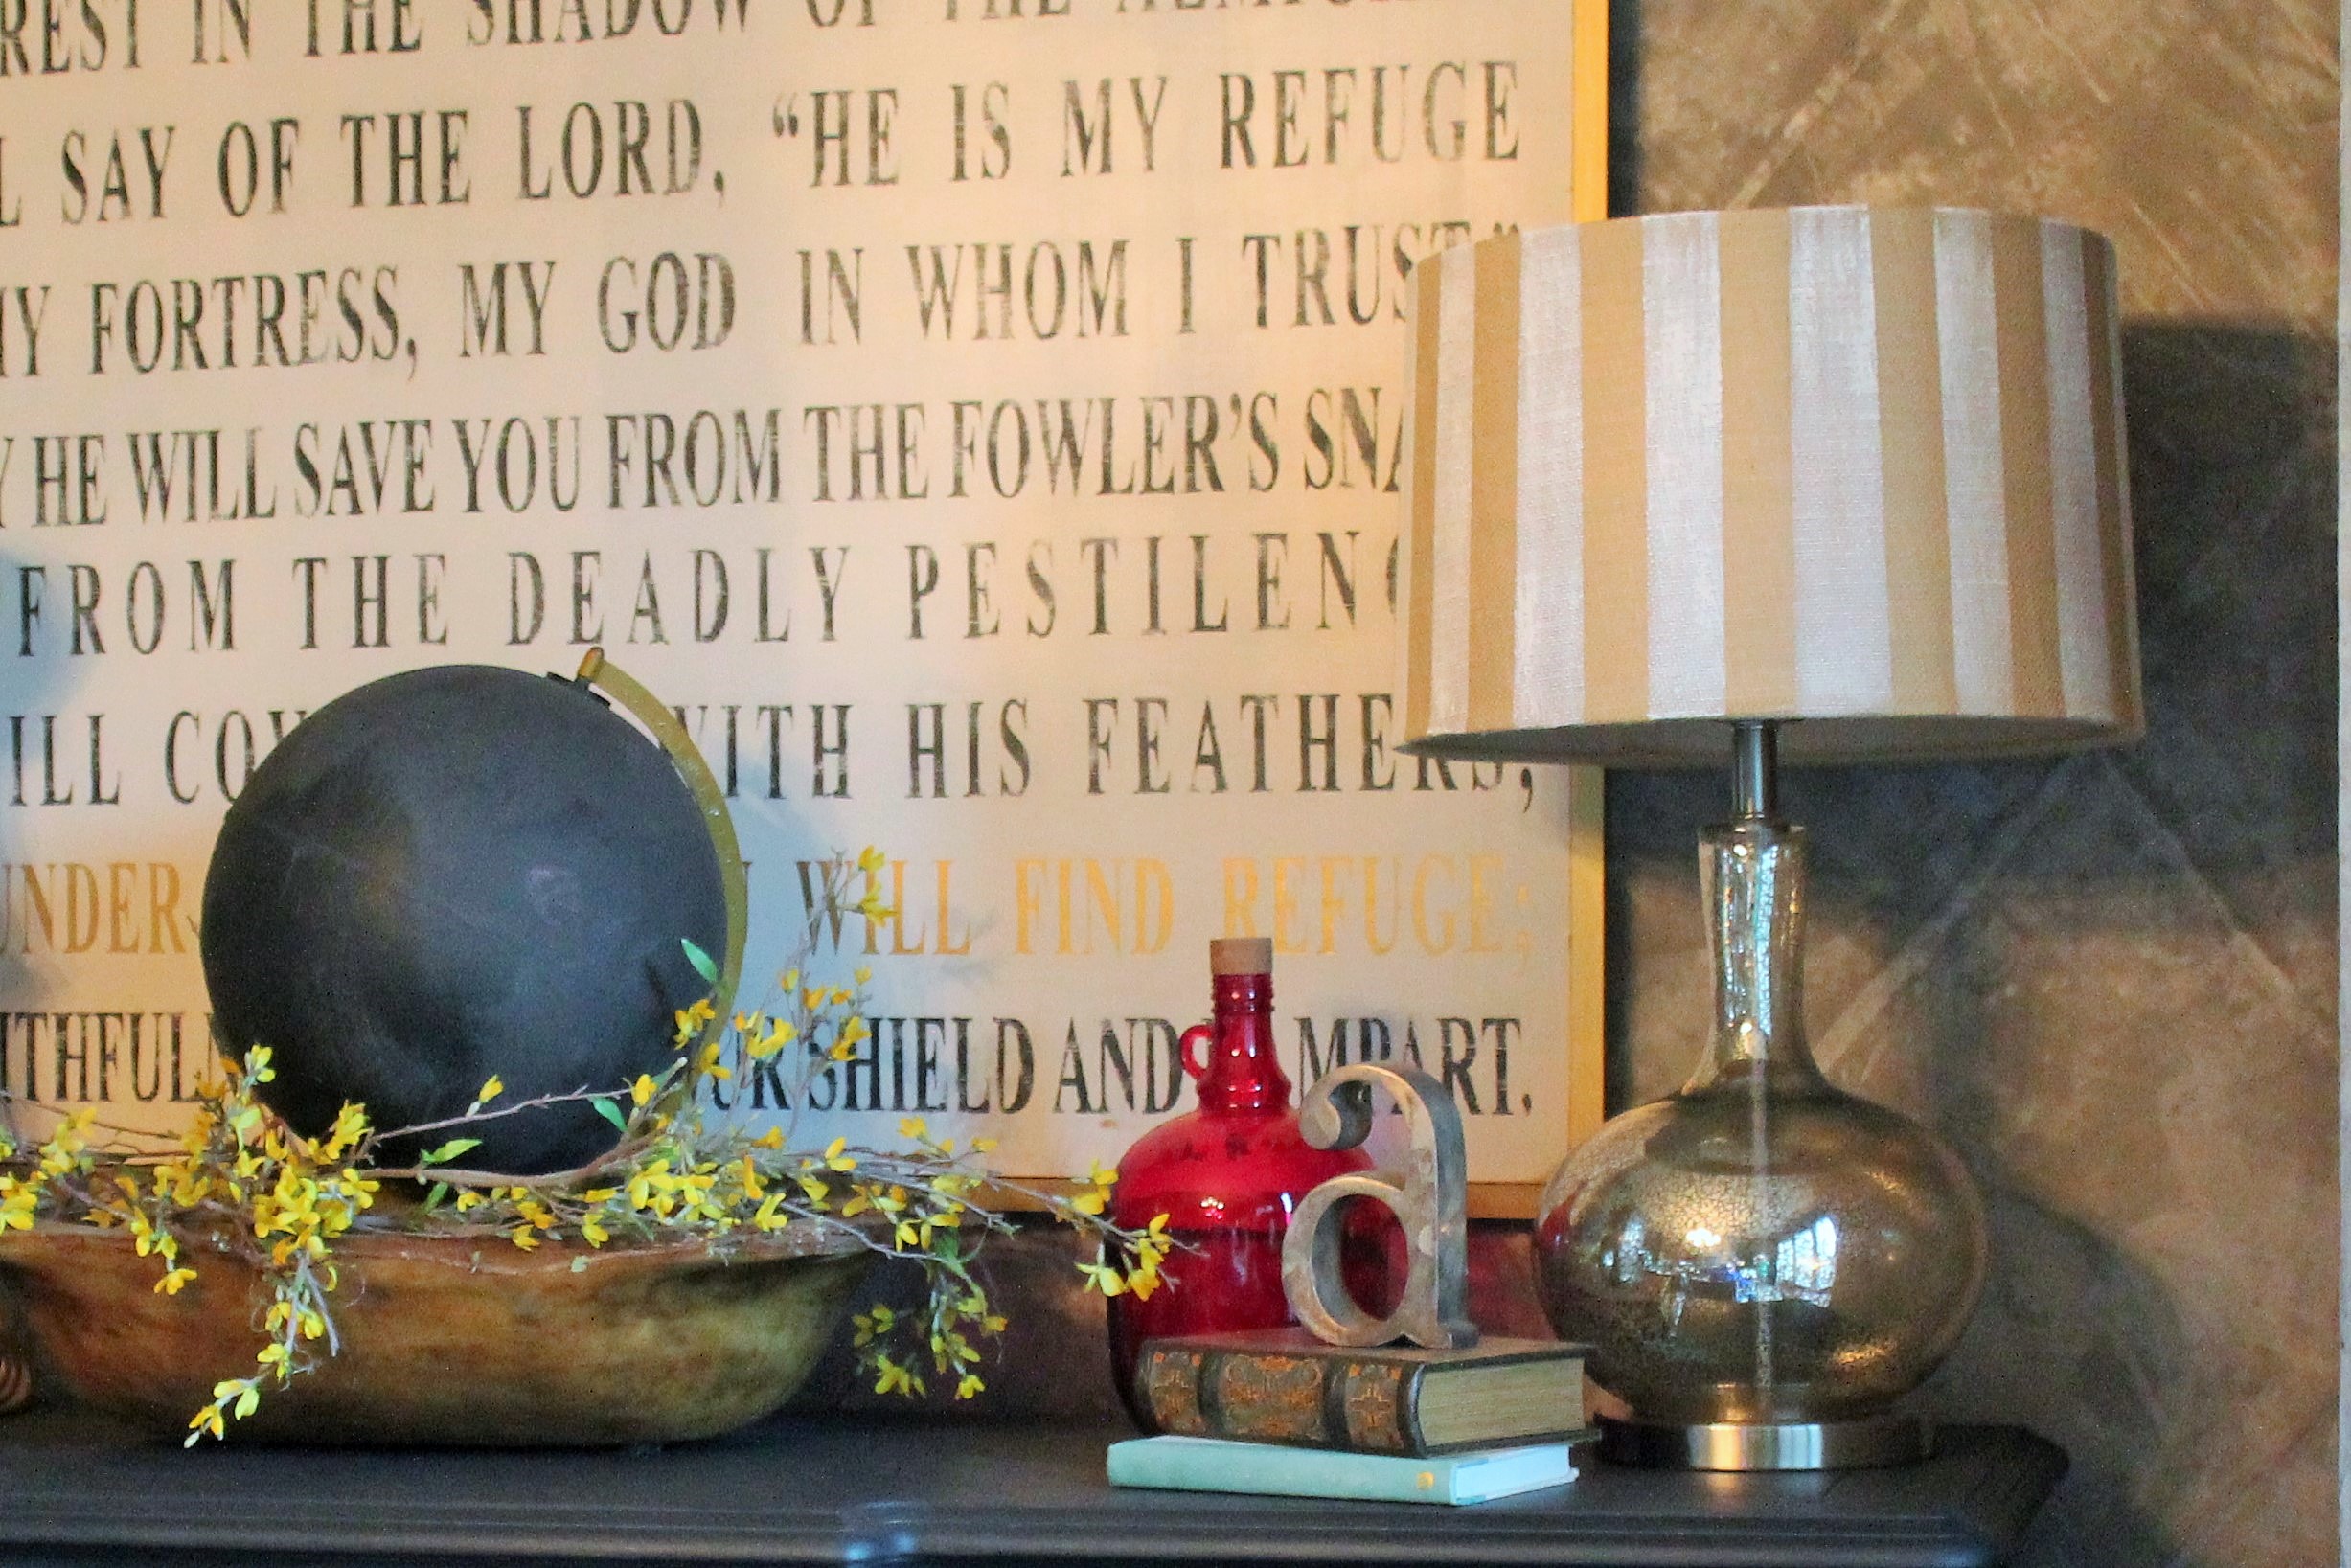
You can see the final lampshades in my dining room here.

See more of my home, including tons of great DIY tutorials here.
For more easy project ideas that make a big impact, check out my FREE VIDEO 10 Easy Updates You Can to Update your Home Before Dinner! Most of these small tasks involve just a little bit of paint!!
Happy Painting,
Jen