I have been asked quite frequently how to paint perfect polka dots.
So here are my tricks.
(This post contains affiliate links for the products I used)
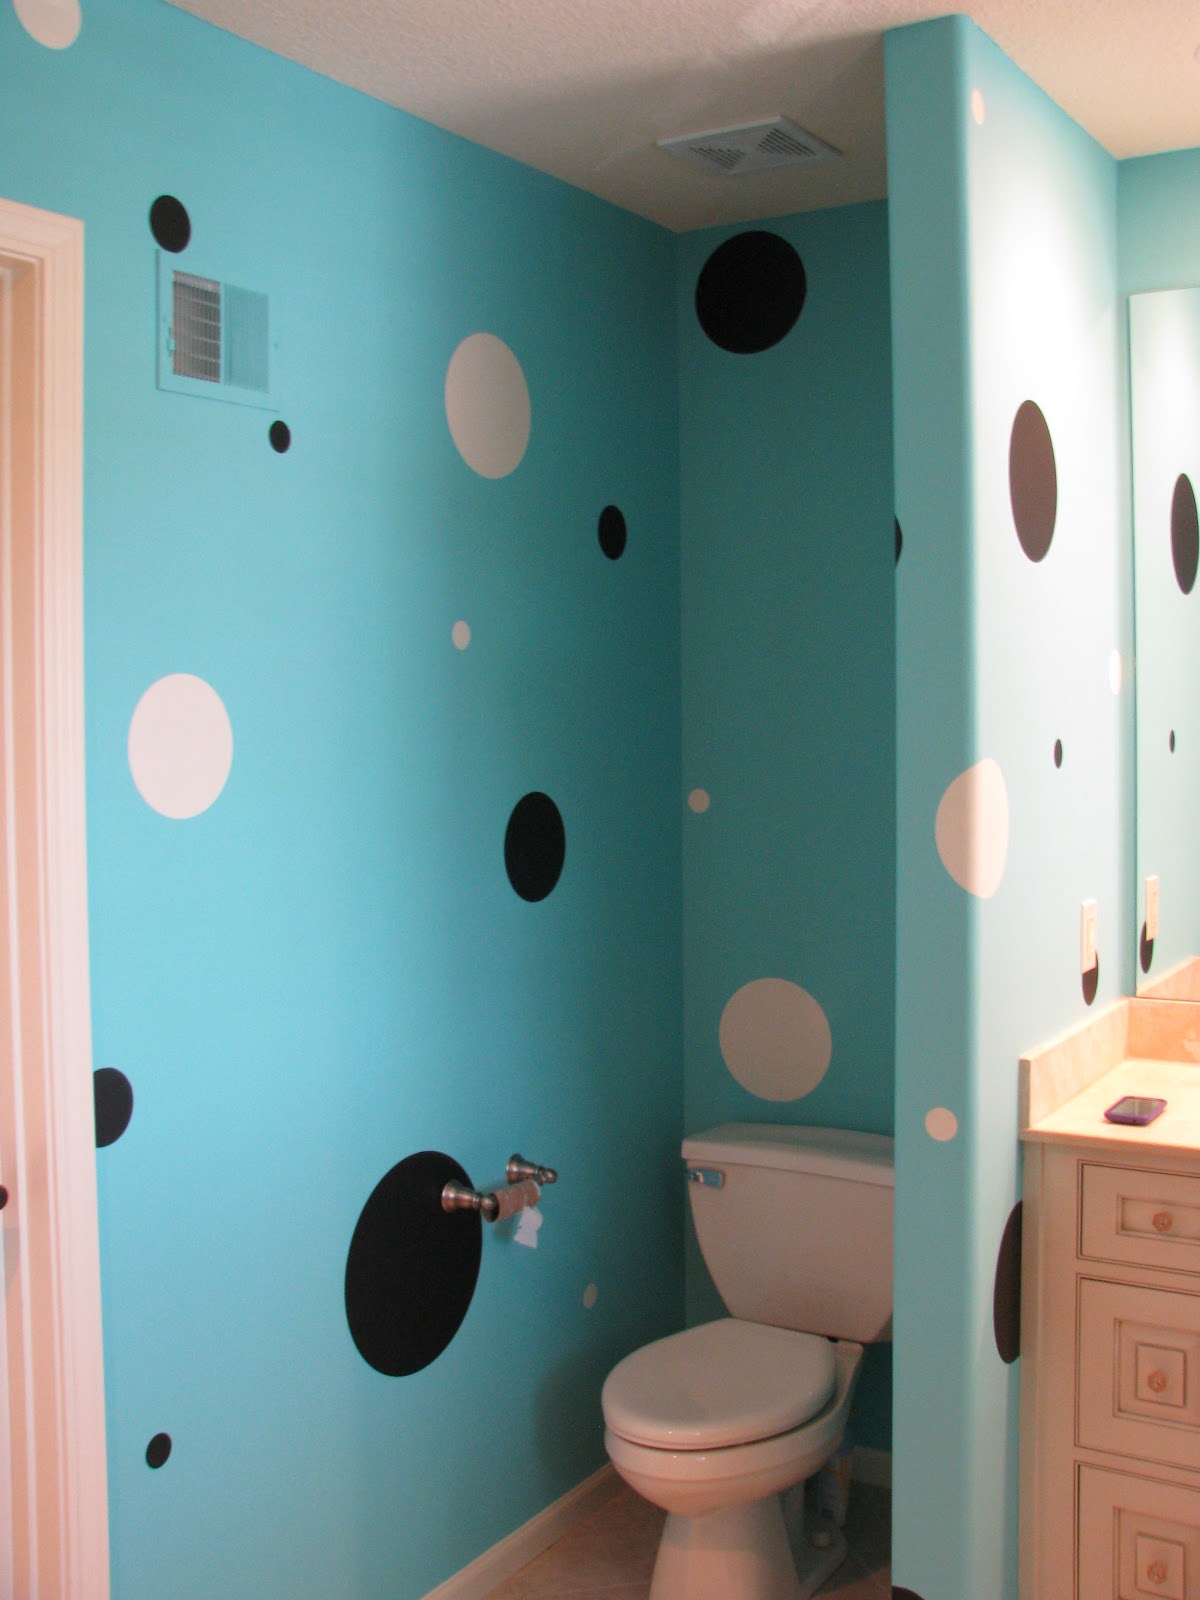
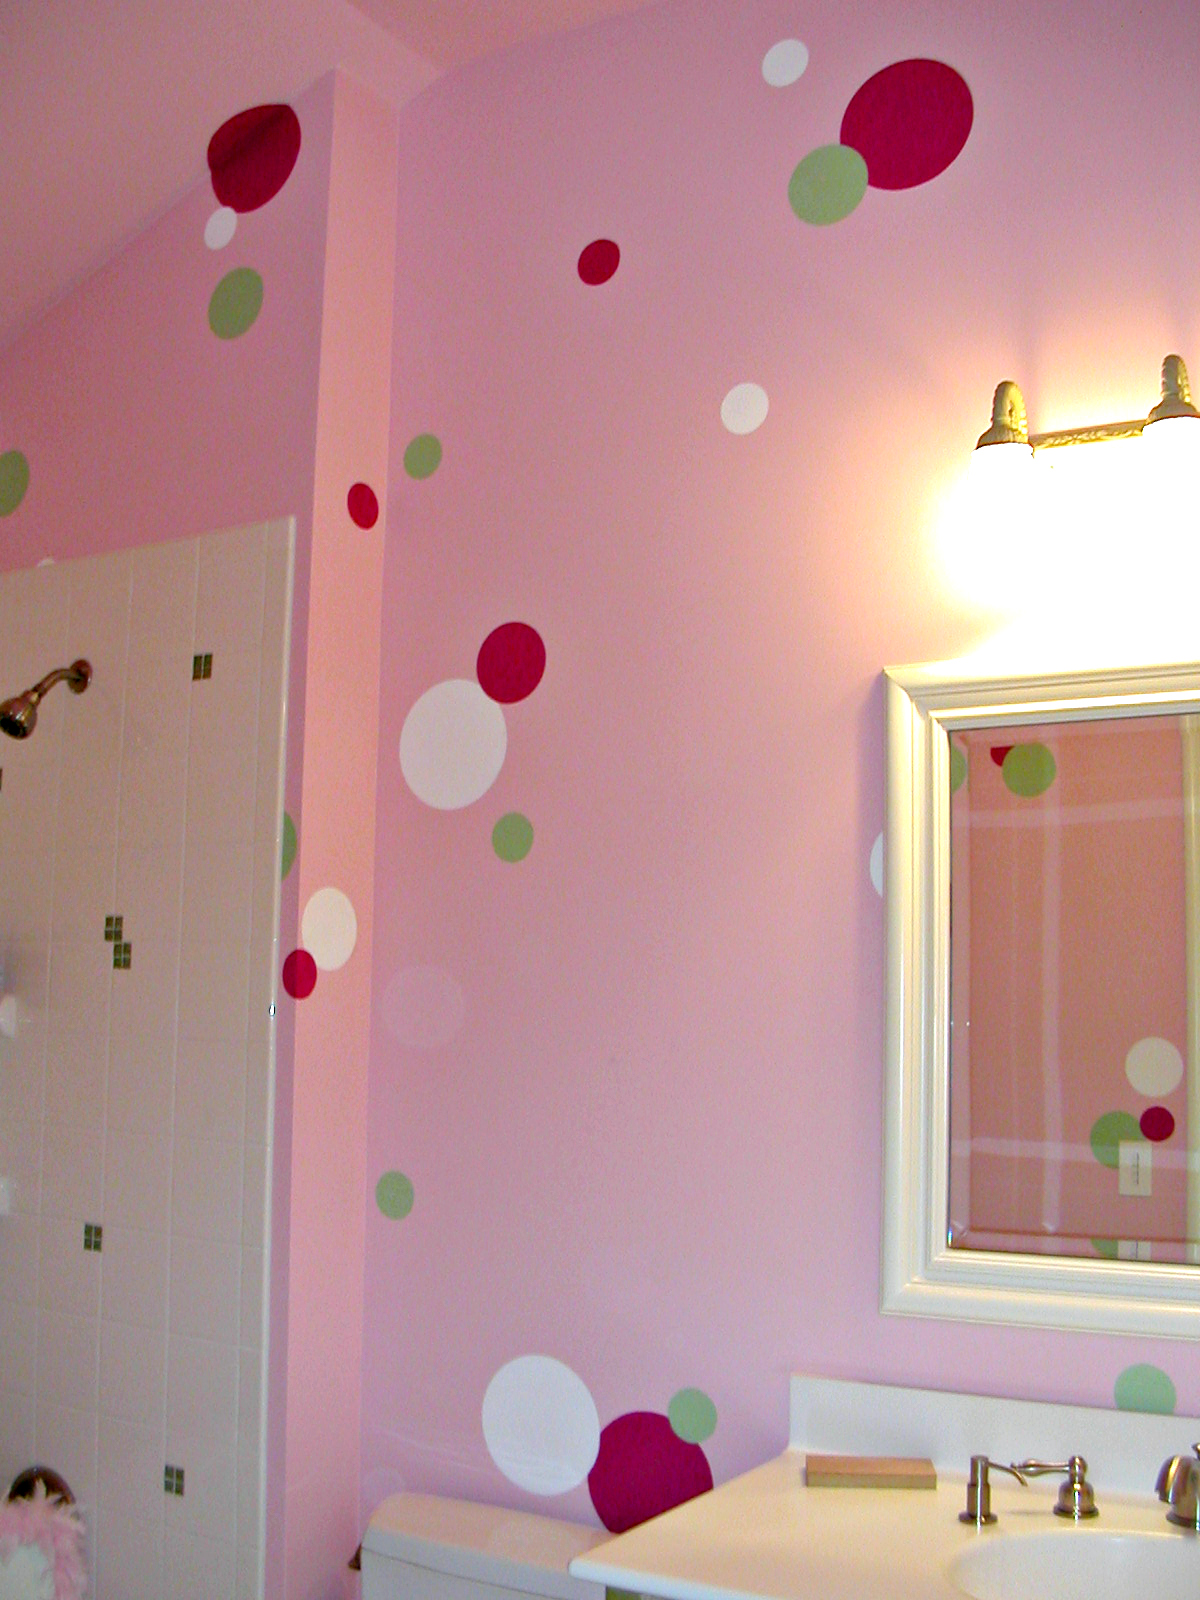
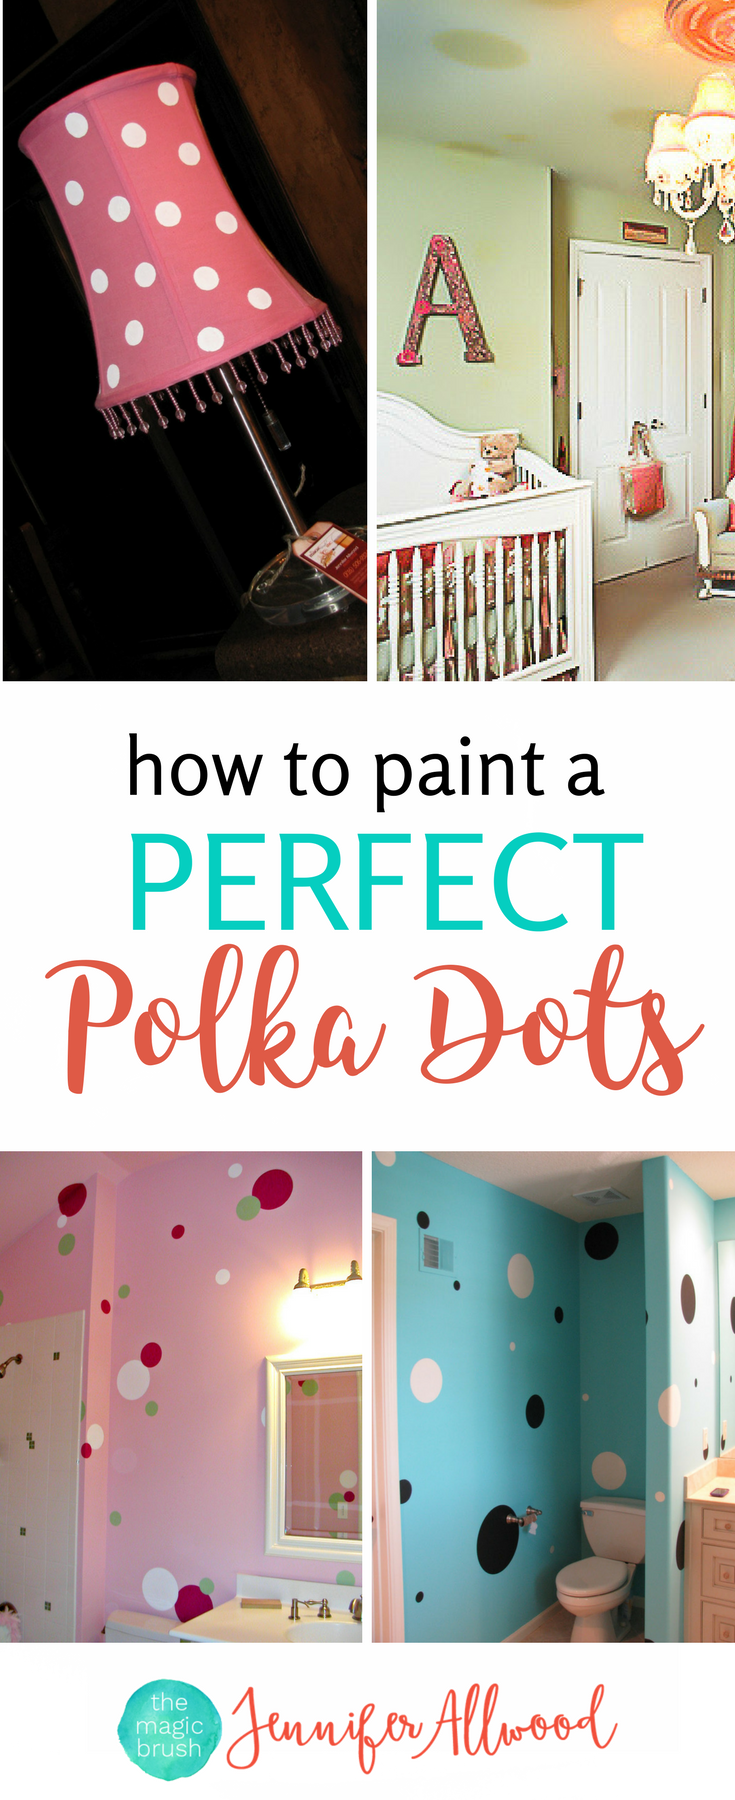
Painted Polka Dots on Walls
Well, if it’s on walls….I order a polka-dotted stencil. Like THESE which are self adhesive and makes life EASY! You can also use 3M adhesive spray to keep your stencils in place and not shift.
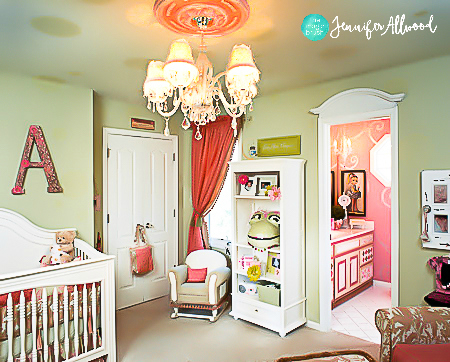
This is the stencil I used on my daughter’s bedroom walls and ceiling. (See that blog post here)
I have known people to trace paper plates and paint the circles in. Or try to cut their own circles out of mylar. No, no, no……! This stencil is NOT expensive. Spend the $ to have perfect polka dots and keep your sanity. Plus your time is worth something!
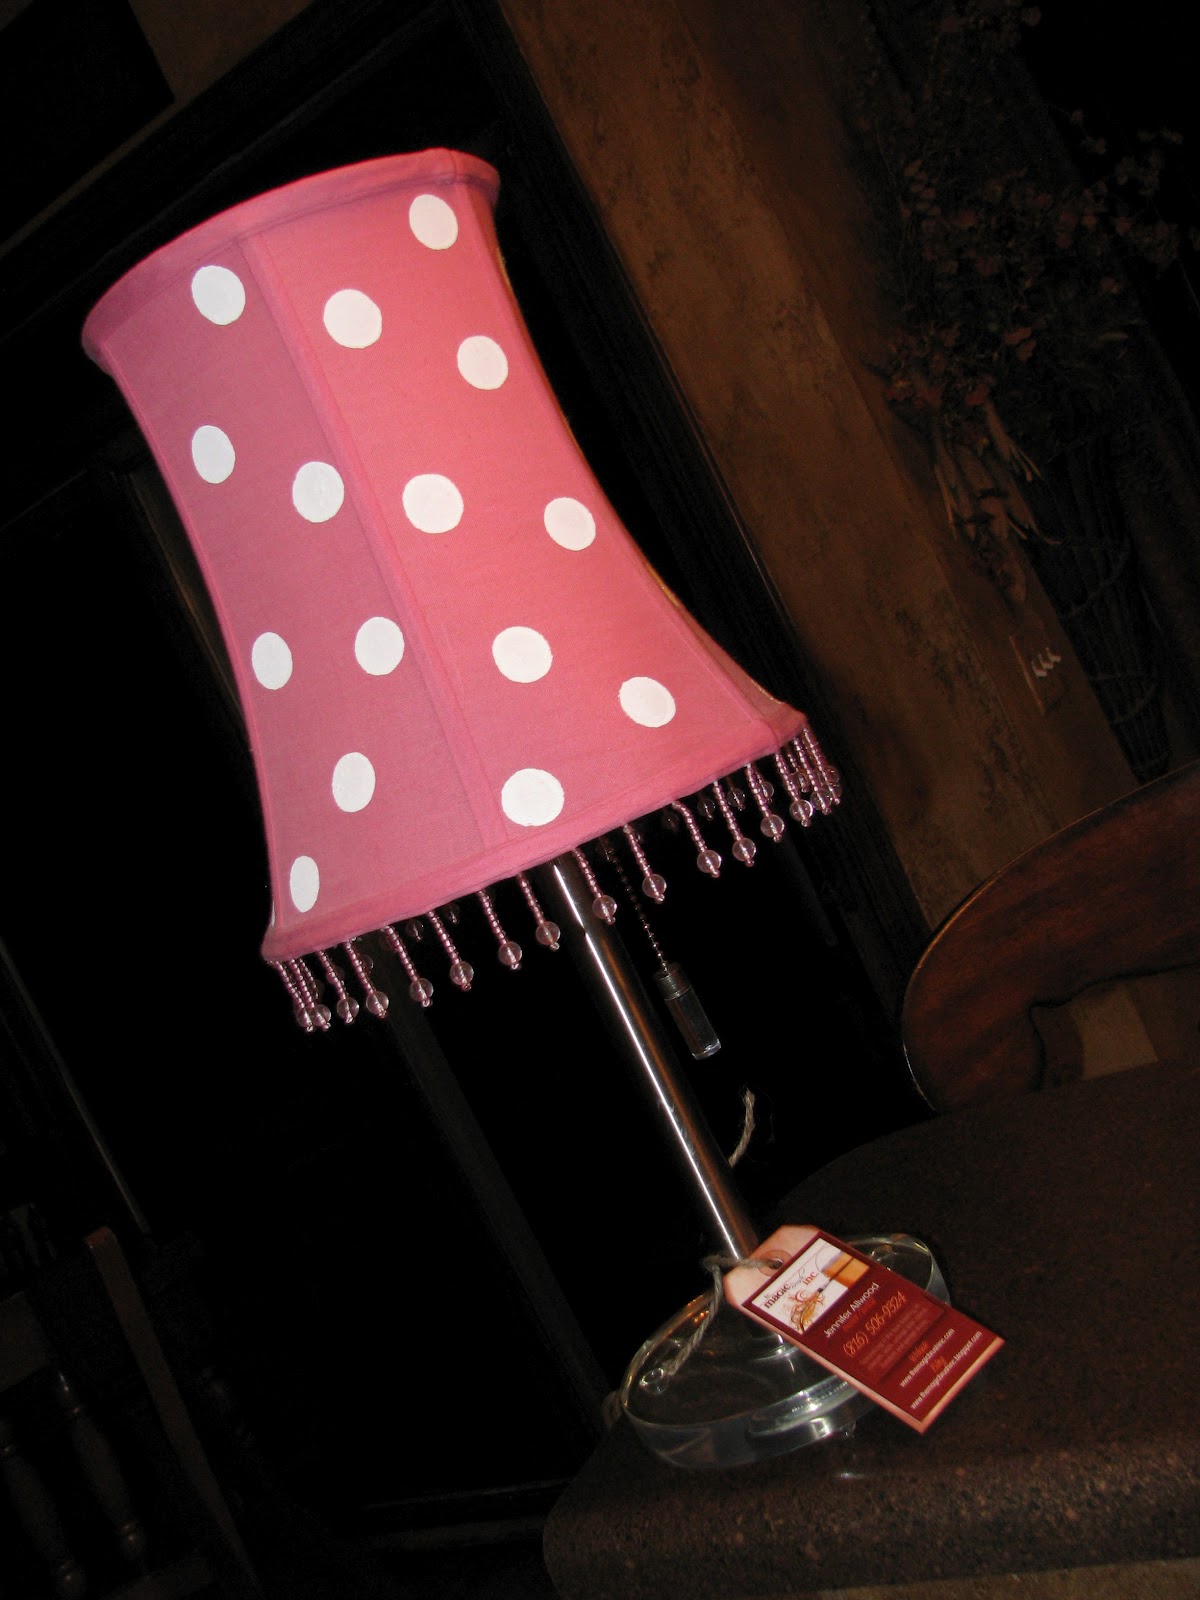
Painted Polka Dots on Smaller Projects:
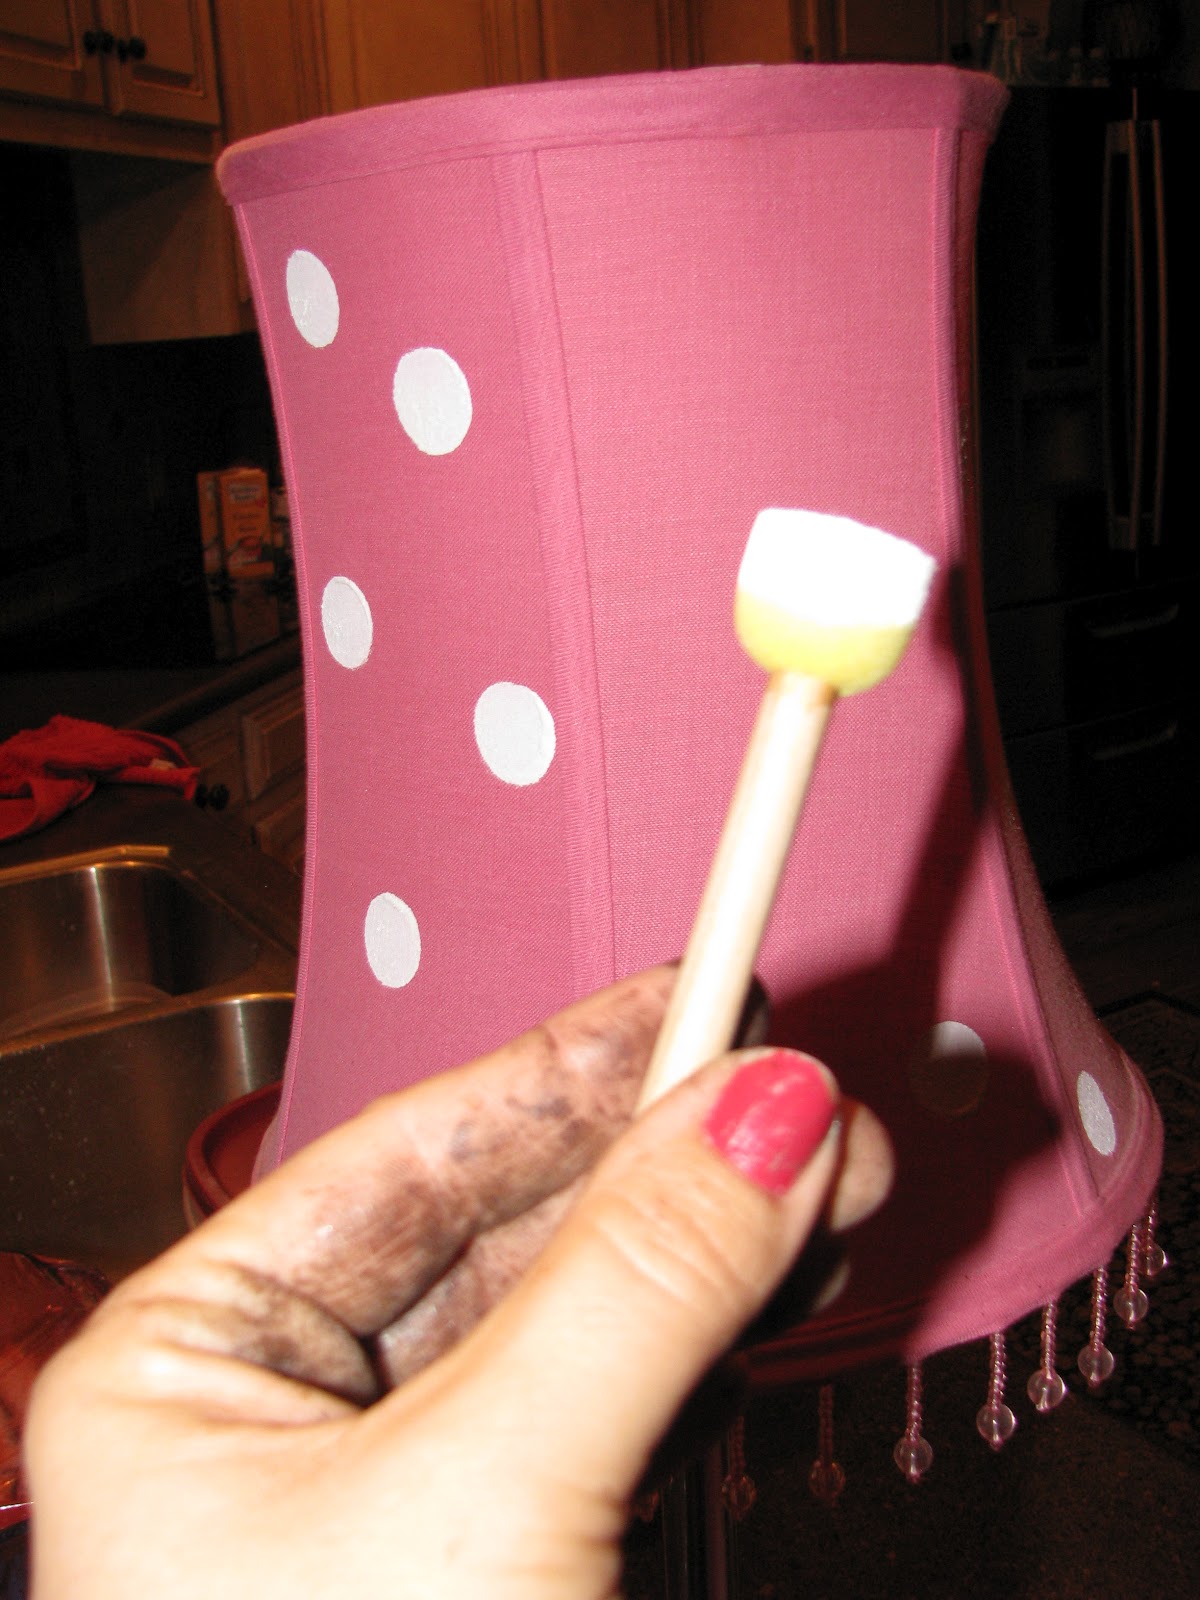
On a small project, like this lamp shade, I use what we call a “dauber”.
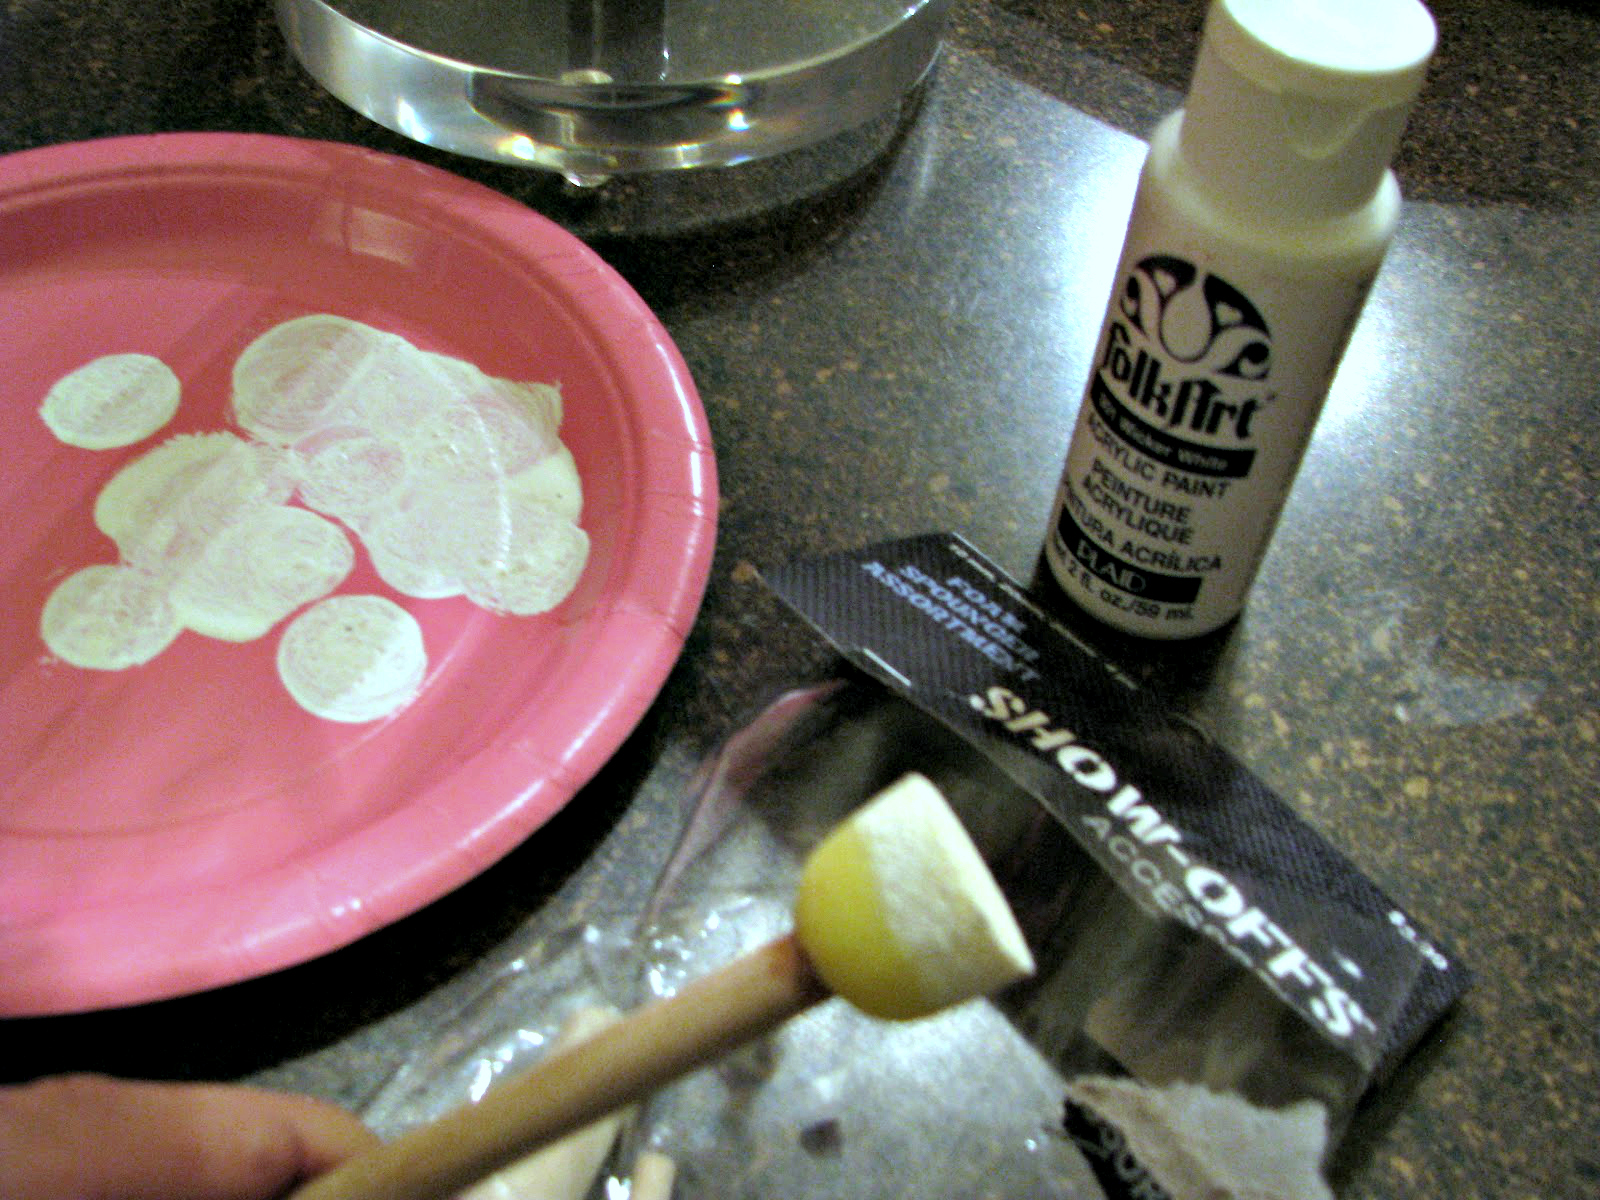
No not a bingo dauber. These are sponges that you can purchase in a variety of sizes, like these HERE.
I prefer to use acrylic paints because they are thicker and therefore run less.
I also prefer to use pink paper plates to pour my paint into cuz’ life is too short to use boring paint pans for everything!
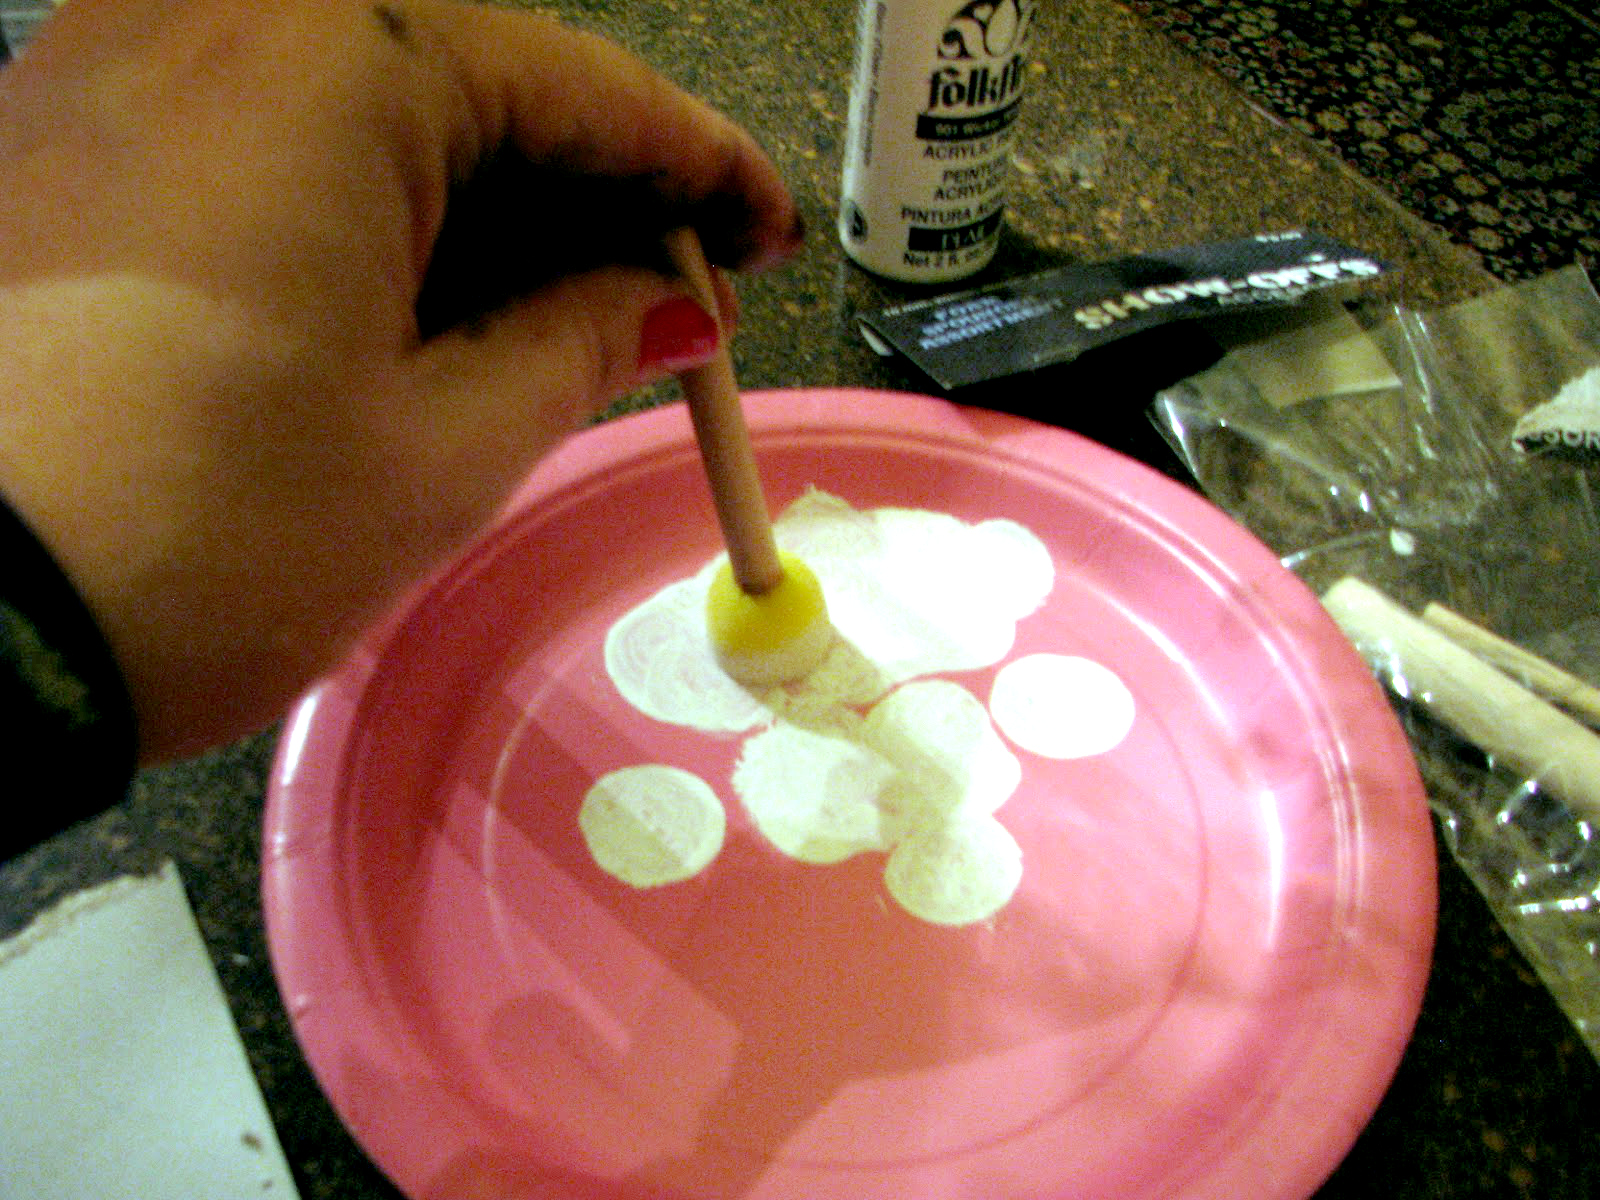
Keep your dauber straight up and down and twist it in the paint. Too much paint will = disaster, so saturate the dauber sponge….but don’t glob it up.
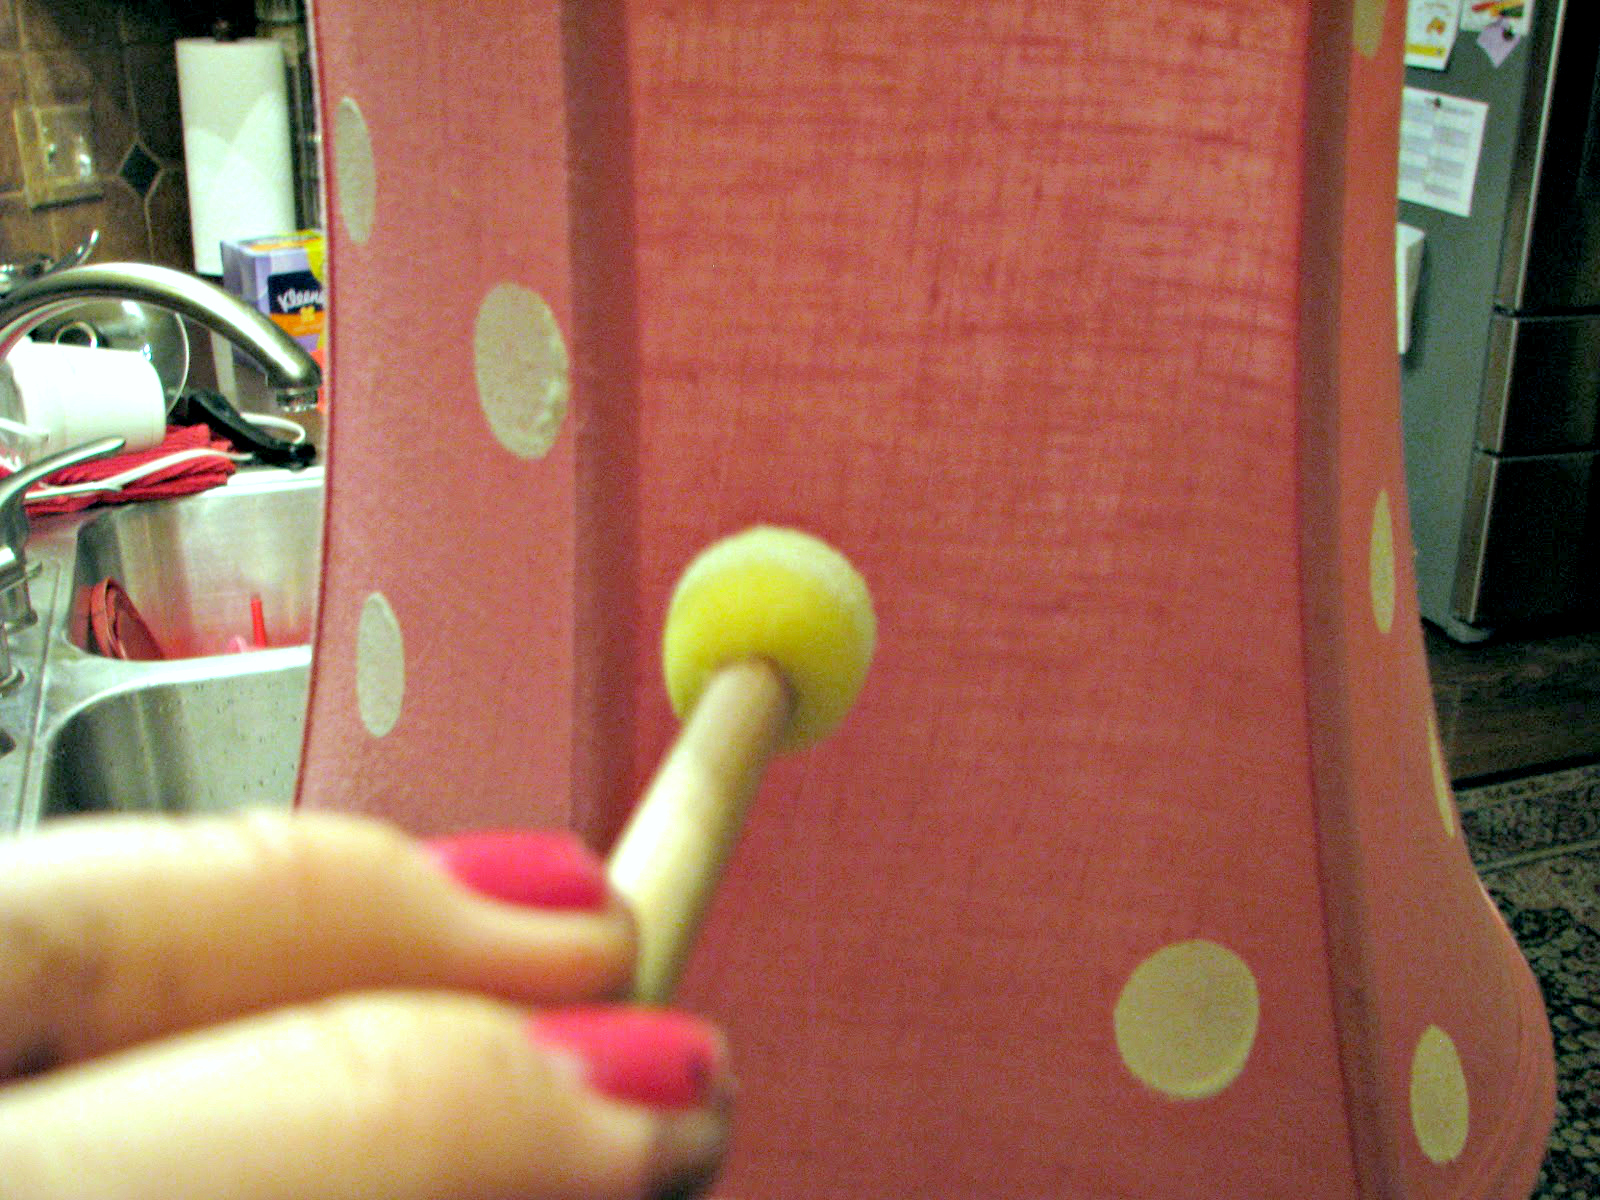
You can usually get more than one “dot” on your project before needing to reload with paint. Vary your amount of pressure if you feel that you should have reloaded and have a “light” dot.
I think it took me less than about 3 minutes to polka dot this lamp shade.
Easy breezy, mac and cheesy….
Want to learn how to paint stripes instead? Check out my post on how to paint a striped lampshade and how to paint stripes on walls and furniture.

For some easy decorating ideas and home improvement projects- check out my free video – 10 Things You Can Update in Your Home Before Dinner!
Please sure my painted polka dots tips on Pinterest!
Great info, Jen! LOVE your little Princess’ bedroom and bath. I’m sure she’s in heaven with it all too. I would love to see your home although I doubt I’d leave. 🙂
xo
Pat
we painted polka dots on the nursery ceiling with a styrofoam cup as a *stencil*. all of our walls except the bathrooms are textured so a normal stencil runs. when we sold our home 6 years later i had to run back by to drop off something to the new owner. she was proudly showing me around and mentioned the polka dotted room which she was now using as a study. i was so sad to see our dots covered with white ceiling paint, but the imprint of each circle remained since it was a bit raised. the owner could not completely cover them. funny! so wish i lived closer ~ love both the girls dresser and the john deere green table although it would clash with my sw chatroom colored walls. oh well… your projects are wonderful!
You know how I could tell that that was a tweeny bathroom…there was no toilet paper on the roll!! Polka dots…I like it!