
I recently had a client hire my team to stain this barndoor for her.
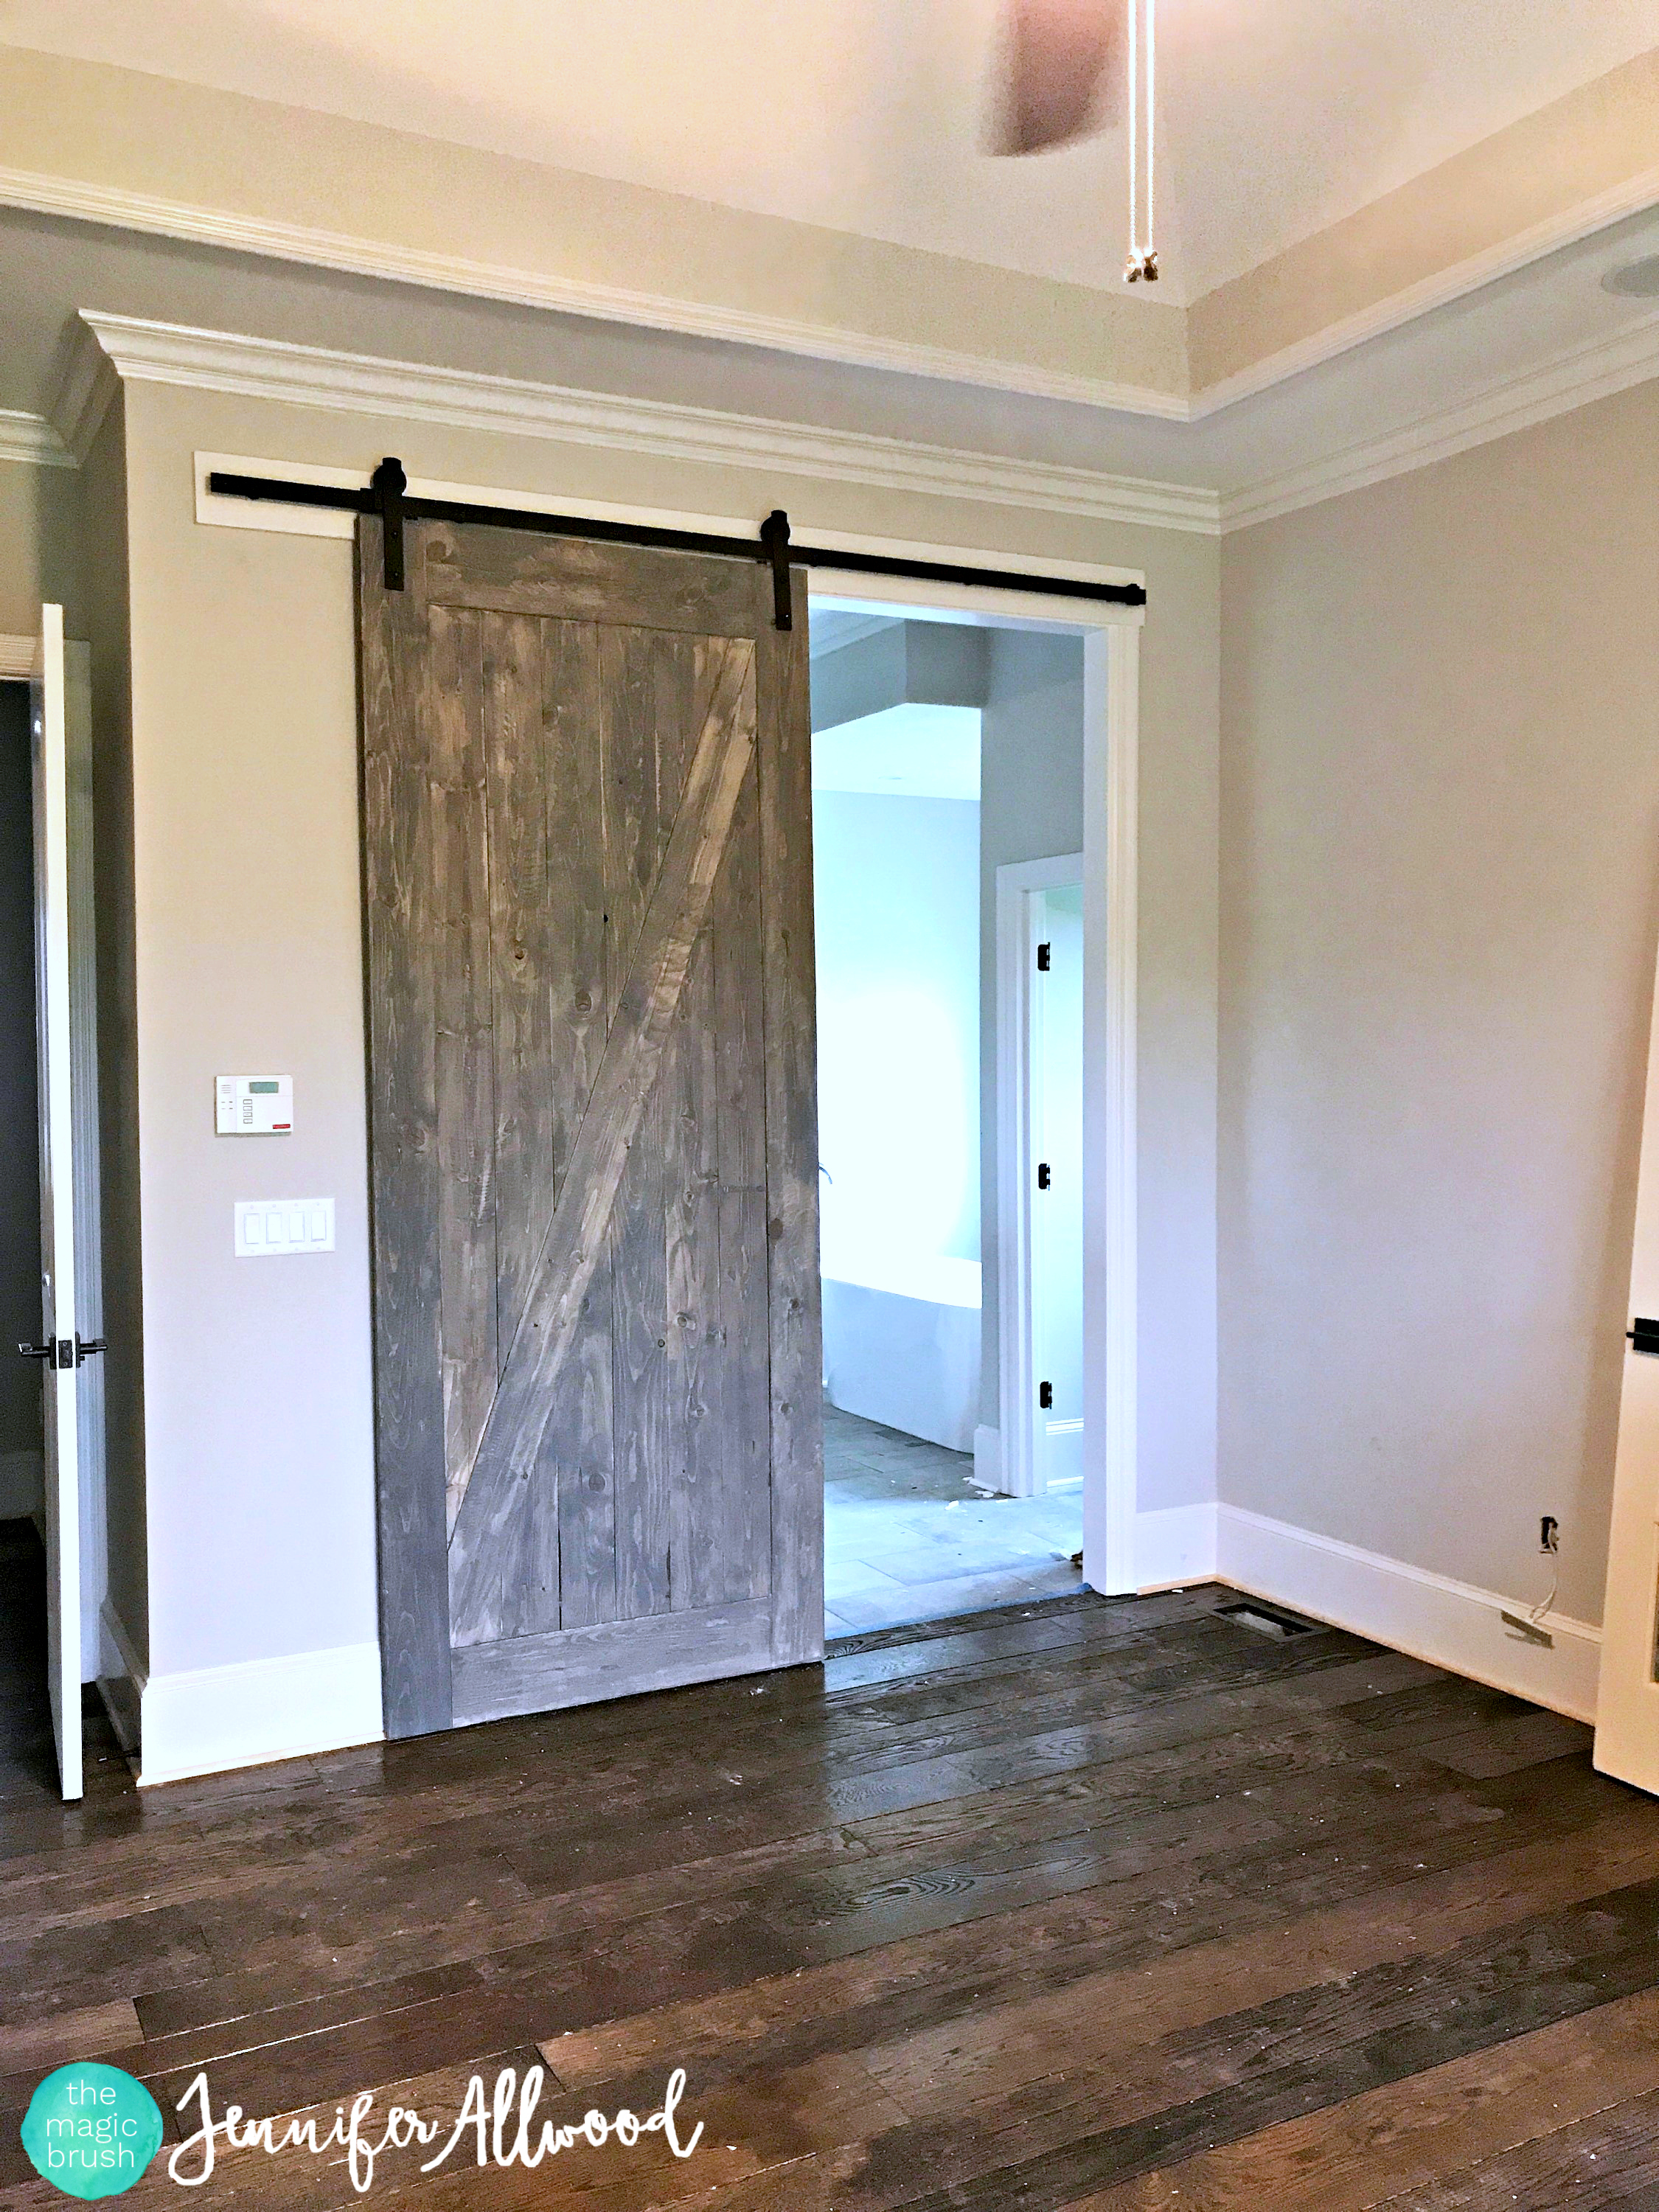
Emily was building a home and this door is going from her master bedroom to her bathroom. I love it!

I played on a scrap piece of whitewood to determine how different stain colors would take to her door. Testing in an inconspicuous spot or on a scrap piece of the same wood is key to finding a good color without jacking up the real door!!!!
Emily was looking for a grayish tone that still had some warmth to it! I think I found it!
This post does contain affiliate links for your convenience and to make prepping for your project easier!

We ended up using THIS STAIN for the first time and I love the color. It’s a warm gray!!!!
The people on MY FACEBOOK PAGE warned me that this particular color wants to settle to the bottom of the quart and they were right!! You need to stir and re-stir it up from the bottom frequently!

For nearly all our staining projects we only use 2 things. We buy car washing sponges LIKE THESE by the bulk.

Or use staining applicators like THIS ONE to apply the stain.
We do NOT try to clean them afterwards. Ain’t nobody got time to get oil based stain out of a sponge. We use cheap applicators so we can go about our day!

By the time Stephanie had the first board stained for me, I knew this color was a good choice!

Stephanie did a great job staining this door! We always start on the BACK and then flip the door over to the the FRONT last.
If you lay the door on it’s side like this, it’s easier to reach everything!
Notice you can still see nails holes. We did NOT fill them. They look rustic!
And it’s a quick process to stain. Literally, just dip your sponge in stain and wipe it on. Do 2 coats for a richer,deeper color letting the coats dry fully in between!

And this is how it turned out. Isn’t that amazing???

And here is the door hanging in Emily’s beautiful new home!
If you need help with directions on BUILDING a barndoor…. read THIS ARTICLE to see how Mr Magic built ours! They are NOT hard to make. I also have a round-up post for you: Top Ten DIY Barndoor Tutorials.
And then get to staining!
Have fun,
Jen
Please share my stained barn doors pin, check out more ideas on my Barn doors Board and follow me on Pinterest!

Hello Jennifer,
Thanks for sharing an easy-to-follow instructions on your barn door.
I’m in the midst of staining mine right now and wanted to know if a polyurethane coat is necessary to do. I like the look of the door now but thinking long term if I need to proctect it. I’m hanging these doors in the basement where there is less traffic.
Thanks so much!