Much to Mr Magic’s dismay, I am pretty much obsessed with glittering pumpkins. Now listen, I choose to use real pumpkins because they are cheaper than fake and I like doing something new every year on my pumpkins. But you could use fake pumpkins too and obviously they would last a lot longer. Directions are the same either way!
I will forewarn you however. Glitter has been called “the herpes of the crafting world”. It spreads. It’s practically contagious. You can’t get rid of it. You get the picture.
*this post contains affiliate links which may pay me an income which I use to do further DIY projects for you!*
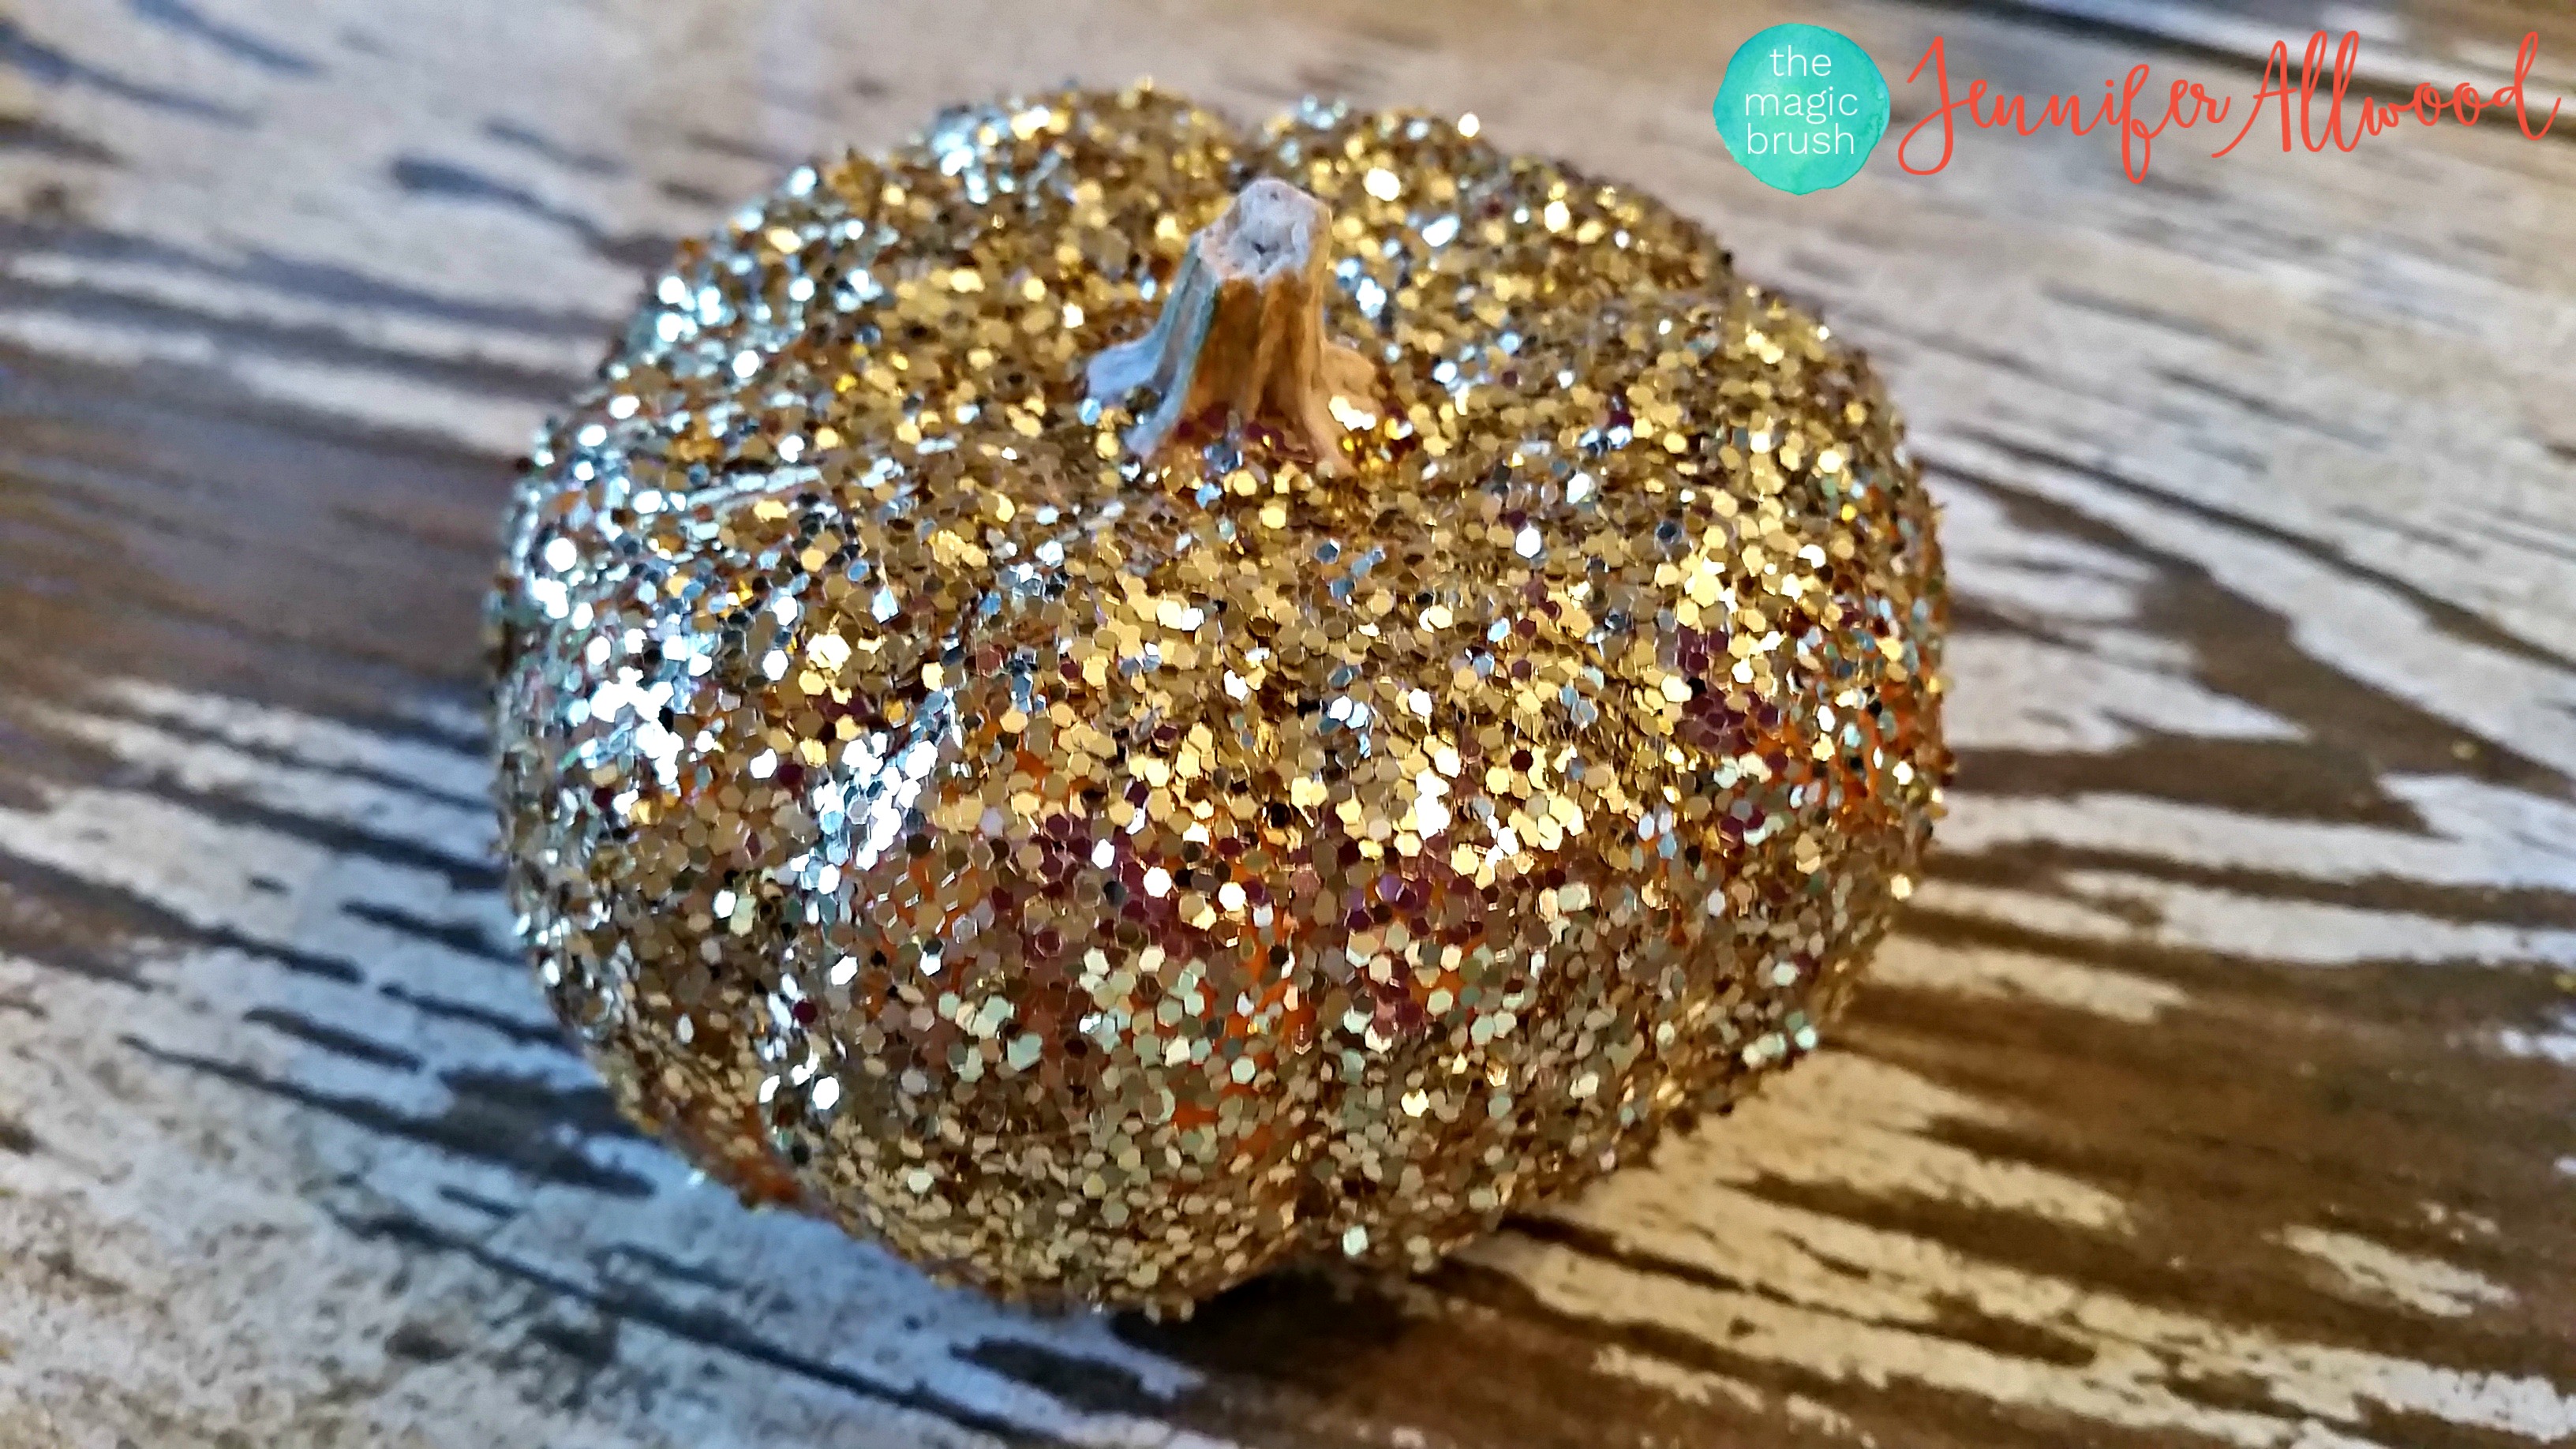
But look at the sparkly goodness. I would say it’s totally worth it!
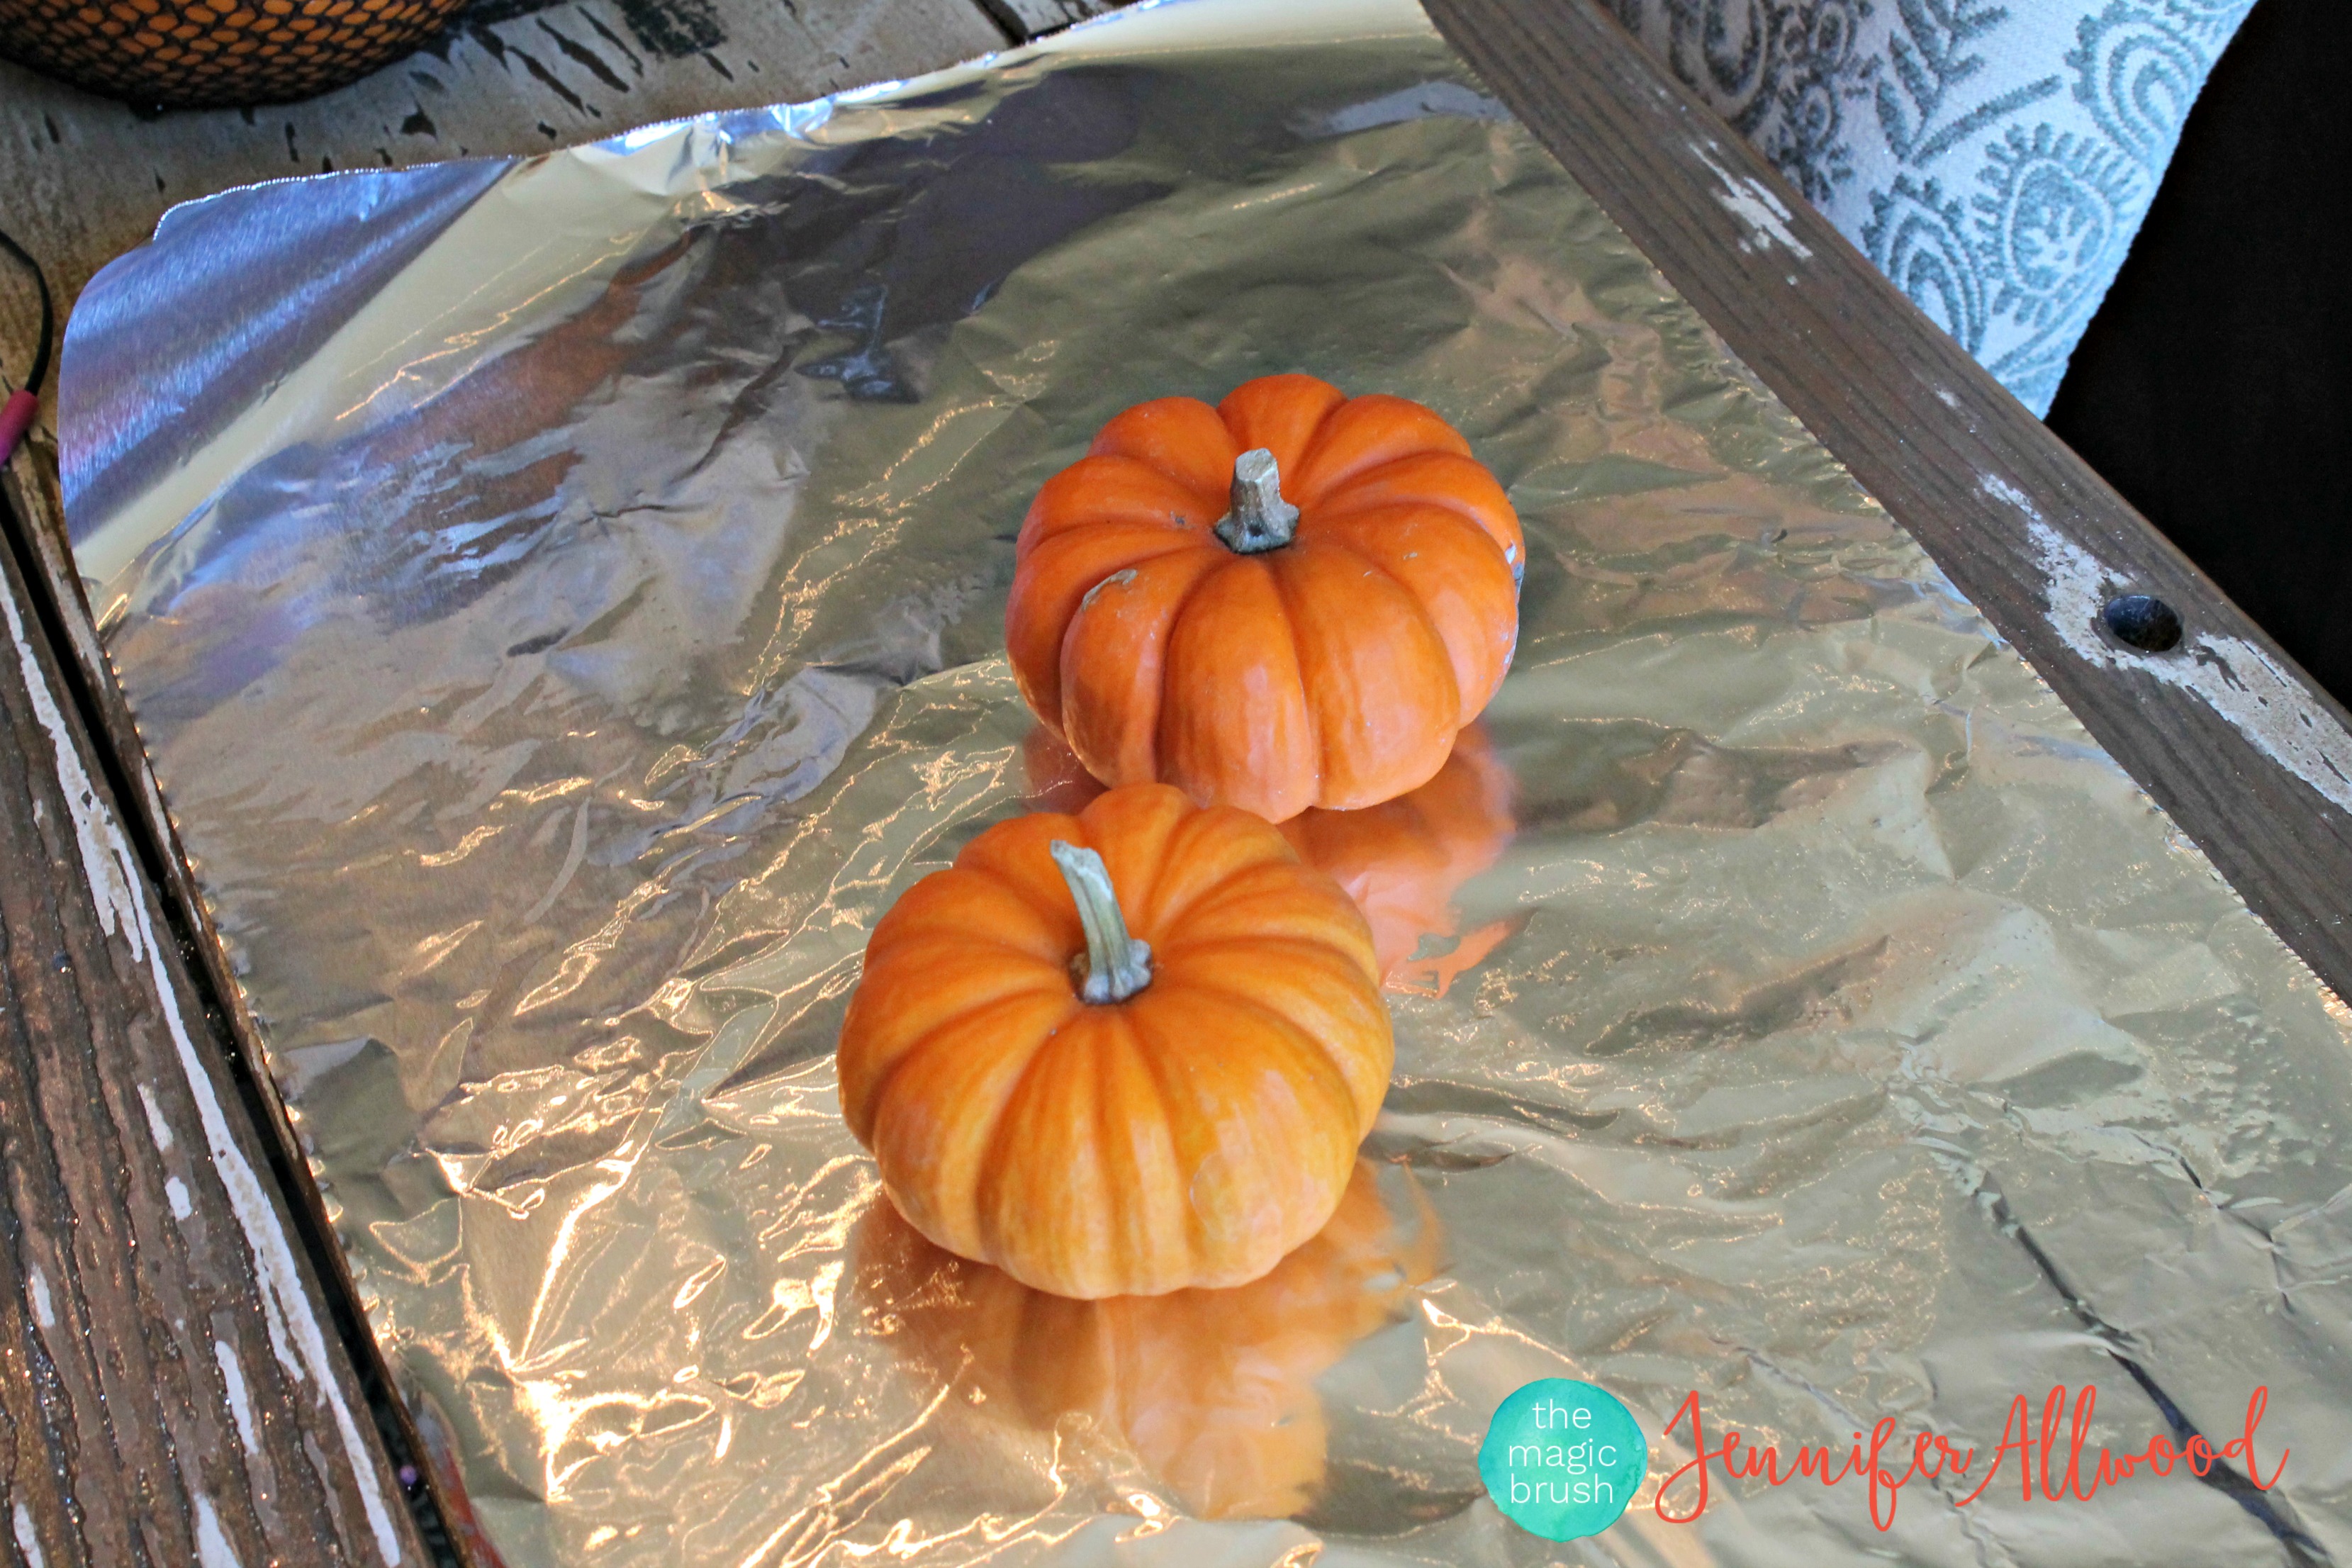
I always advise people to put something disposable down under your pumpkins like tinfoil or plastic. A towel will get glitter all over it and be hard to shake out. Just use something disposable and you will thank me for it later.

I use Mod Podge and cheap glitter from Hobby Lobby. You can also find some fantastic glitter products online at Michael’s here and Joann’s here.
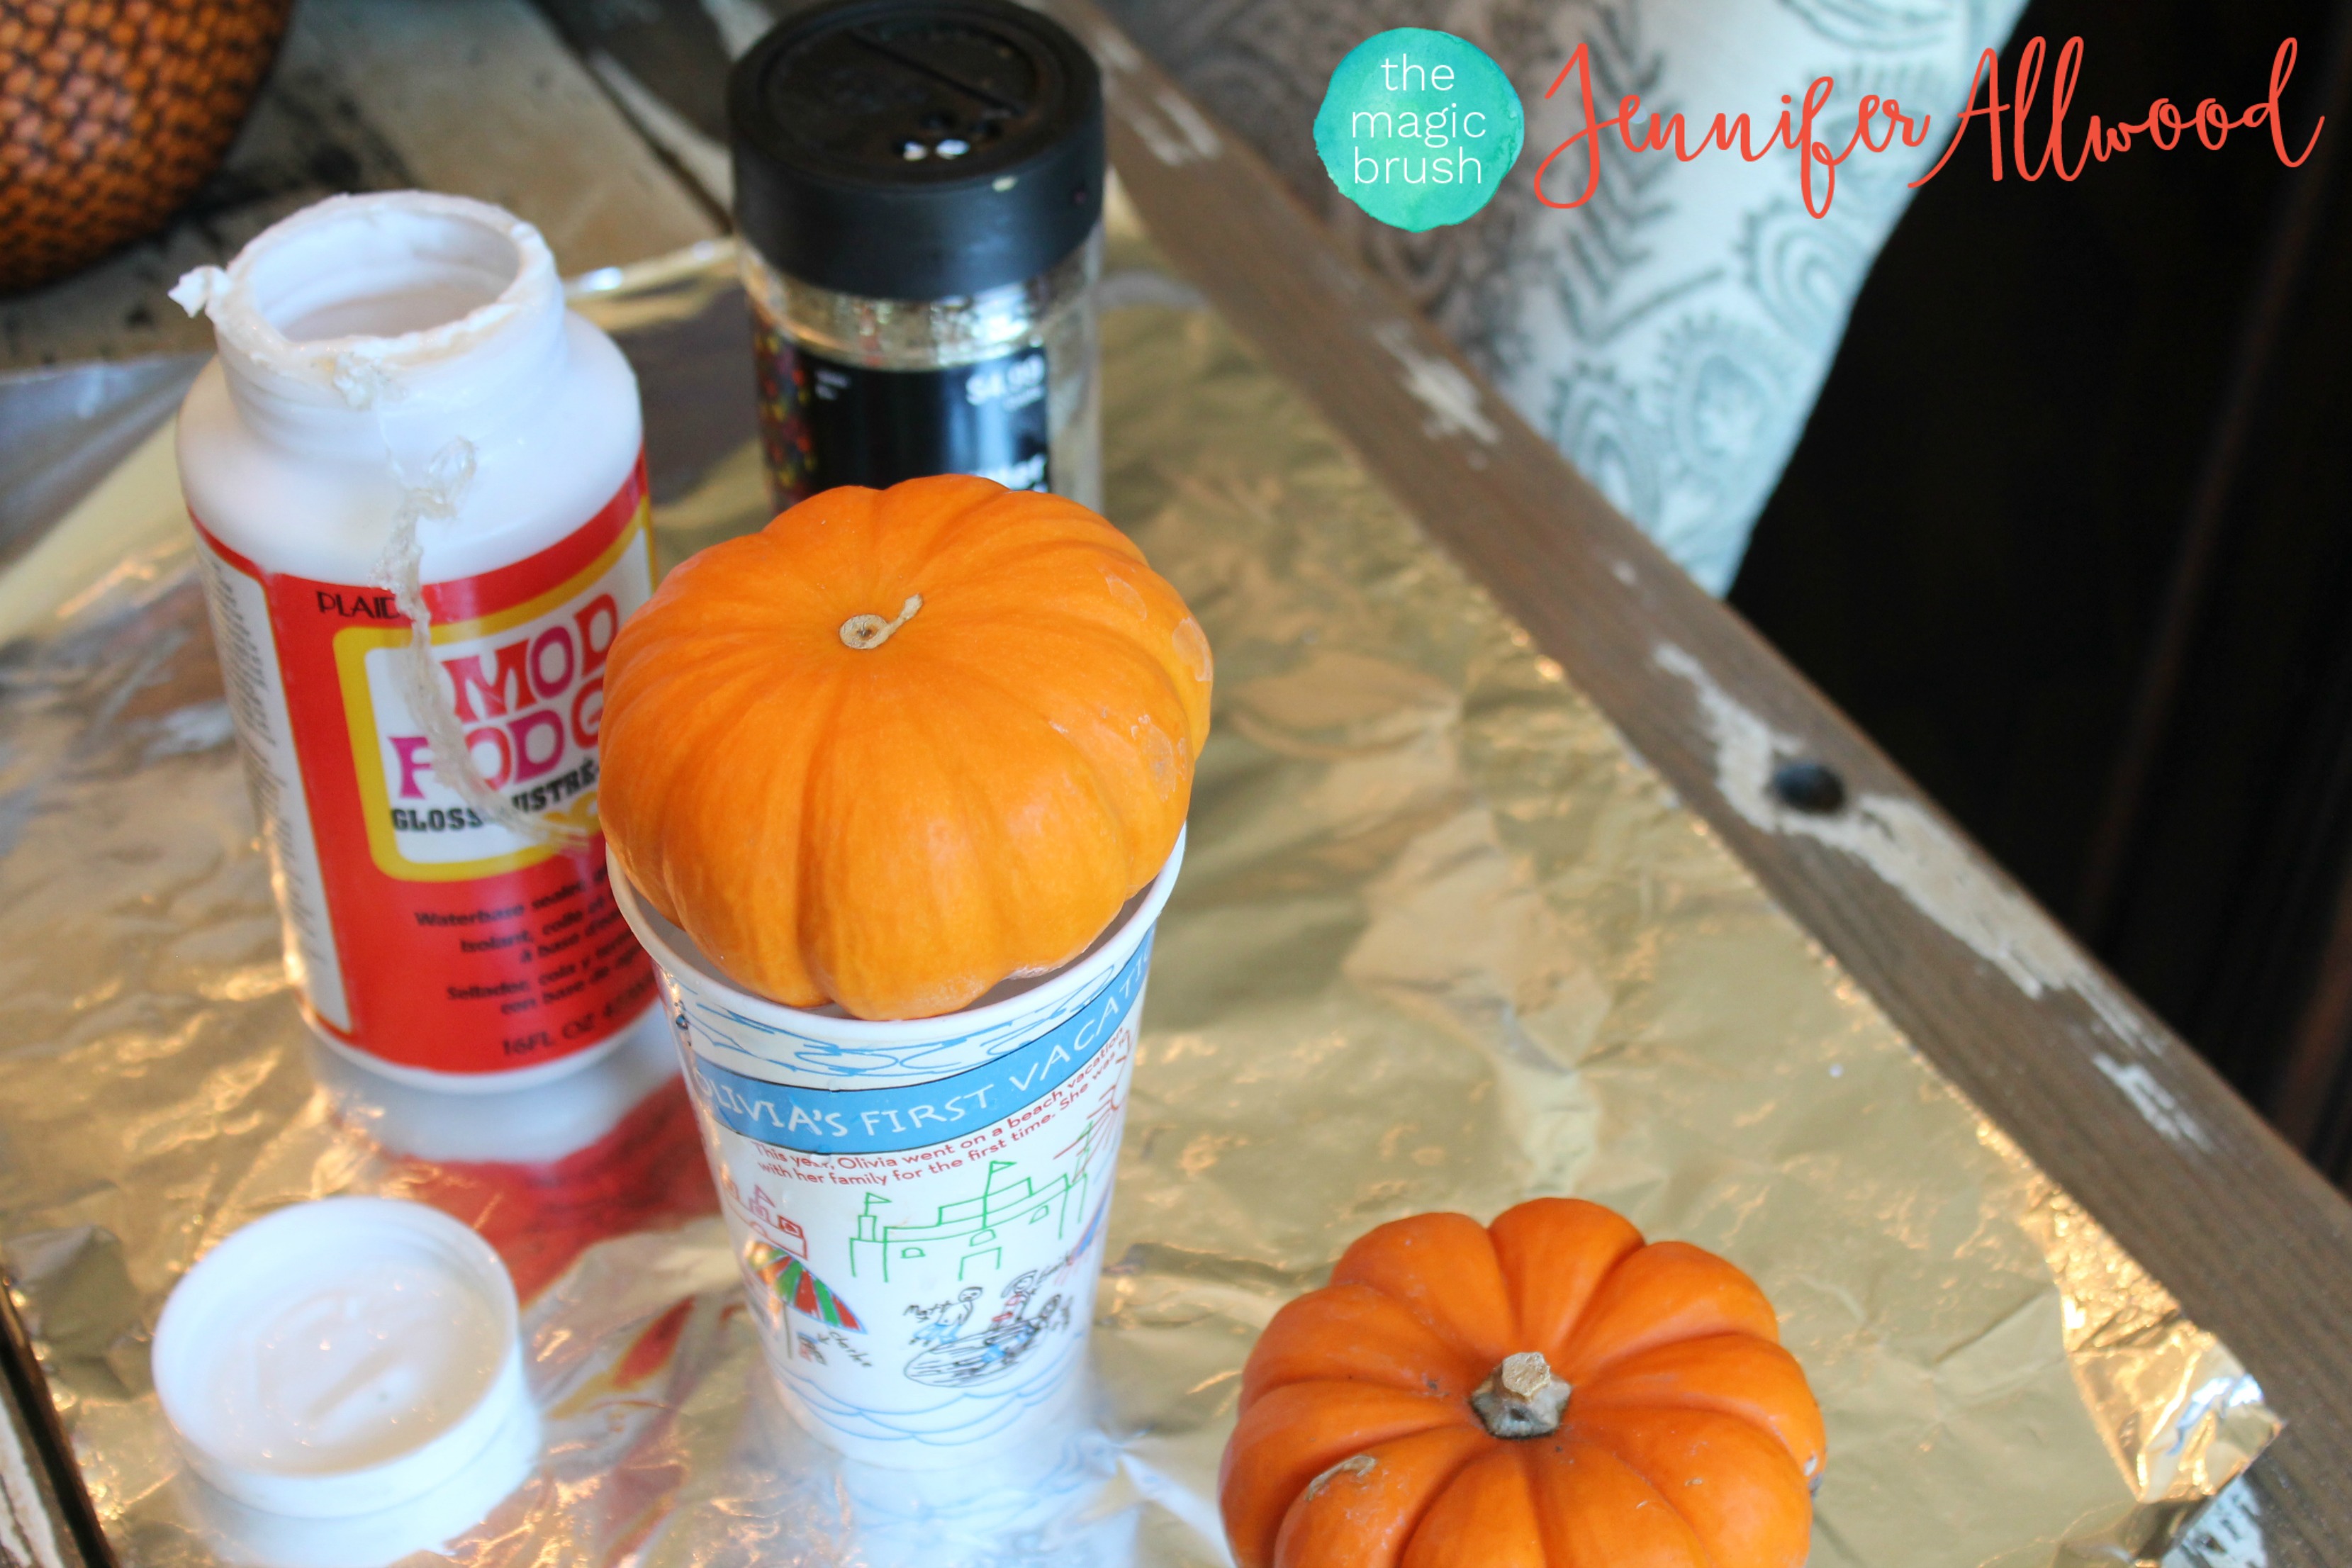
One of my tips is to always glitter or paint the BUTT of your pumpkin first. It’s easiest if you have something like a tall cup to turn your little pumpkin upside down in. See how slick this is?
Brush the butt with Mod Podge.
Sprinkle it with glitter.
Then let dry.
Then turn the pumpkin right side up on the cup and repeat the process. Be careful not to get Mod Podge on your pumpkin stem unless you want the stem glittered too which I usually don’t do. I love the combo of the raw stem with the sparkly pumpkin.

See? Easy and fast!

Now if you are saying “what do I do with it now?” Well, put a bunch of sparkly, glittery pumpkins in a Thanksgiving tablescape like I did on this post.

Here is a closeup. Isn’t that gorgeous? Because I am keeping these indoors, I do NOT put a topcoat on them and they will generally last me 6-8 weeks before the pumpkin begins to go bad.

These also make a great place setting on the table!
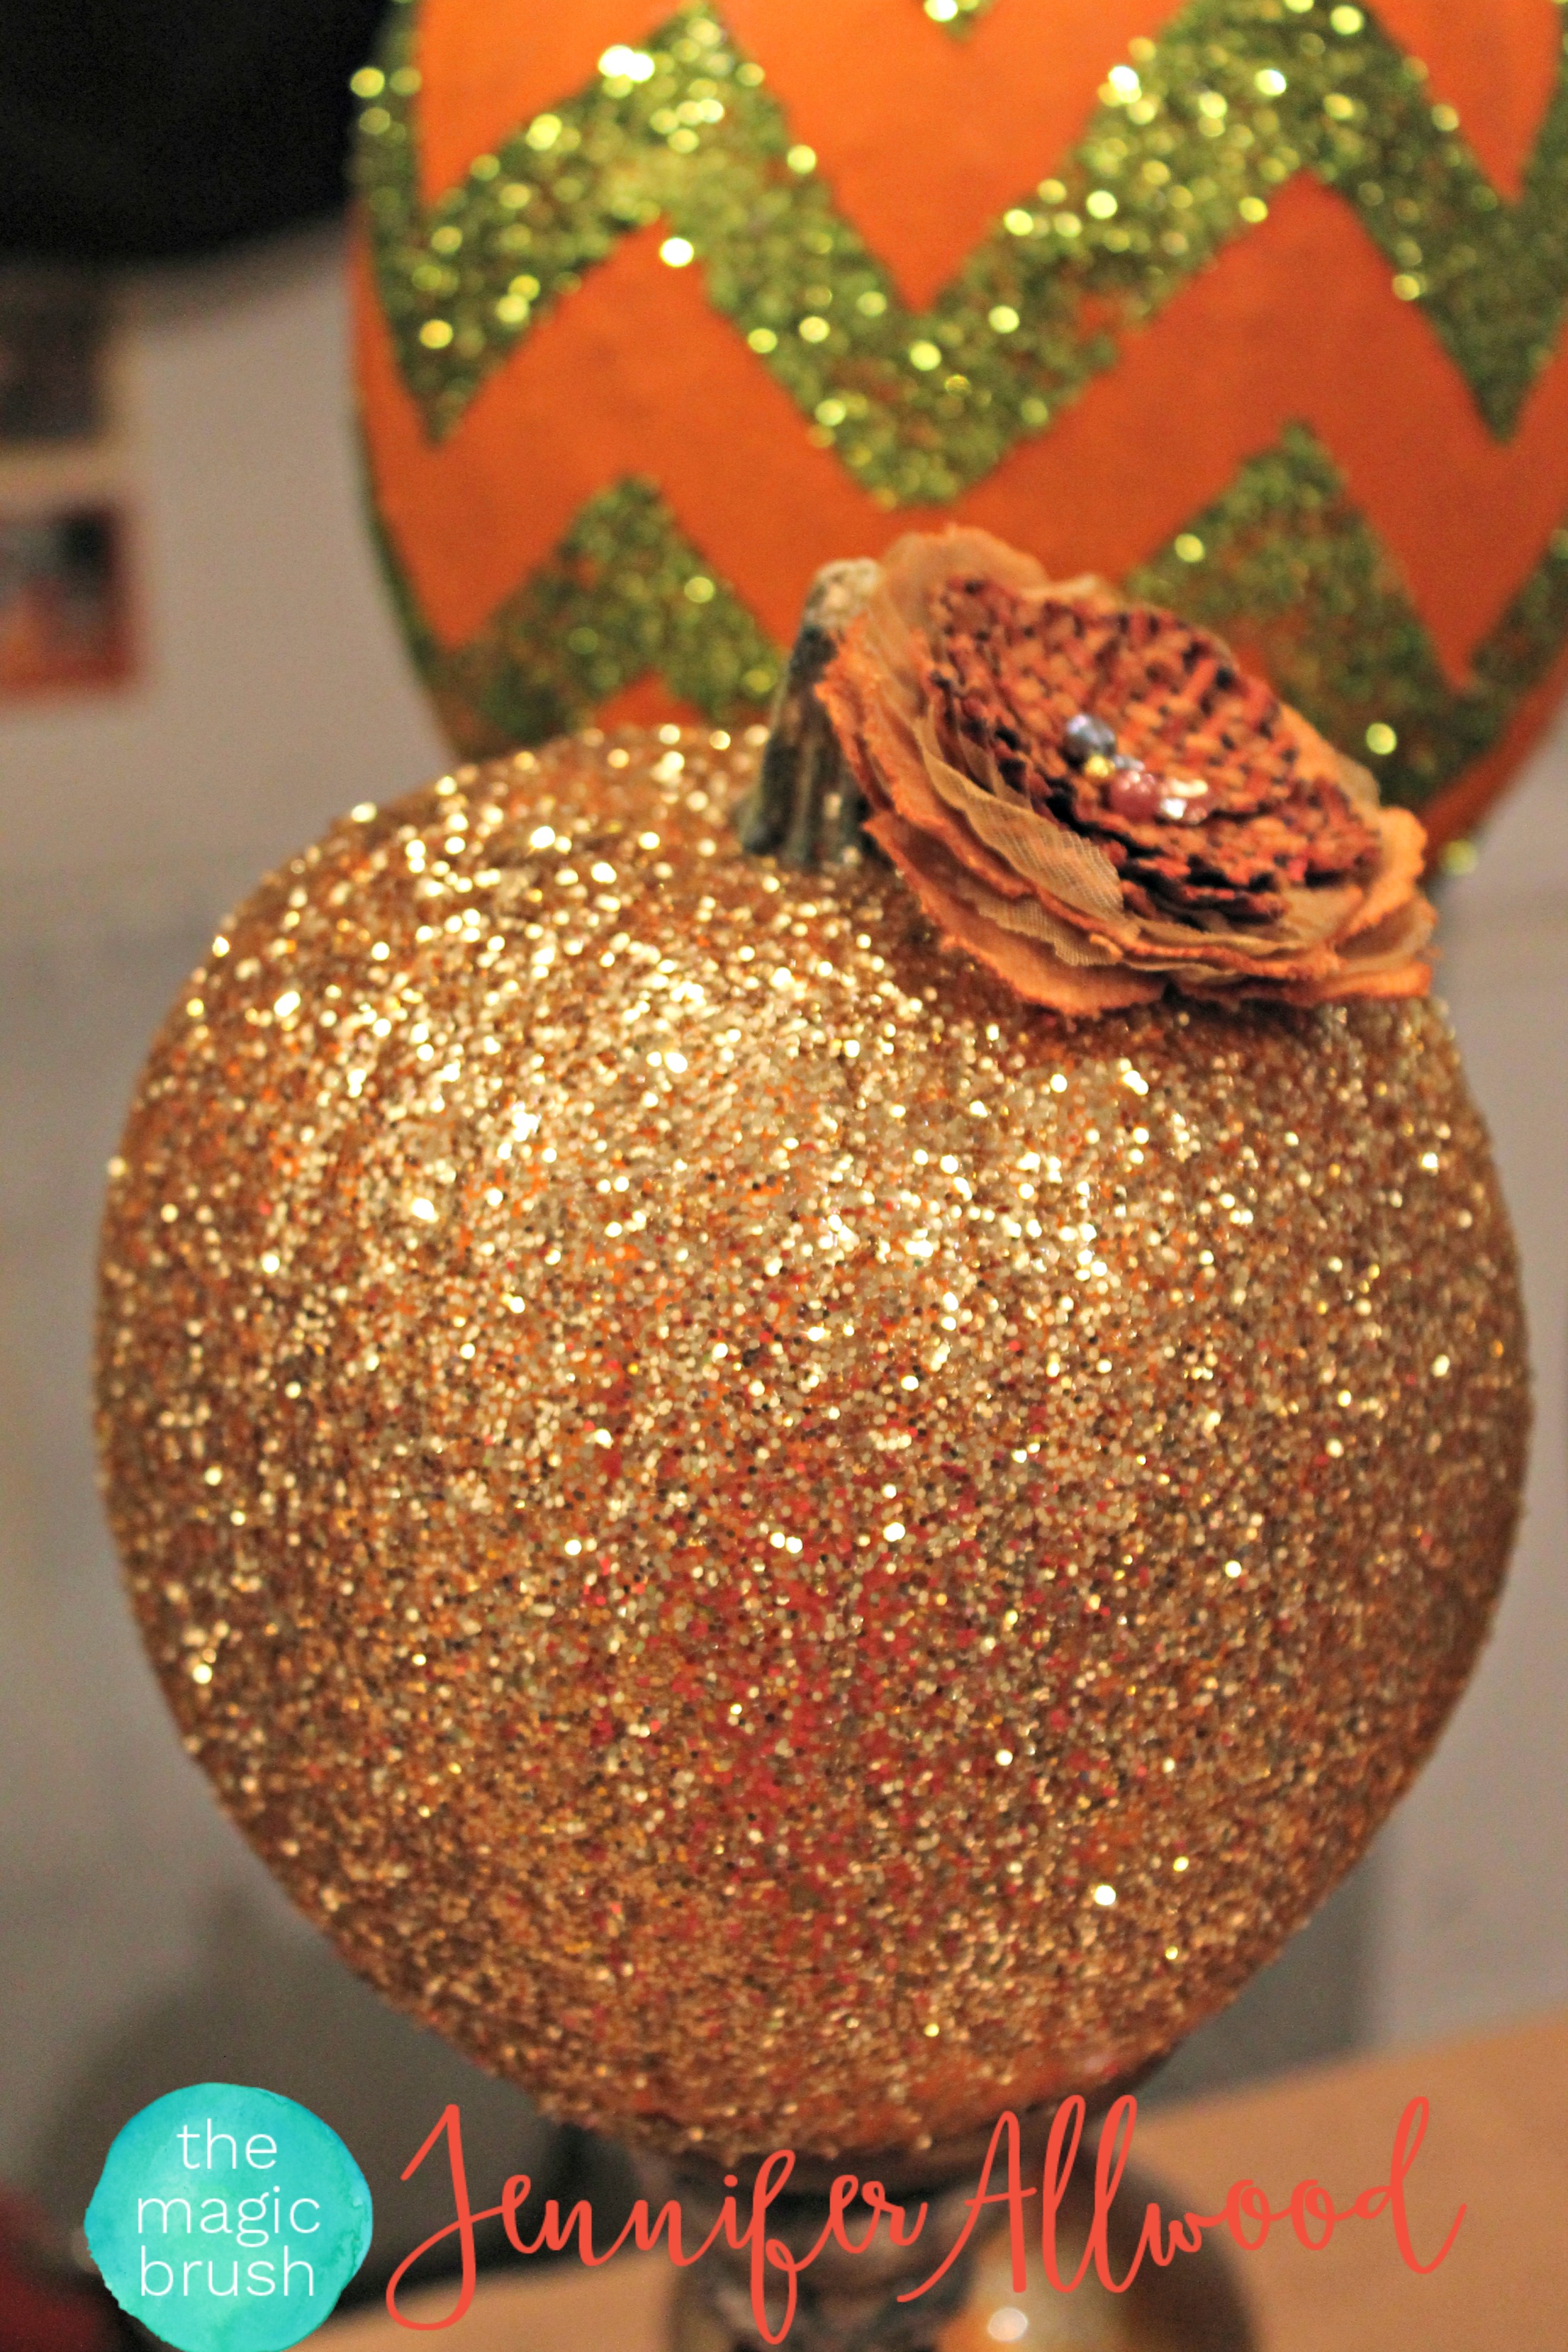
I also just like to put glittery pumpkins on candle holders and call it done like in this photo above. And if you are curious about the Chevron Glittered Pumpkin in the photo, those are fun to make too!
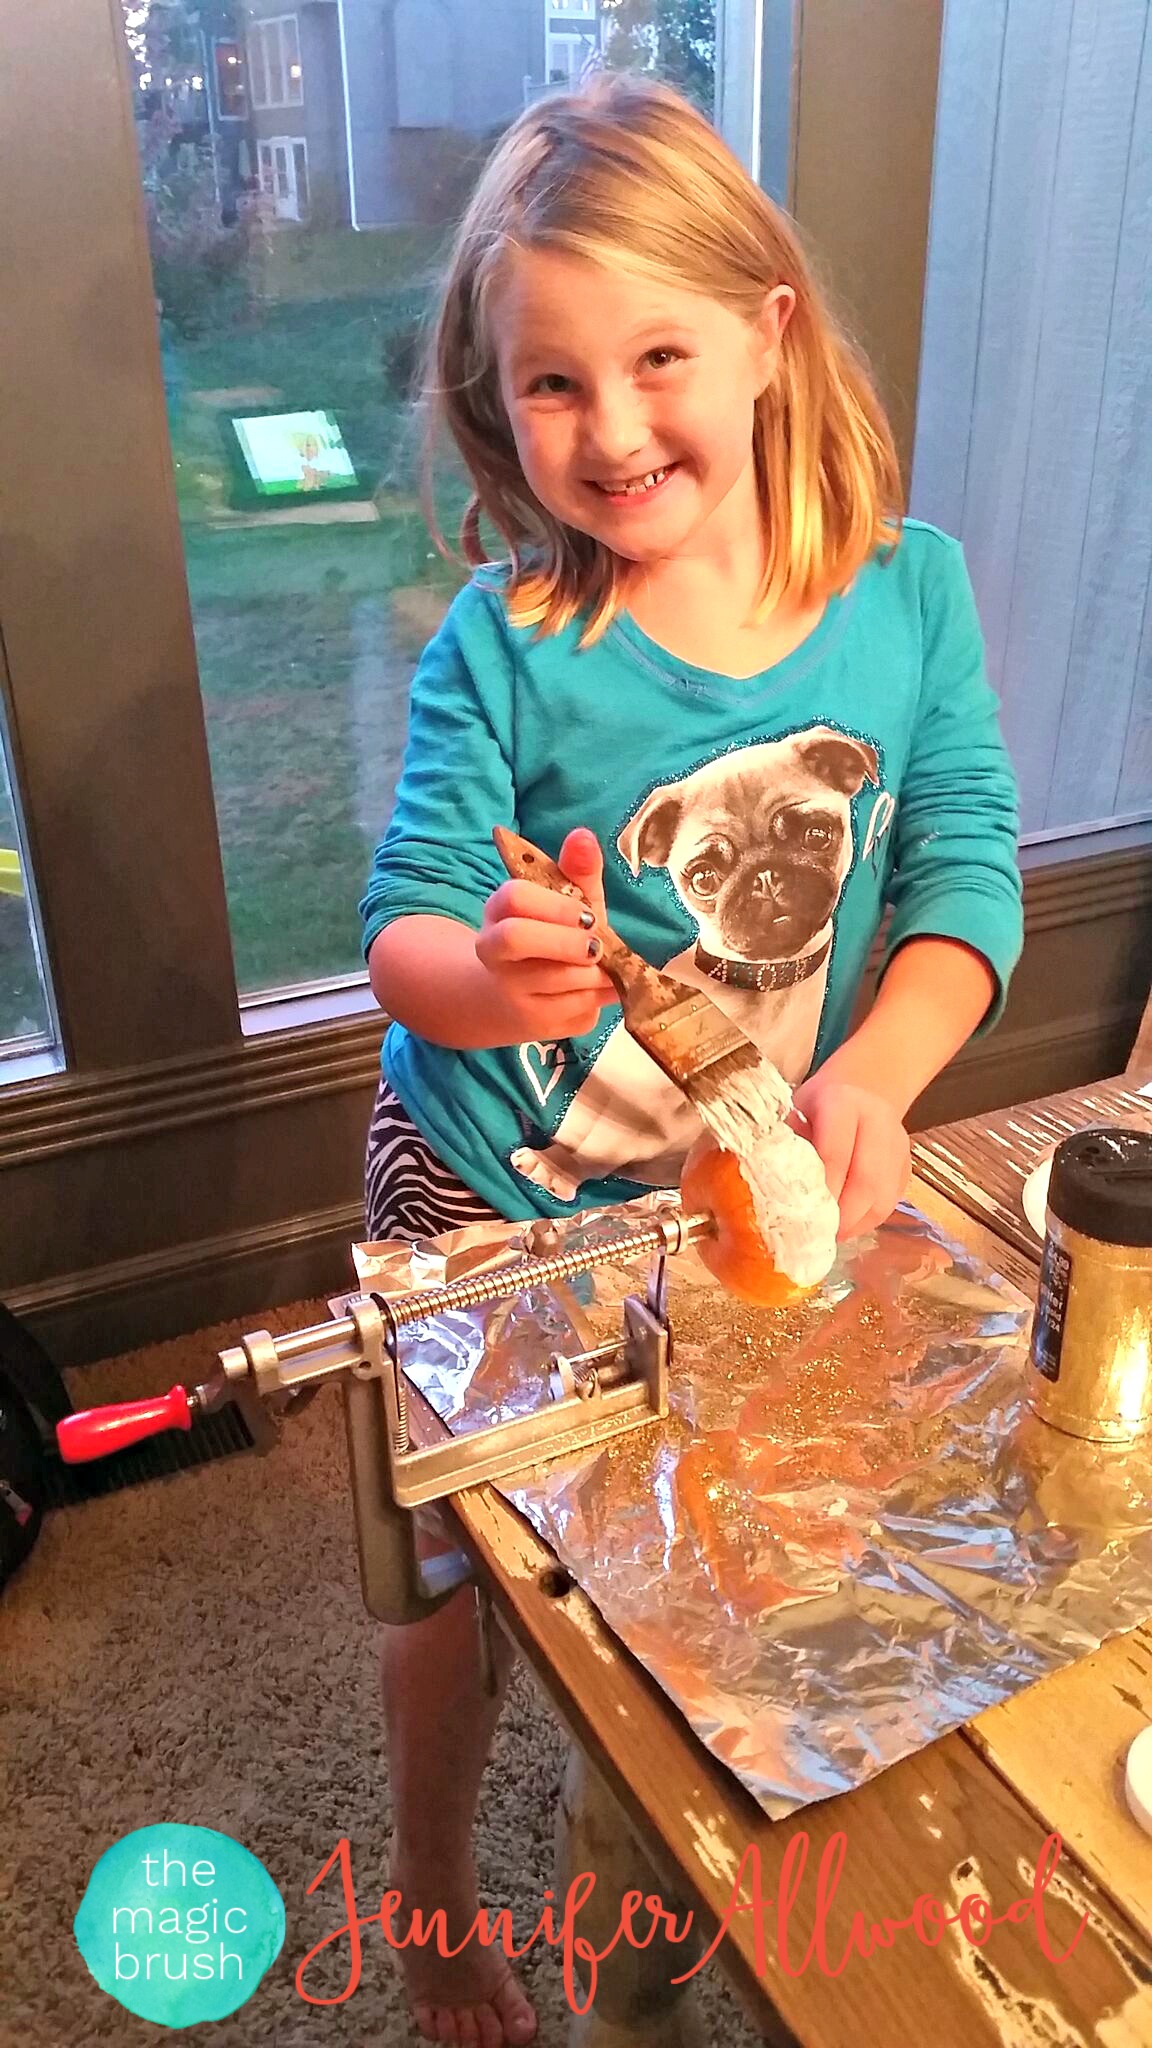
And, I have to tell you. I found ANOTHER way to glitter pumpkins quickly. Don’t throw things at me here…. but check out using a Pampered Chef peeler/corer/slicer gadget. This was semi- genius of me I think!!!!
Watch the FB video of me glittering pumpkins on the Pampered Chef thing here. This is a GREAT idea if you have a bunch of pumpkins to glitter quickly and one of those kitchen gadgets just collecting dust in a cabinet!
If you LOVE my glitter pumpkins, you’ll find more easy pumpkin decorating ideas here in my top 15 decorated pumpkins slide show! I also have some gorgeous fall porch decorating ideas using fun pumpkins, upcycled painted pallets and other goodies!
Also if you enjoyed this post, I would love it if you signed up for my weekly emails with the button below.
And finally, feel free to pin this post using this graphic so you always can always reference it in the future!

One Comment