
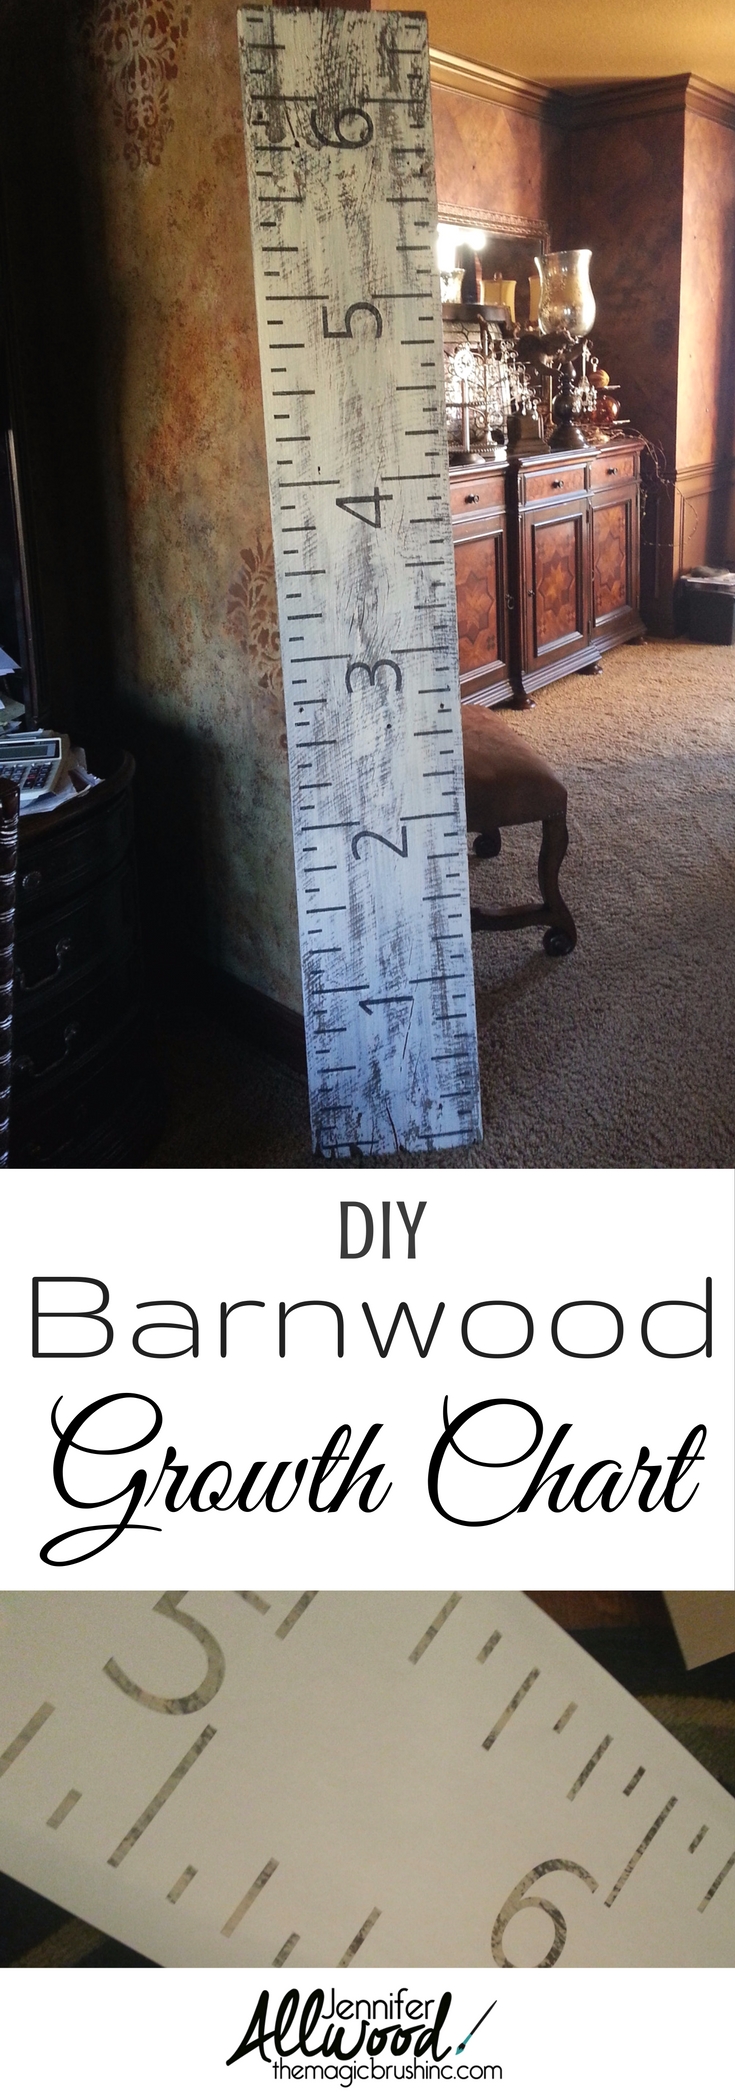
Every time I post a picture of the growth chart ruler that we made, I get tons of questions asking how to make them. It’s so, so easy that I’m not even sure it’s worth a blog post! But, I’m going to give you all the details so you can make your own growth chart!
This post contains affiliate links for your shopping convenience!

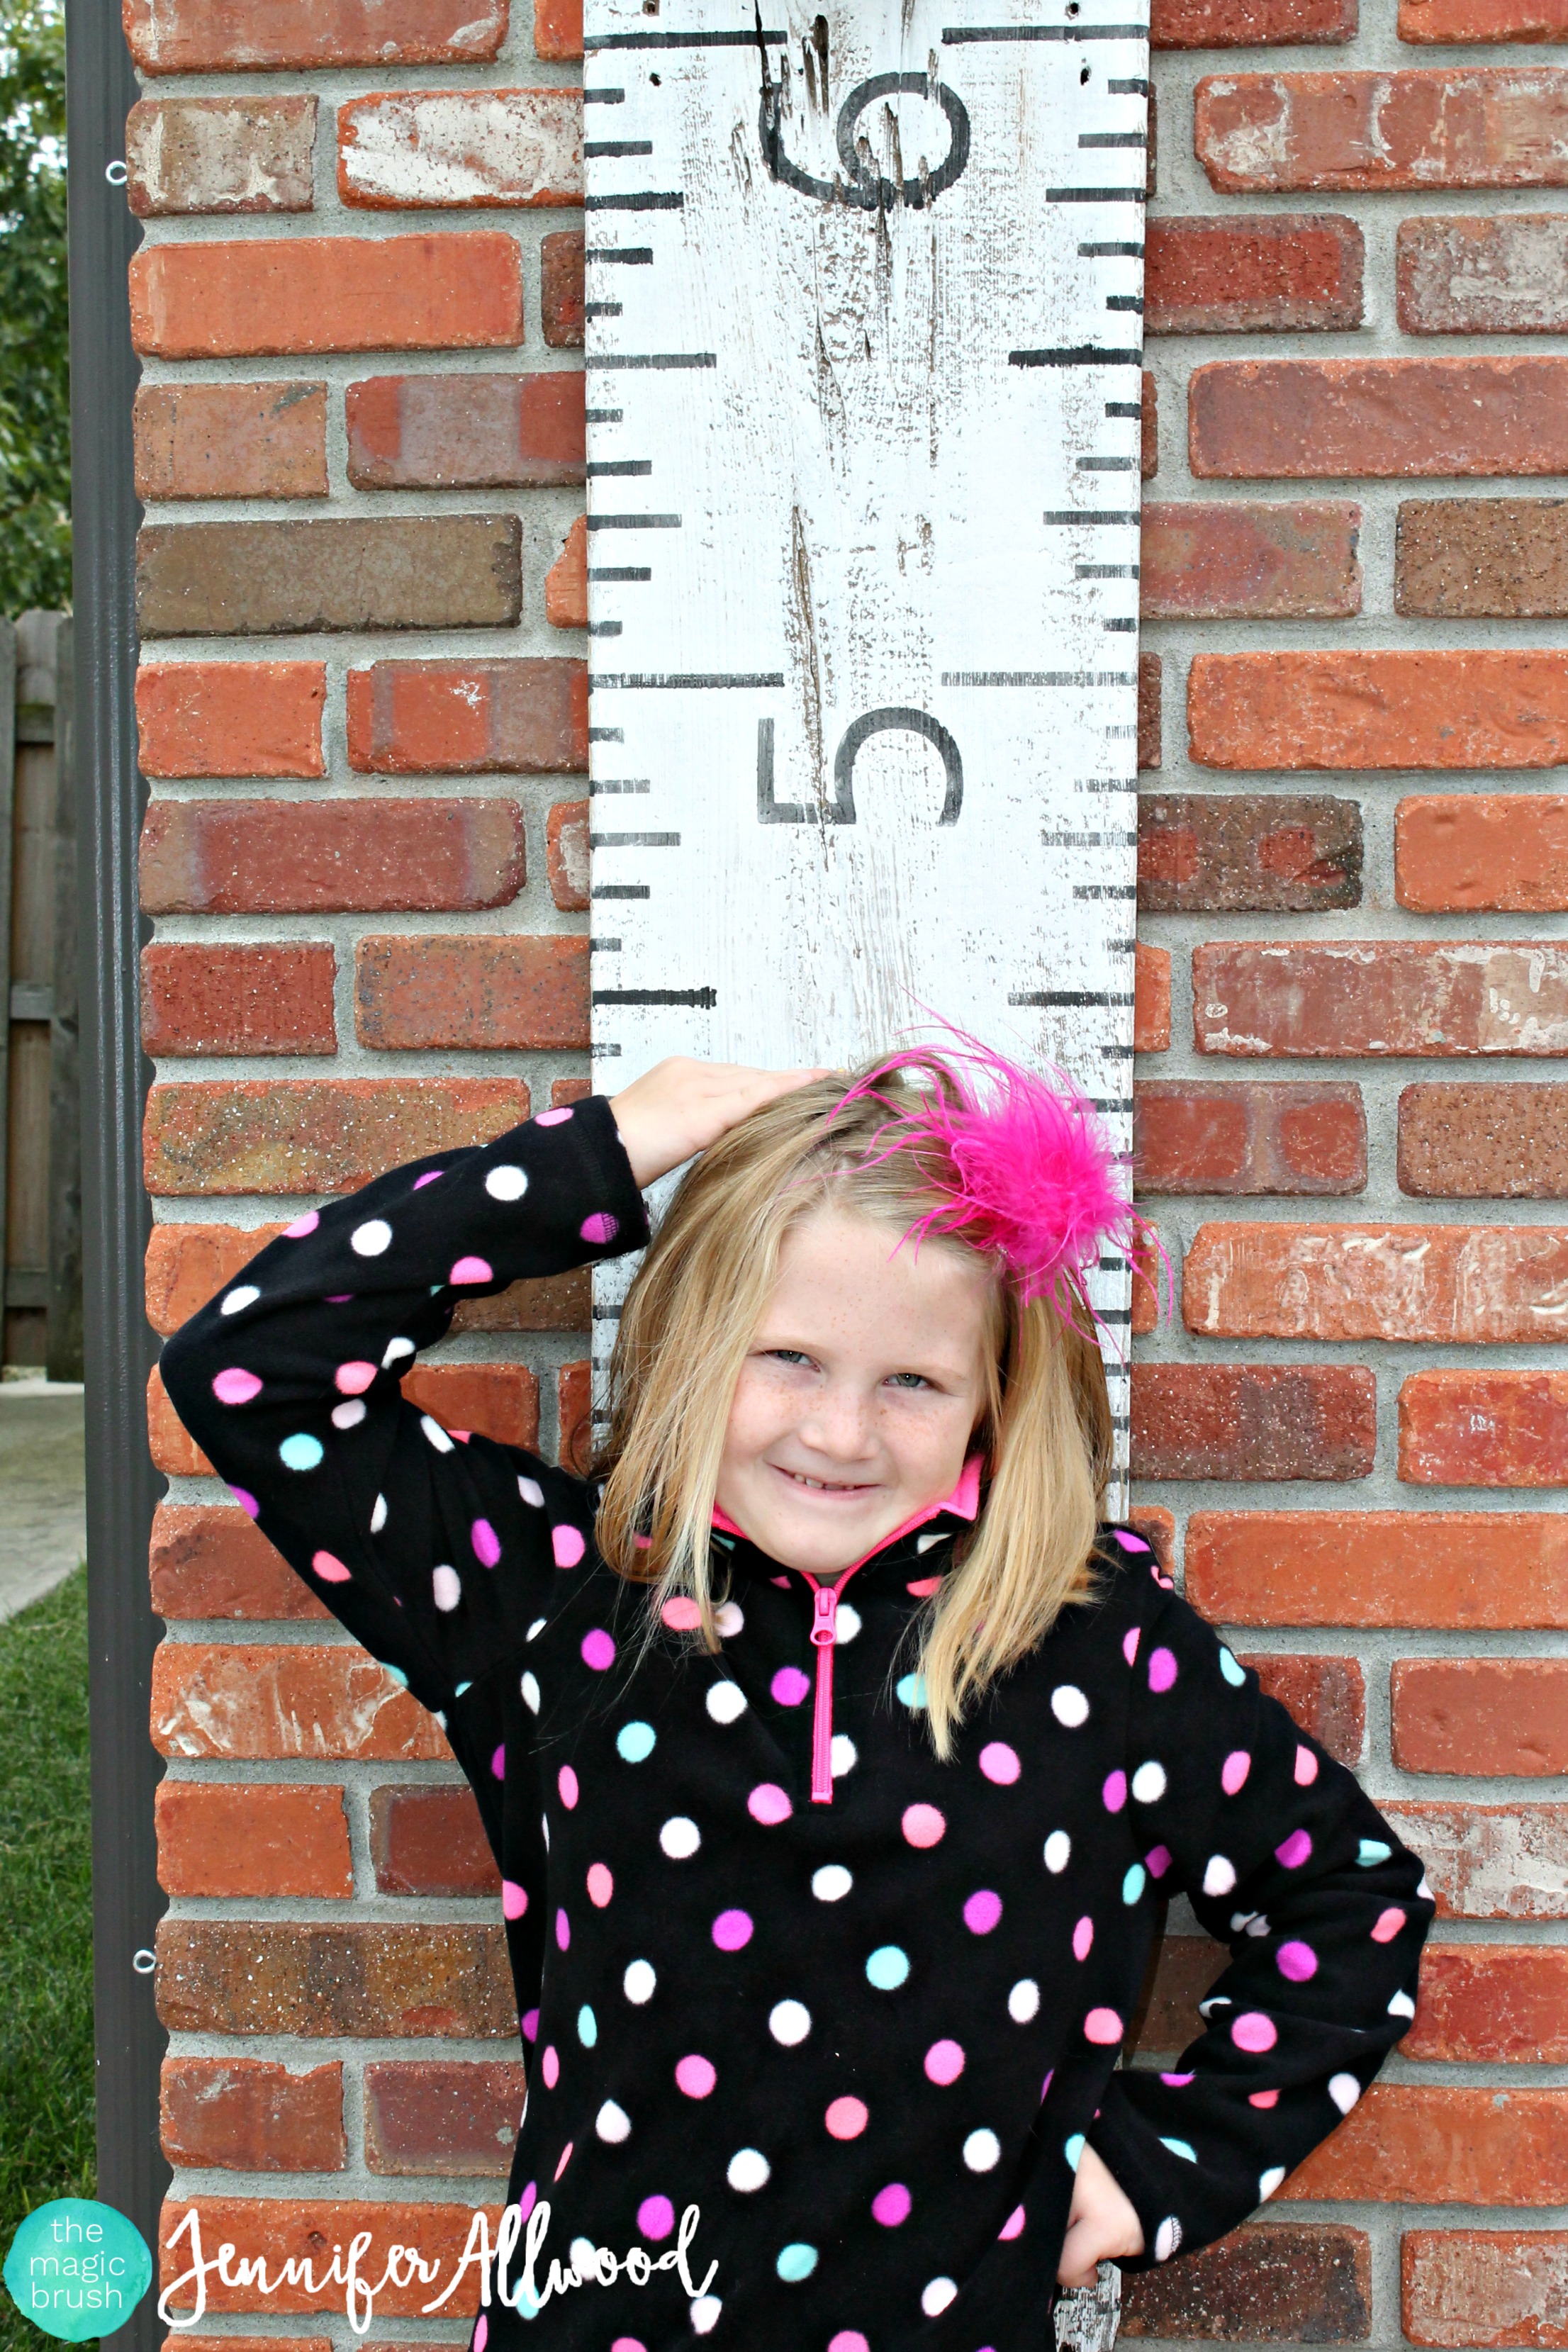
First and the hardest thing is to find a piece of barnwood. In Kansas City where we live, this is a hot commodity! Thankfully, one of my FB fans found me a bunch of wood from a barn being torn down, so I have the hookup for several projects. You will want to make sure your wood is long enough that it is taller than the height of your kiddo. LOL. In other words, don’t use a 3-foot long piece. Your toddler will quickly outgrow that growth chart!

After finding the wood, you need to order the growth stencil from The Mad Stencilist. I have ordered my word stencils and custom stencils from them for years and years. If you call them, just tell them its the growth chart that The Magic Brush has ordered and they will take good care of you! You only need to order the stencil to the length of your wood, but it may be cheaper to just use the one I have gotten and cut the excess off if it’s too long. Also, be sure that your barnwood is the right width for my stencil, or you may need to adjust the size. Regardless, The Mad Stencilist are good peeps and I LOVE their stencils. They are sticky backed and one time use only, so keep that in mind when ordering.
While you are waiting for your stencil to be mailed to you, you can make sure the background of the wood is painted the color you are wanting. Because the wood is distressed and the project isn’t supposed to be perfect, I would dry brush the wood. If you need any advice on dry brushing….watch my video here.
I used Heirloom Tradition’s French Vanilla chalk-type paint on this growth chart ruler. I really recommend investing in a good chalk-type brush and I love this tapered oval fiber brush by Heirloom Traditions.
When your stencil comes….you will need to keep in mind how you are going to hang your ruler on the wall? Will it be all the way to the floor? Or do you want to start the stencil a bit up from the bottom?

Follow the directions on the stencil…. especially if you have not used a one-time use only, sticky stencil before. And do the numbers and tick marks in a darker color so that they show up. If you have a multiple use stencil, use 3M’s 77 spray as adhesive to stick the stencil to the board to make the stenciling easier and keep the stencil in place with no bleeding. You can get that spray at Jo-Ann’s/Home Depot/Lowe’s type stores.


Add hanging hardware to the back and you are set!
I hope that answers many of your questions for making your own growth chart. If you end up making one of these cute rulers…. email me pictures!

Happy painting,
Jennifer
If you are looking for more fun DIY painting projects, please see my TOP blog posts here. I have a couple other painted barnwood signs including this fall Harvest one, my Be Royal baseball one, my Christmas Joy sign and O’Come Let us Adore HIM sign. Plus you can find more stencil tips in this previous post here.
I also made a FREE video with 10 things you can do to update your home before dinner, which includes a few simple painting projects to improve your living spaces!
For more painted barnwood signs follow my Signs Pinterest board. Please pin my growth chart ruler!
Do you have Julian-ceiling stencil item 40 ?
if you were going to put a clear finish on it to protect if you used wood from lowes for example. what would you use that would also allow you to continue to write on it?