At first attempt, the stencil from Melanie Royals seemed like it was a winner winner chicken dinner!!!
The walls were base painted in a flat sheen and we were using a Water Based Polyacylic for the chevron (and there was our mistake).

But then near the center of the room, things started getting a little wonky. If you get the pattern off just a little, then you have to shift and fudge and adjust accordingly. Jeri, thank goodness, is a master at this….so no one will ever tell where it may have gotten off.
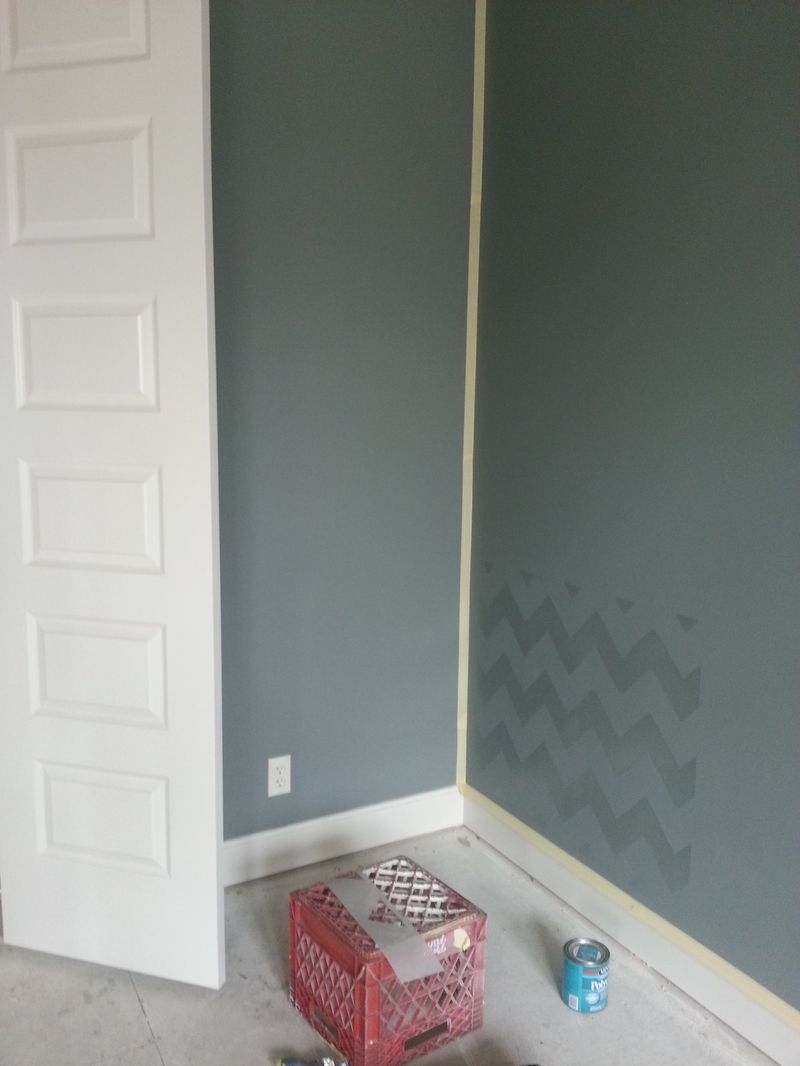
Our biggest problem was here:

Because we were using a high gloss poly for the chevron….Jeri would paint in the little triangles and then when we would shift the stencil over, she would have to paint that triangle even bigger. Well, because the poly was high gloss….you could see every stop and start line in her application. You could see the “touch ups”. You could see the overlapping of clear coat.
Grrrrrrrrrr……….
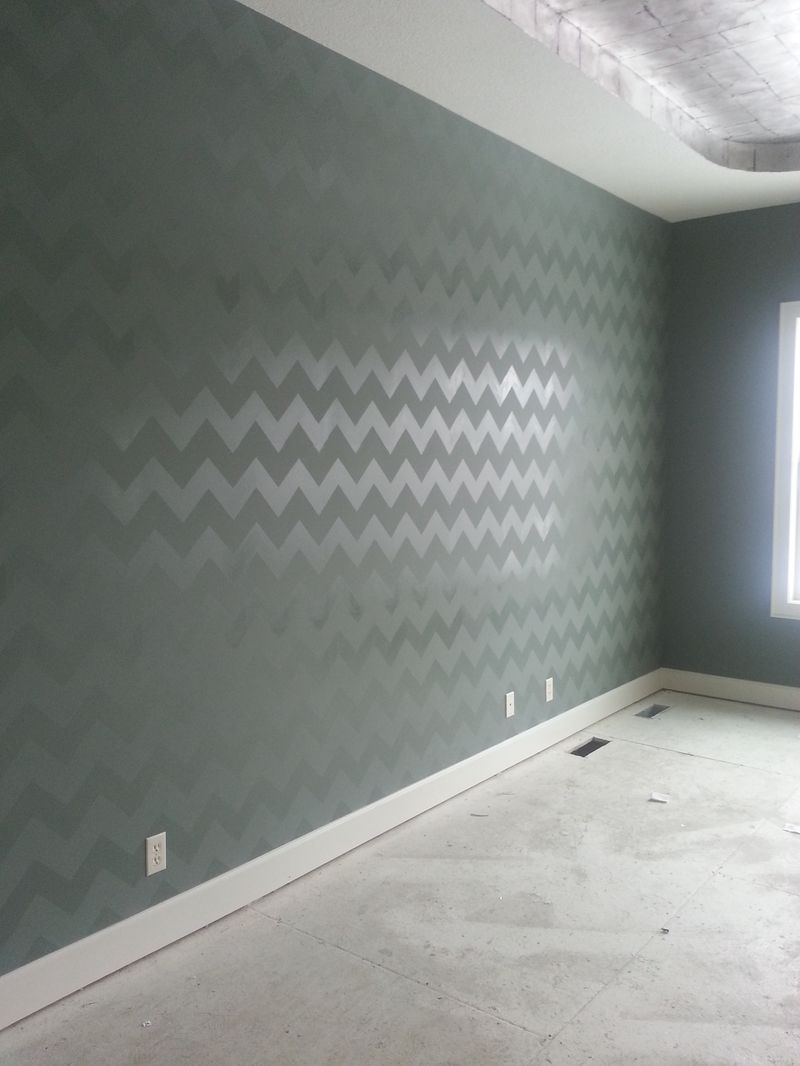
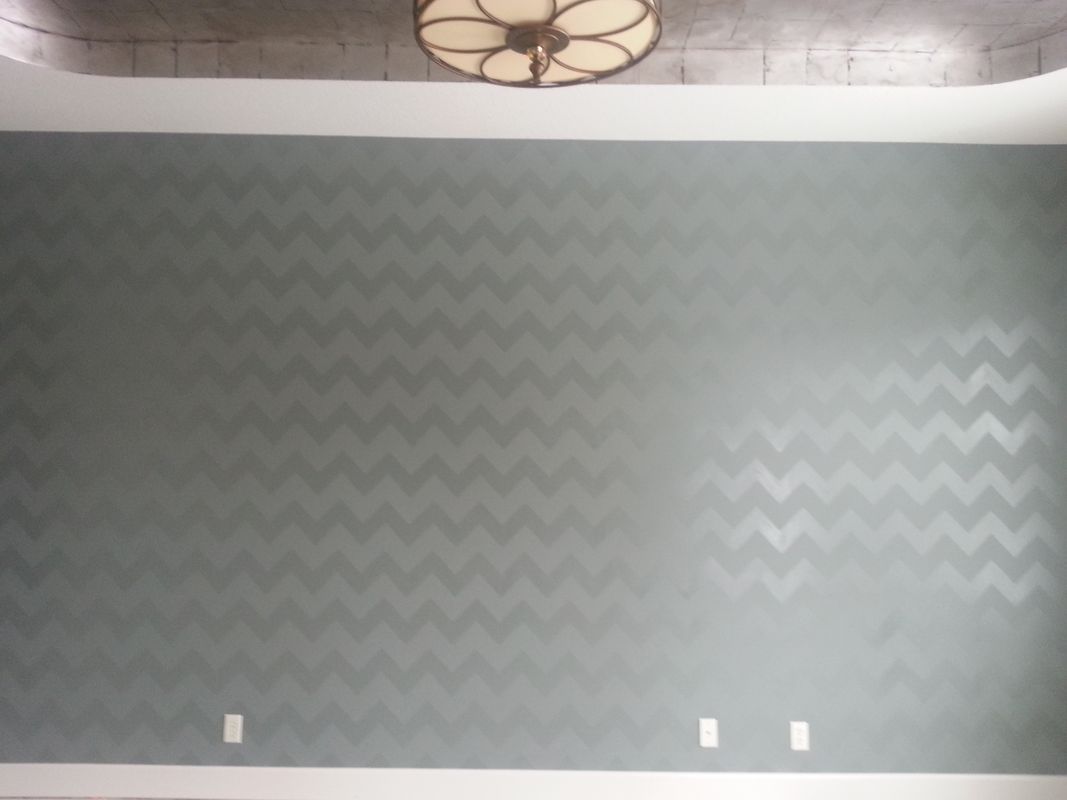
As you can see from this pic, the windows are putting a HUGE glare on one section of the wall and that’s the only section that the clear coat was really giving us fits.
In retrospect, we would base paint the walls in a HIGH GLOSS BASE COLOR first. Then we would still use the chevron stencil with flat paint in the same color. Skip the clear coat. Trust me on this.
Poor Jeri had to re-poly a bunch of the chevron by hand.
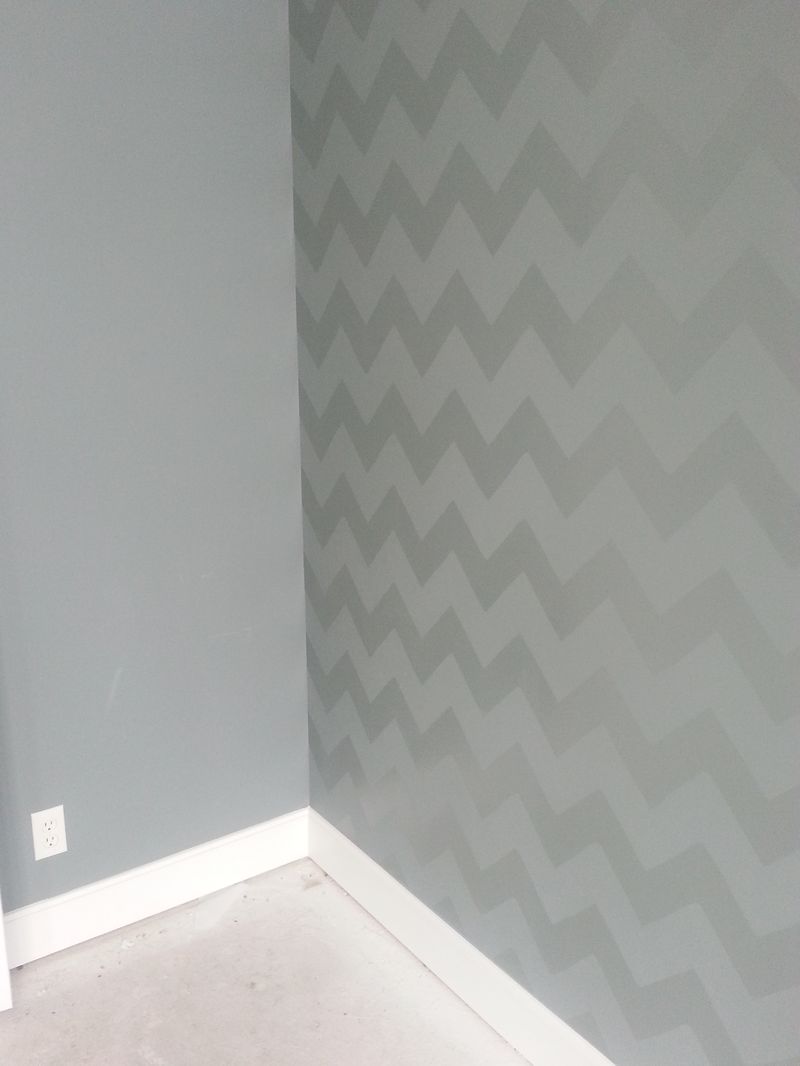
But now it is PERFECT!!!!
And the other rooms in the house look amazing as well!
And we can’t wait the house to be on the parade.
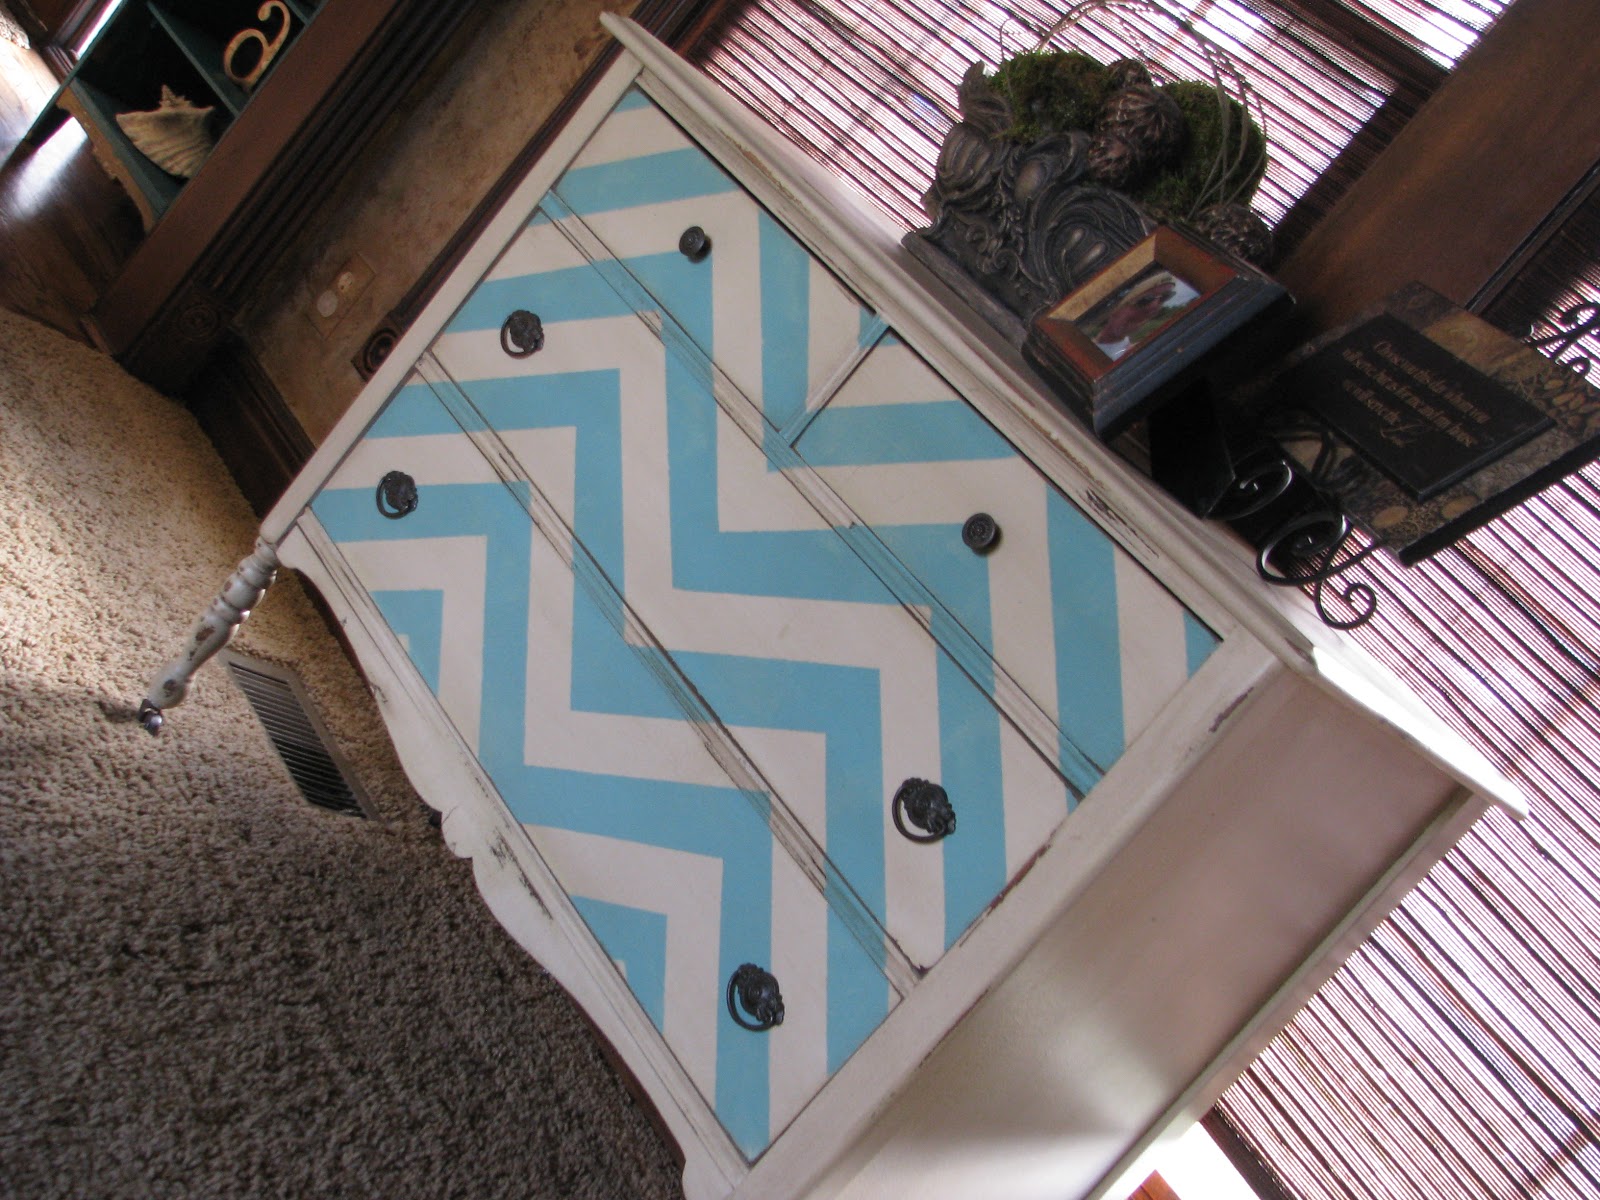
And we couldn’t wait to be done with this project so we could go home and make these:


I know you hated this process but I’m so glad you posted it because I’m doing a chevron wall for my daughter next week. Was going to you tube and even thought about stencils too. So THANK YOU!
Again, love this wall. Again, the bathing suit was hot. LOL xo
you have inspired me to do this to our spare bedroom! I love anything chevron! Can you tell me the color of grey you used here? Also, you said to paint the base wall in the high gloss and then do the stencil in the flat paint, correct??
Thank You!!