Ahhhhhh stripes. The classic, timeless pattern that goes anywhere, anytime. Often in my business right now, we are painting chevron or polka dots or damask, but stripes will always, always be fashionable!
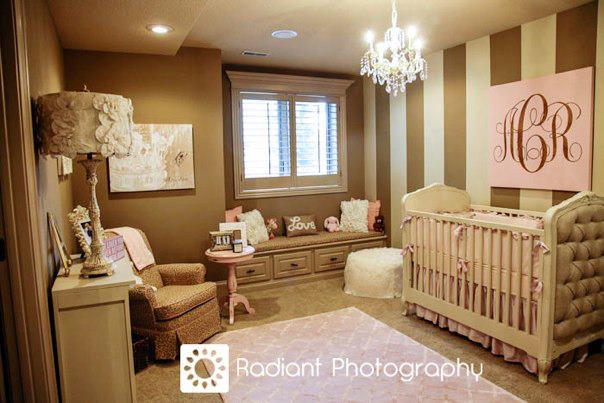
The picture above is my friend Ashley’s baby girl nursery. Her daddy painted the stripes and I painted that monogrammed canvas….and that room is simply stunning. The colors are gorgeous, the stripe width is perfect and classic and easy on the eyes! Gorgeous!
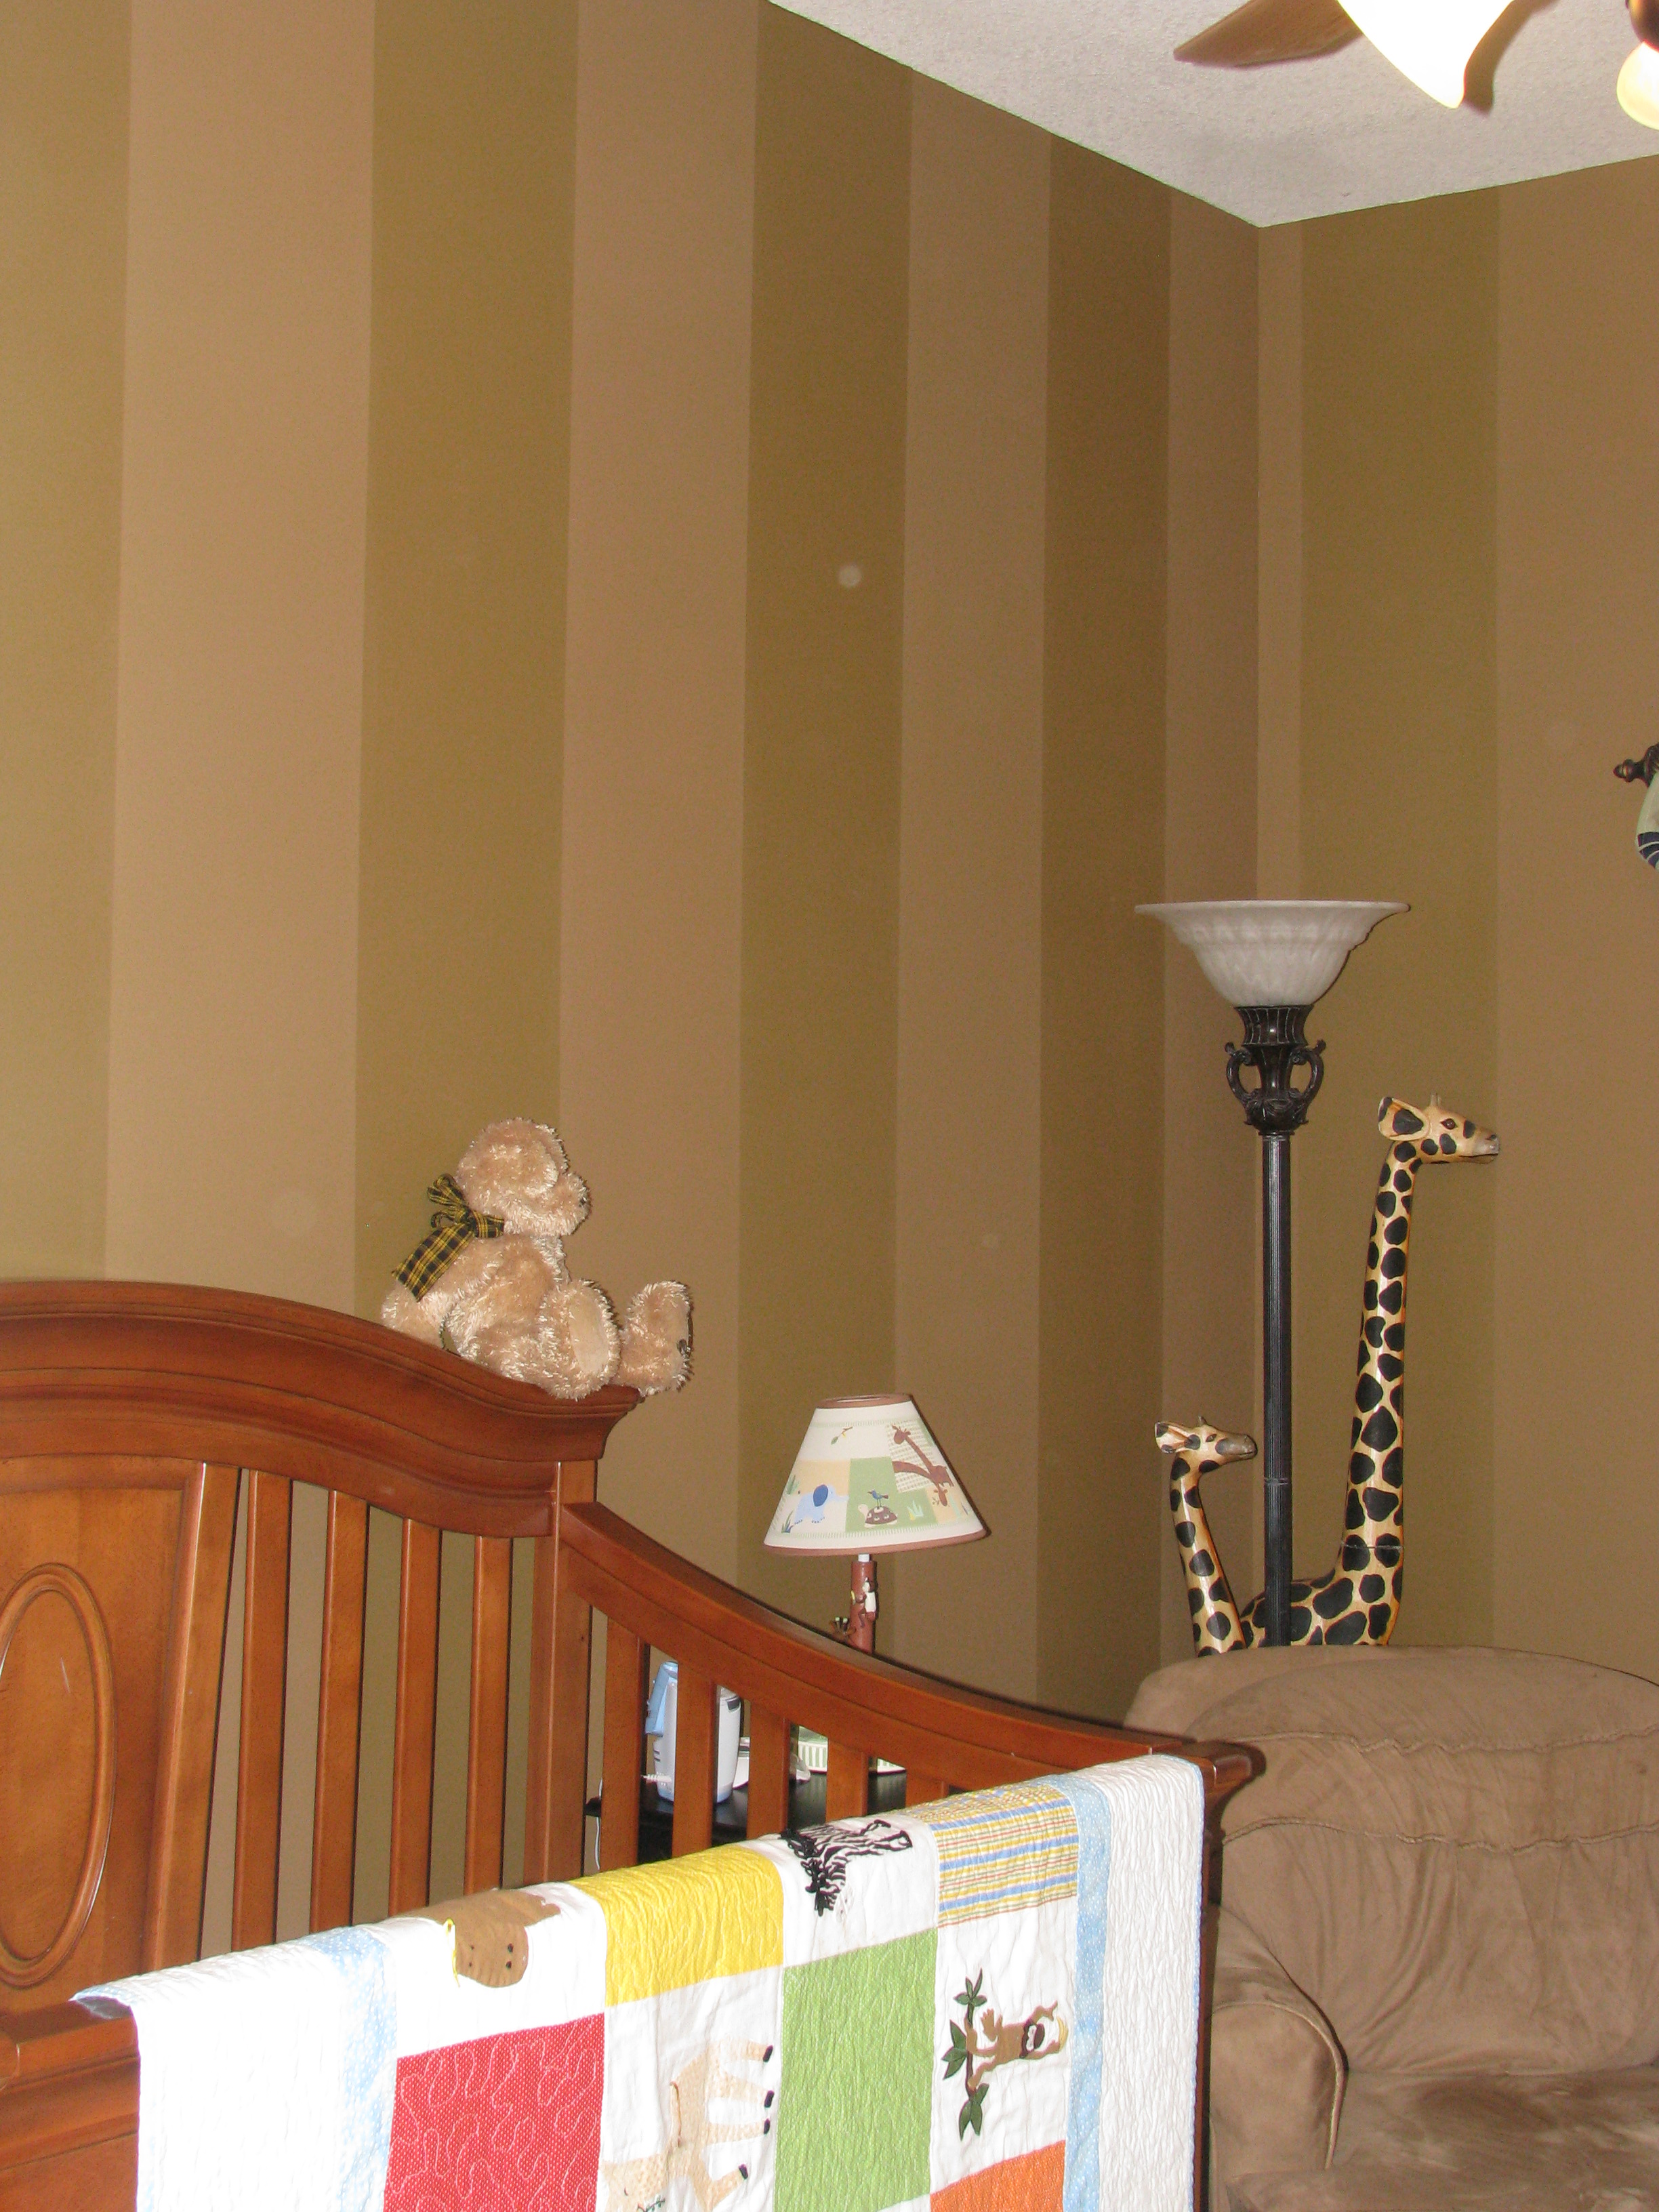
We’ve also painted stripes in several little boy rooms…..like this one. And they are equally fun.
There are also several other ways of using stripes that I wanted to inspire you with.

This is what I call our “Pottery Barn” racetrack stripes. “Racetrack” because they go around the room horizontally instead of vertically. And in this room, we did it at eye height.
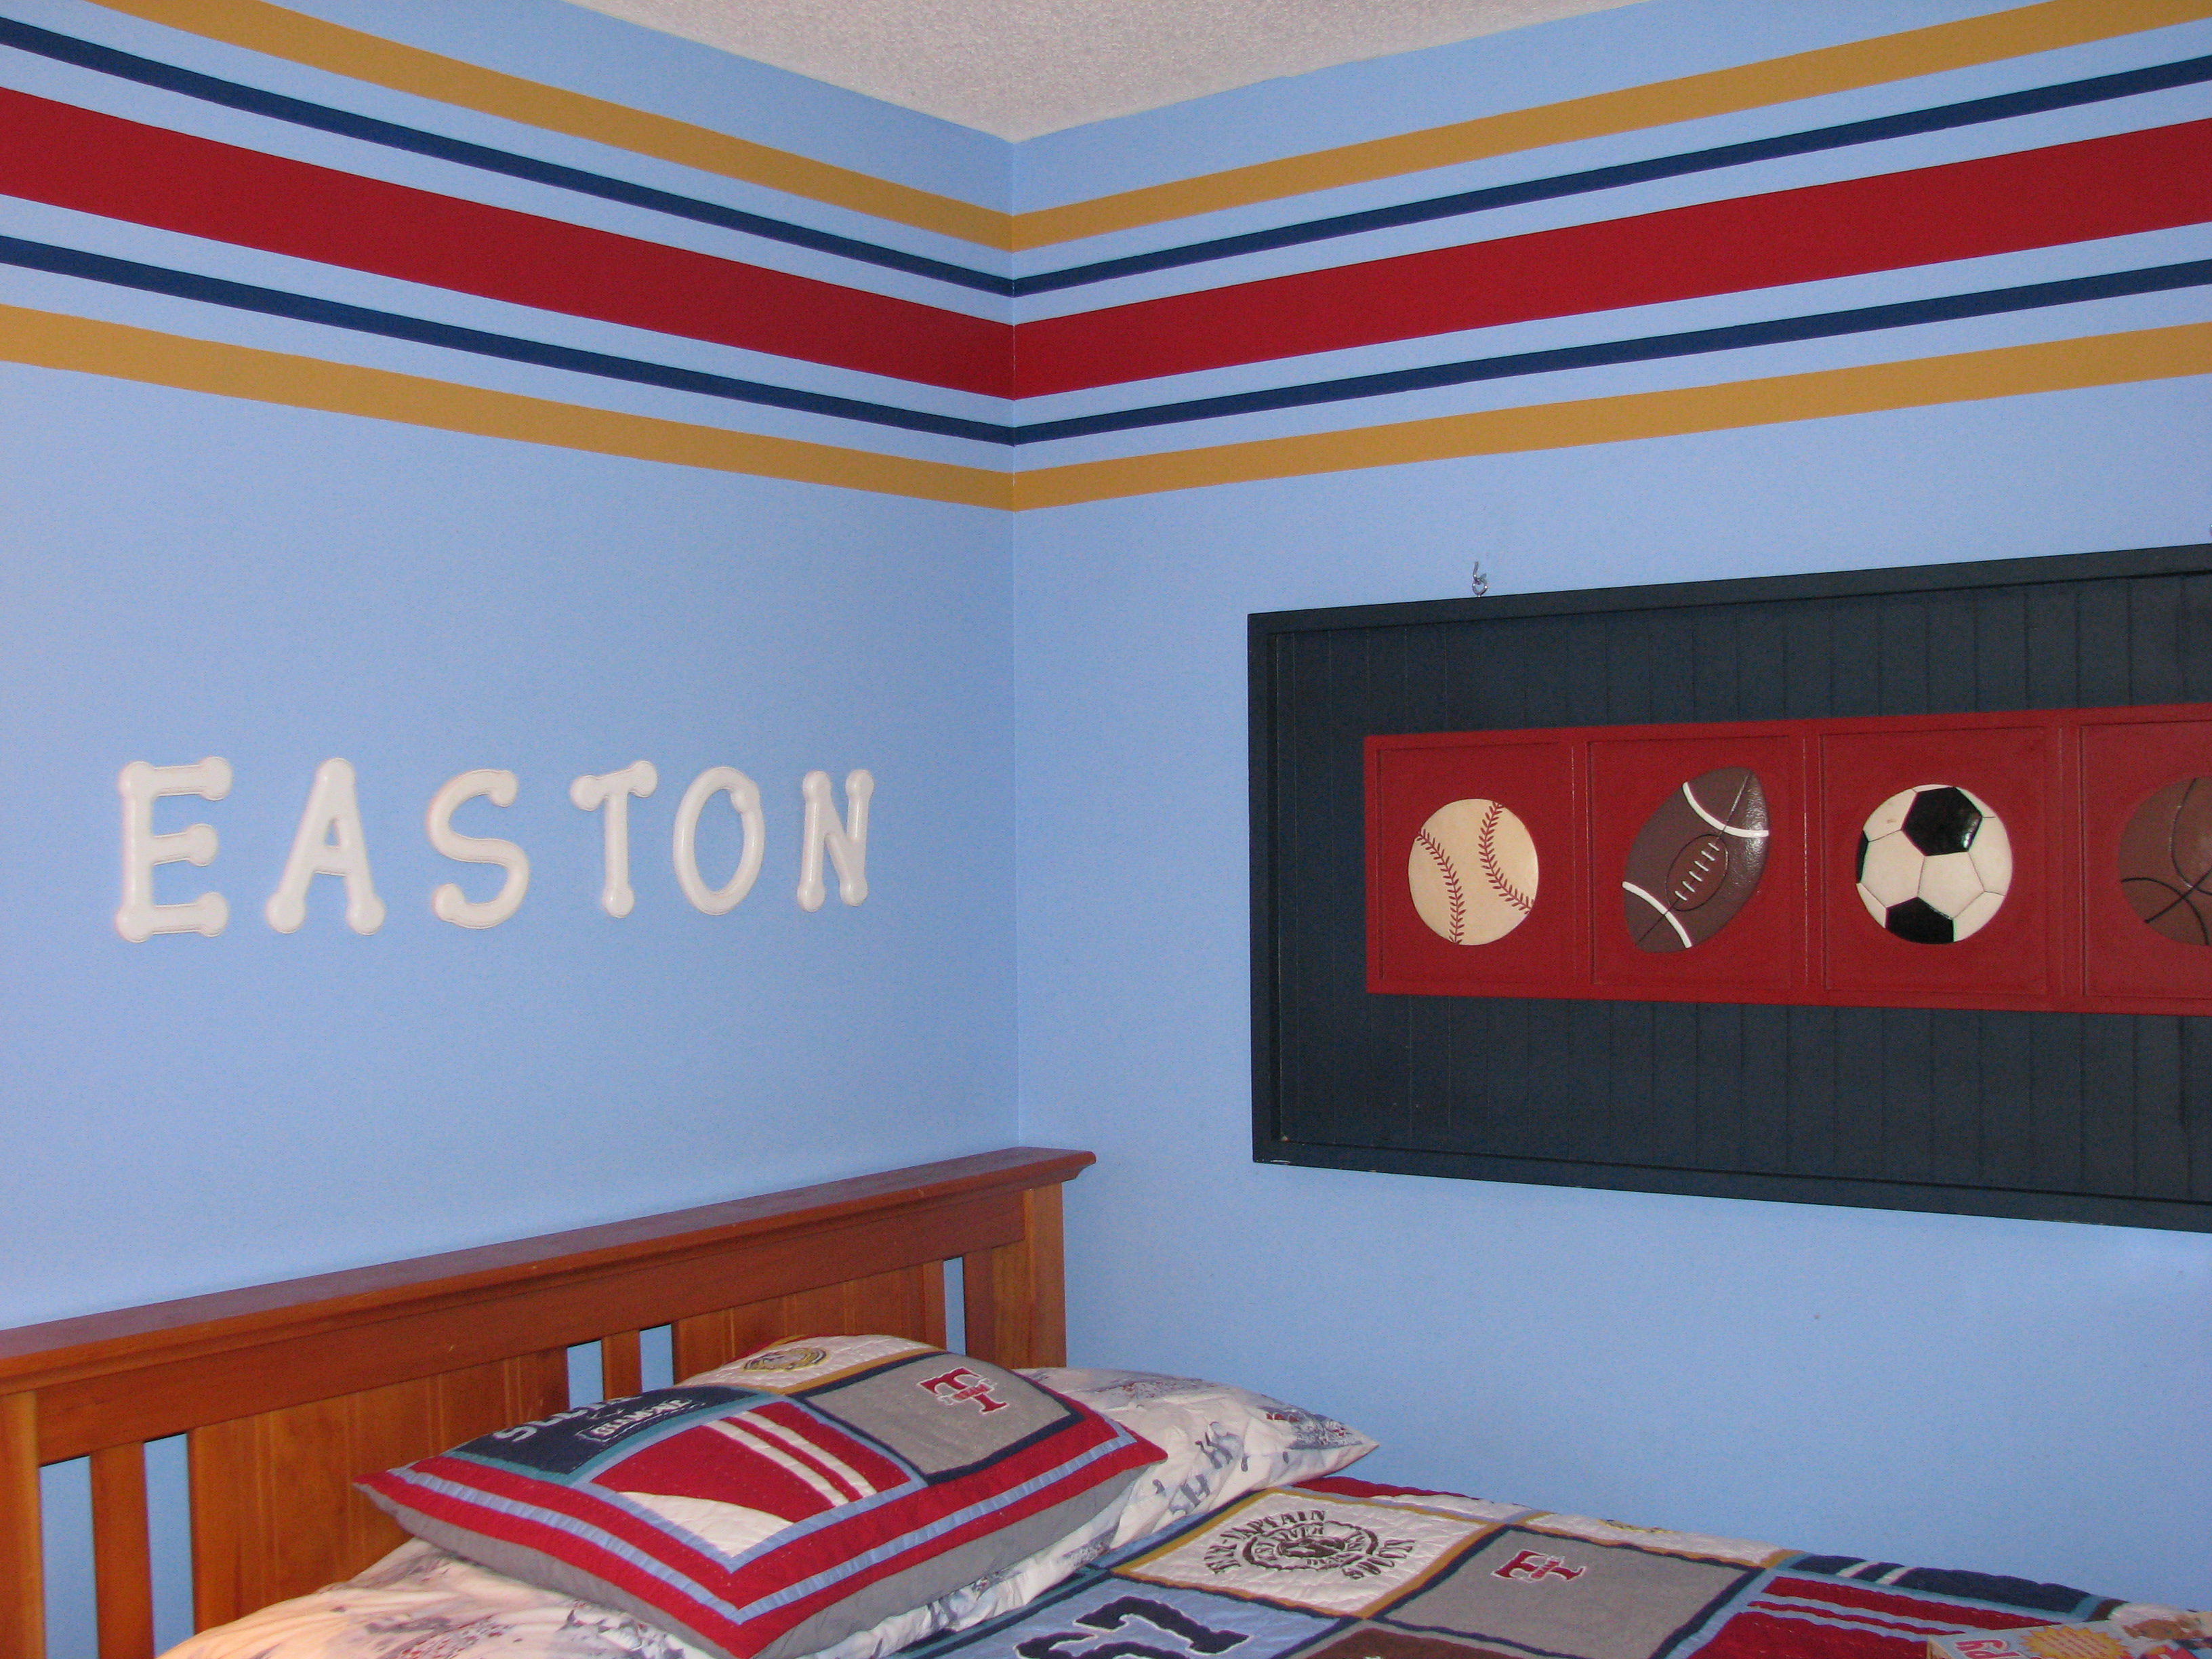
This is my son Easton’s room with even a few more stripes and colors at the top of the room instead of at the center. I love, love his room!
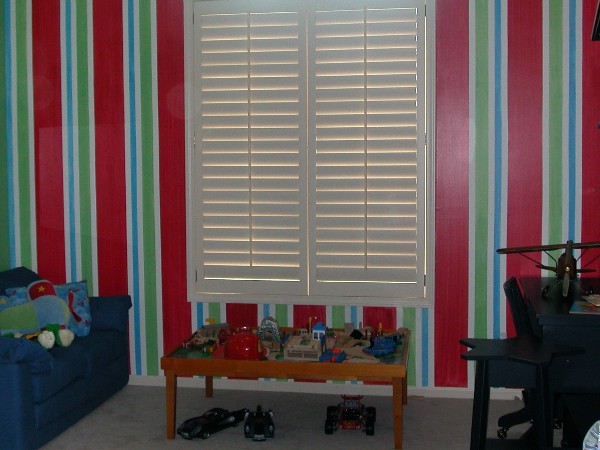
This striped focal wall in a twin boy bedroom was a taping NIGHTMARE…..but so worth is. This is my best, best striping tip for alternating sized stripes. The “dead space” or the stripes that are the base color are made by using 1 inch wide tape, or 2 inch wide tape….and then painting on either side of it. Does that make sense? I may need to make a video out of that tip.
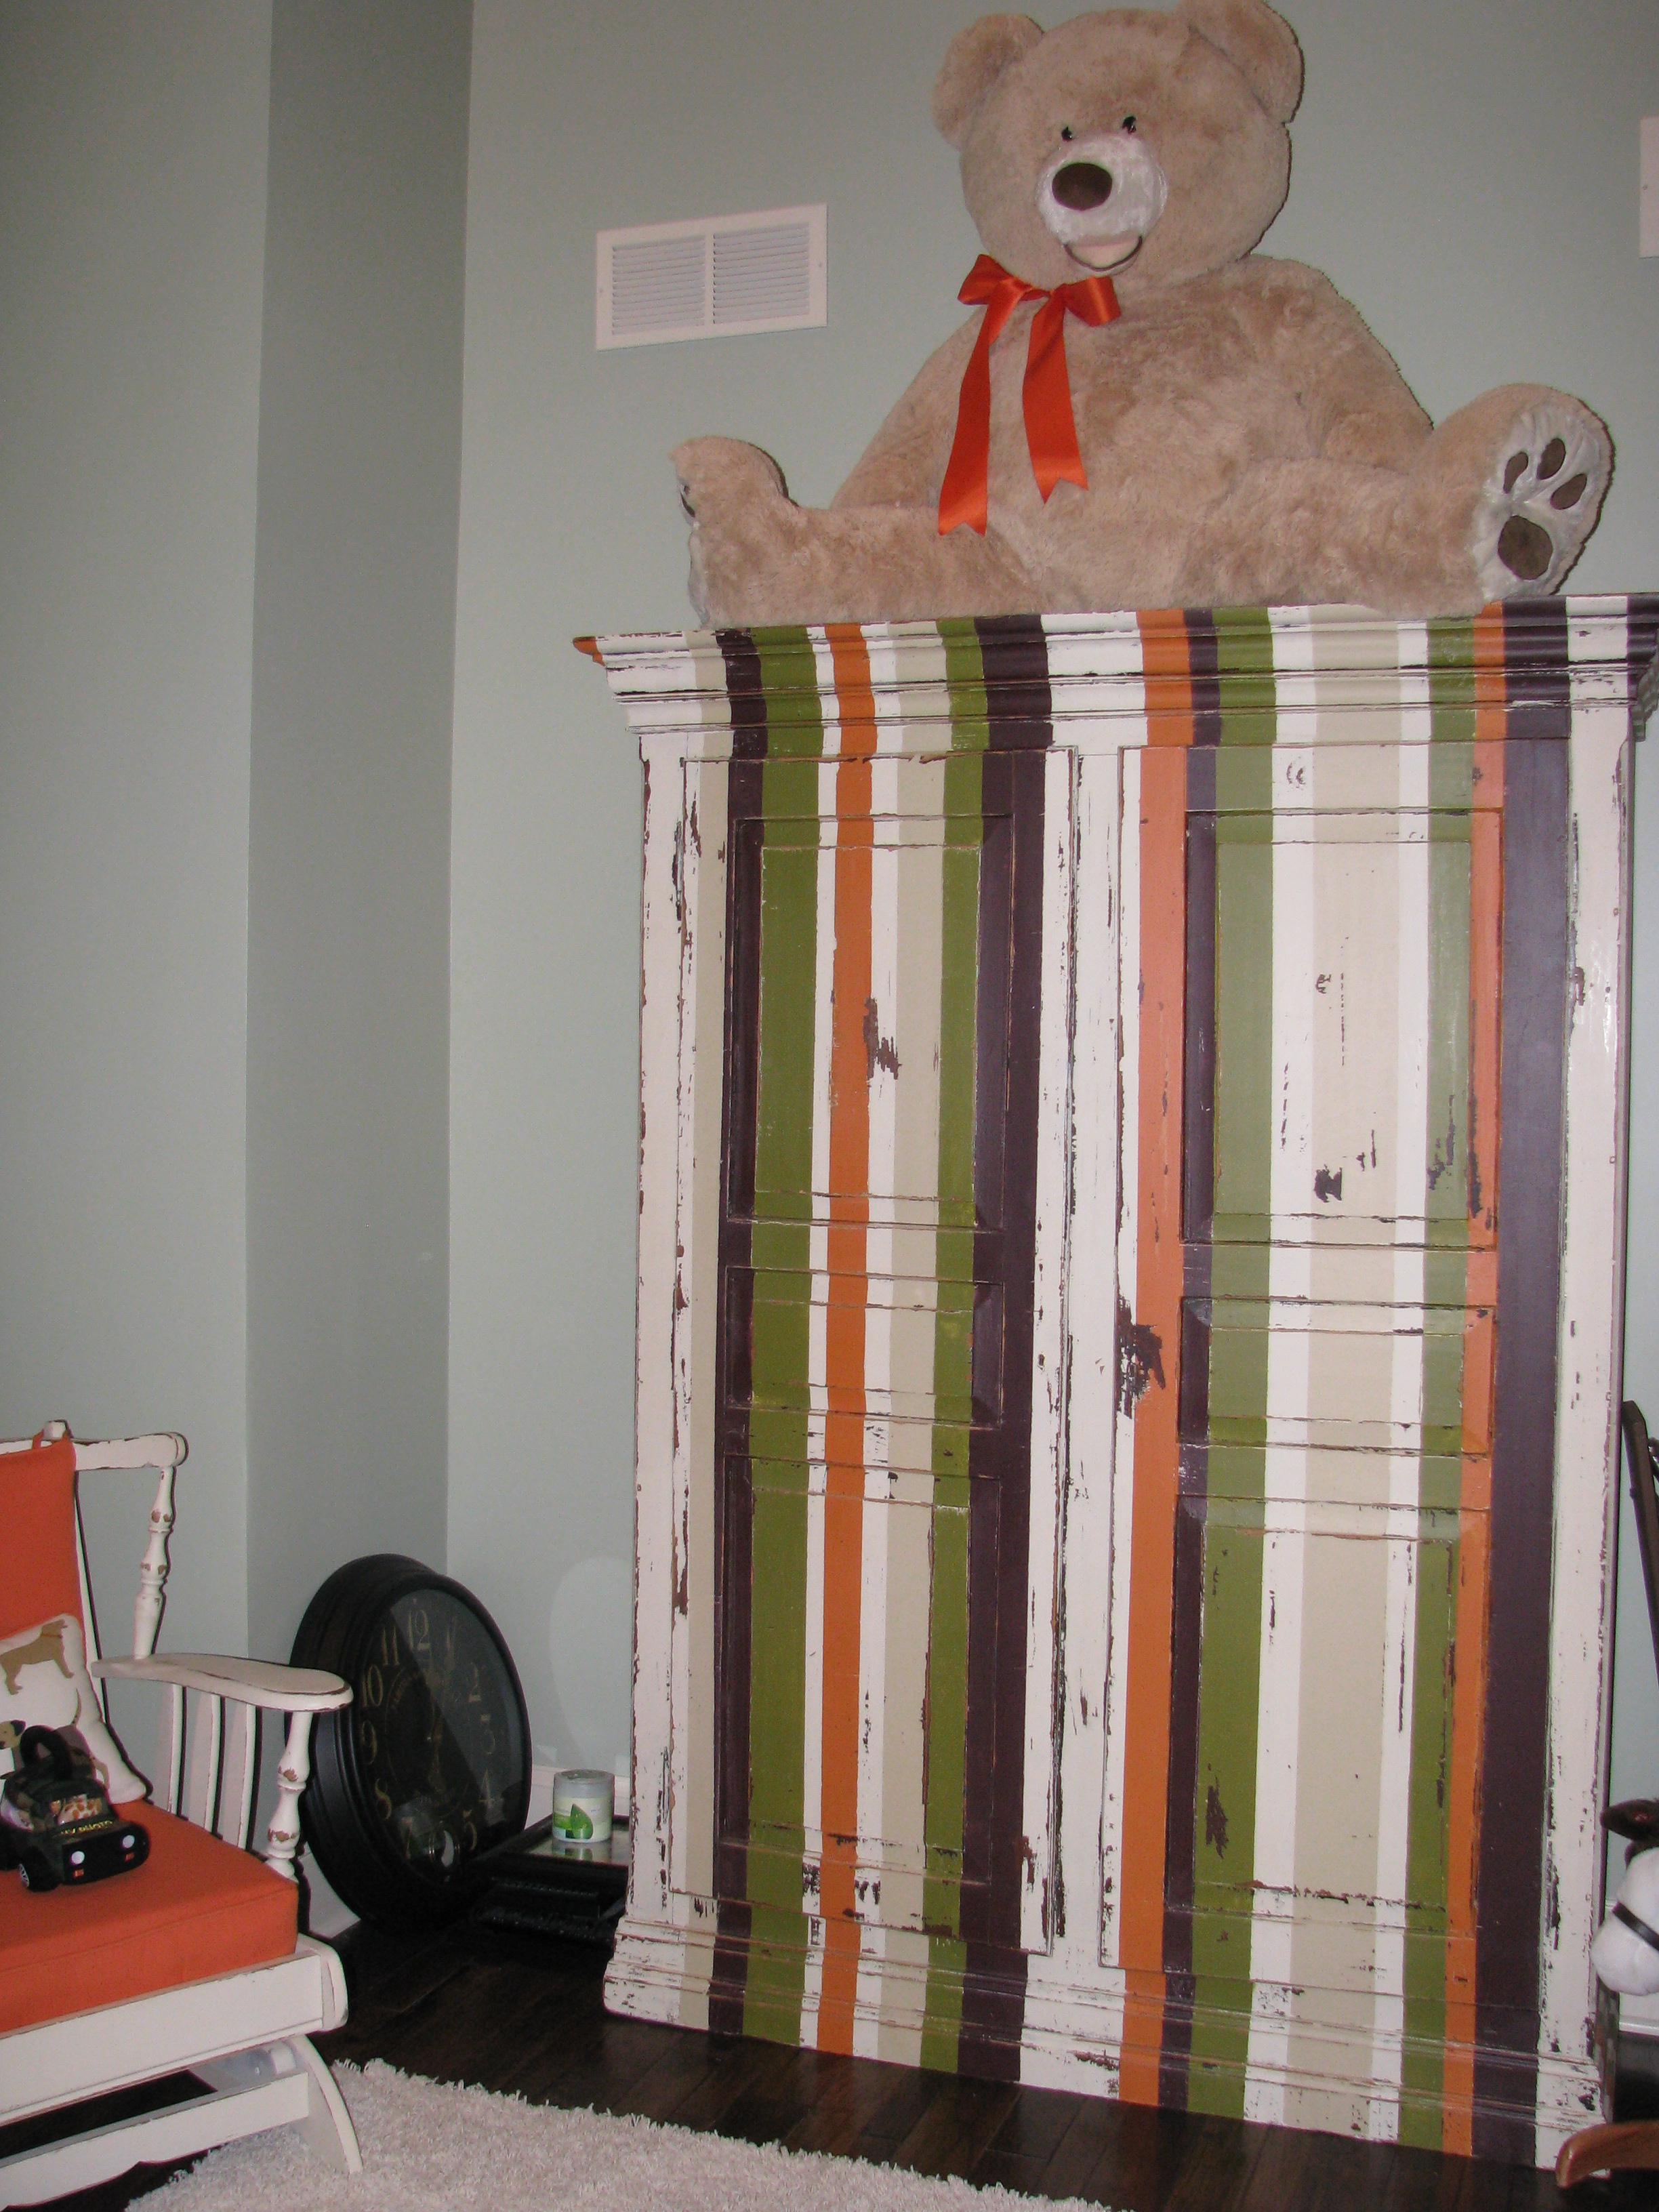
We’ve also had many, many custom furniture painting jobs where our client wanted stripes on furniture. Totally outside of the box and I love it so, so much! This little boy armoire was an absolute BLAST for me to paint! Wild colors, wild pattern…..so fun! See that full striped armoire post here.

This bathroom vanity that we painted for a client will have to go down as one of my favorite projects of all time. Is this funky or what? I would totally, totally love a statement piece like this in my powder bathroom. It was a lot of colors, a lot of taping, but so fun to do!

And this bathroom vanity was totally outside of the box also. This is a pic of the bathroom before the wallpaper (gasp! Naughty word) went up….but you get the general idea! FUNKY!
So….hopefully some of those pics from our projects will inspire you to try a stripe project, traditional or funky! If you go to Pinterest (you can find me on Pinterest here) and search for striped bathroom or kitchen or whatever…you will find tons of inspiration!
I will leave you with my best stripe tips ever.
1) The kind of tape you use can make or break your stripe project. We always use Diamond Vogel yellow tape (it’s actually cream colored) or blue painter’s tape. The width of the tape will help you “make” stripes if you let it!
2) Get to know how to use a chalk line or laser level…..both will be your friend and save you from wavy stripes or from taping and re-taping and measuring and remeasuring and emailing me ready to hit something. You get the picture. Use good tools!
3) Burnish, burnish, burnish your tape down to help prevent bleeds!
4) Before you paint your stripe color…..paint the BASE color over the tape line first….this way your “bleed” color will be the base color! A quick video I have on YouTube is here:
Ok friends. Someone stripe something and share with me on Facebook! You can do it!
xoxo,
Jennifer
PS- If you’re really into painting furniture and want to step up your knowledge and technique range – join my Paint Finish of the Month Club! You’ll learn two new finishes taught by the best in the industry and have access to my 20 DIY videos.