I have been labeled “the pumpkin queen” (hey we all need a title). And while that may be true, I’m a pumpkin primadonna. I HATE CARVING. Carving = getting my hands yucky and princesses don’t have yucky hands.
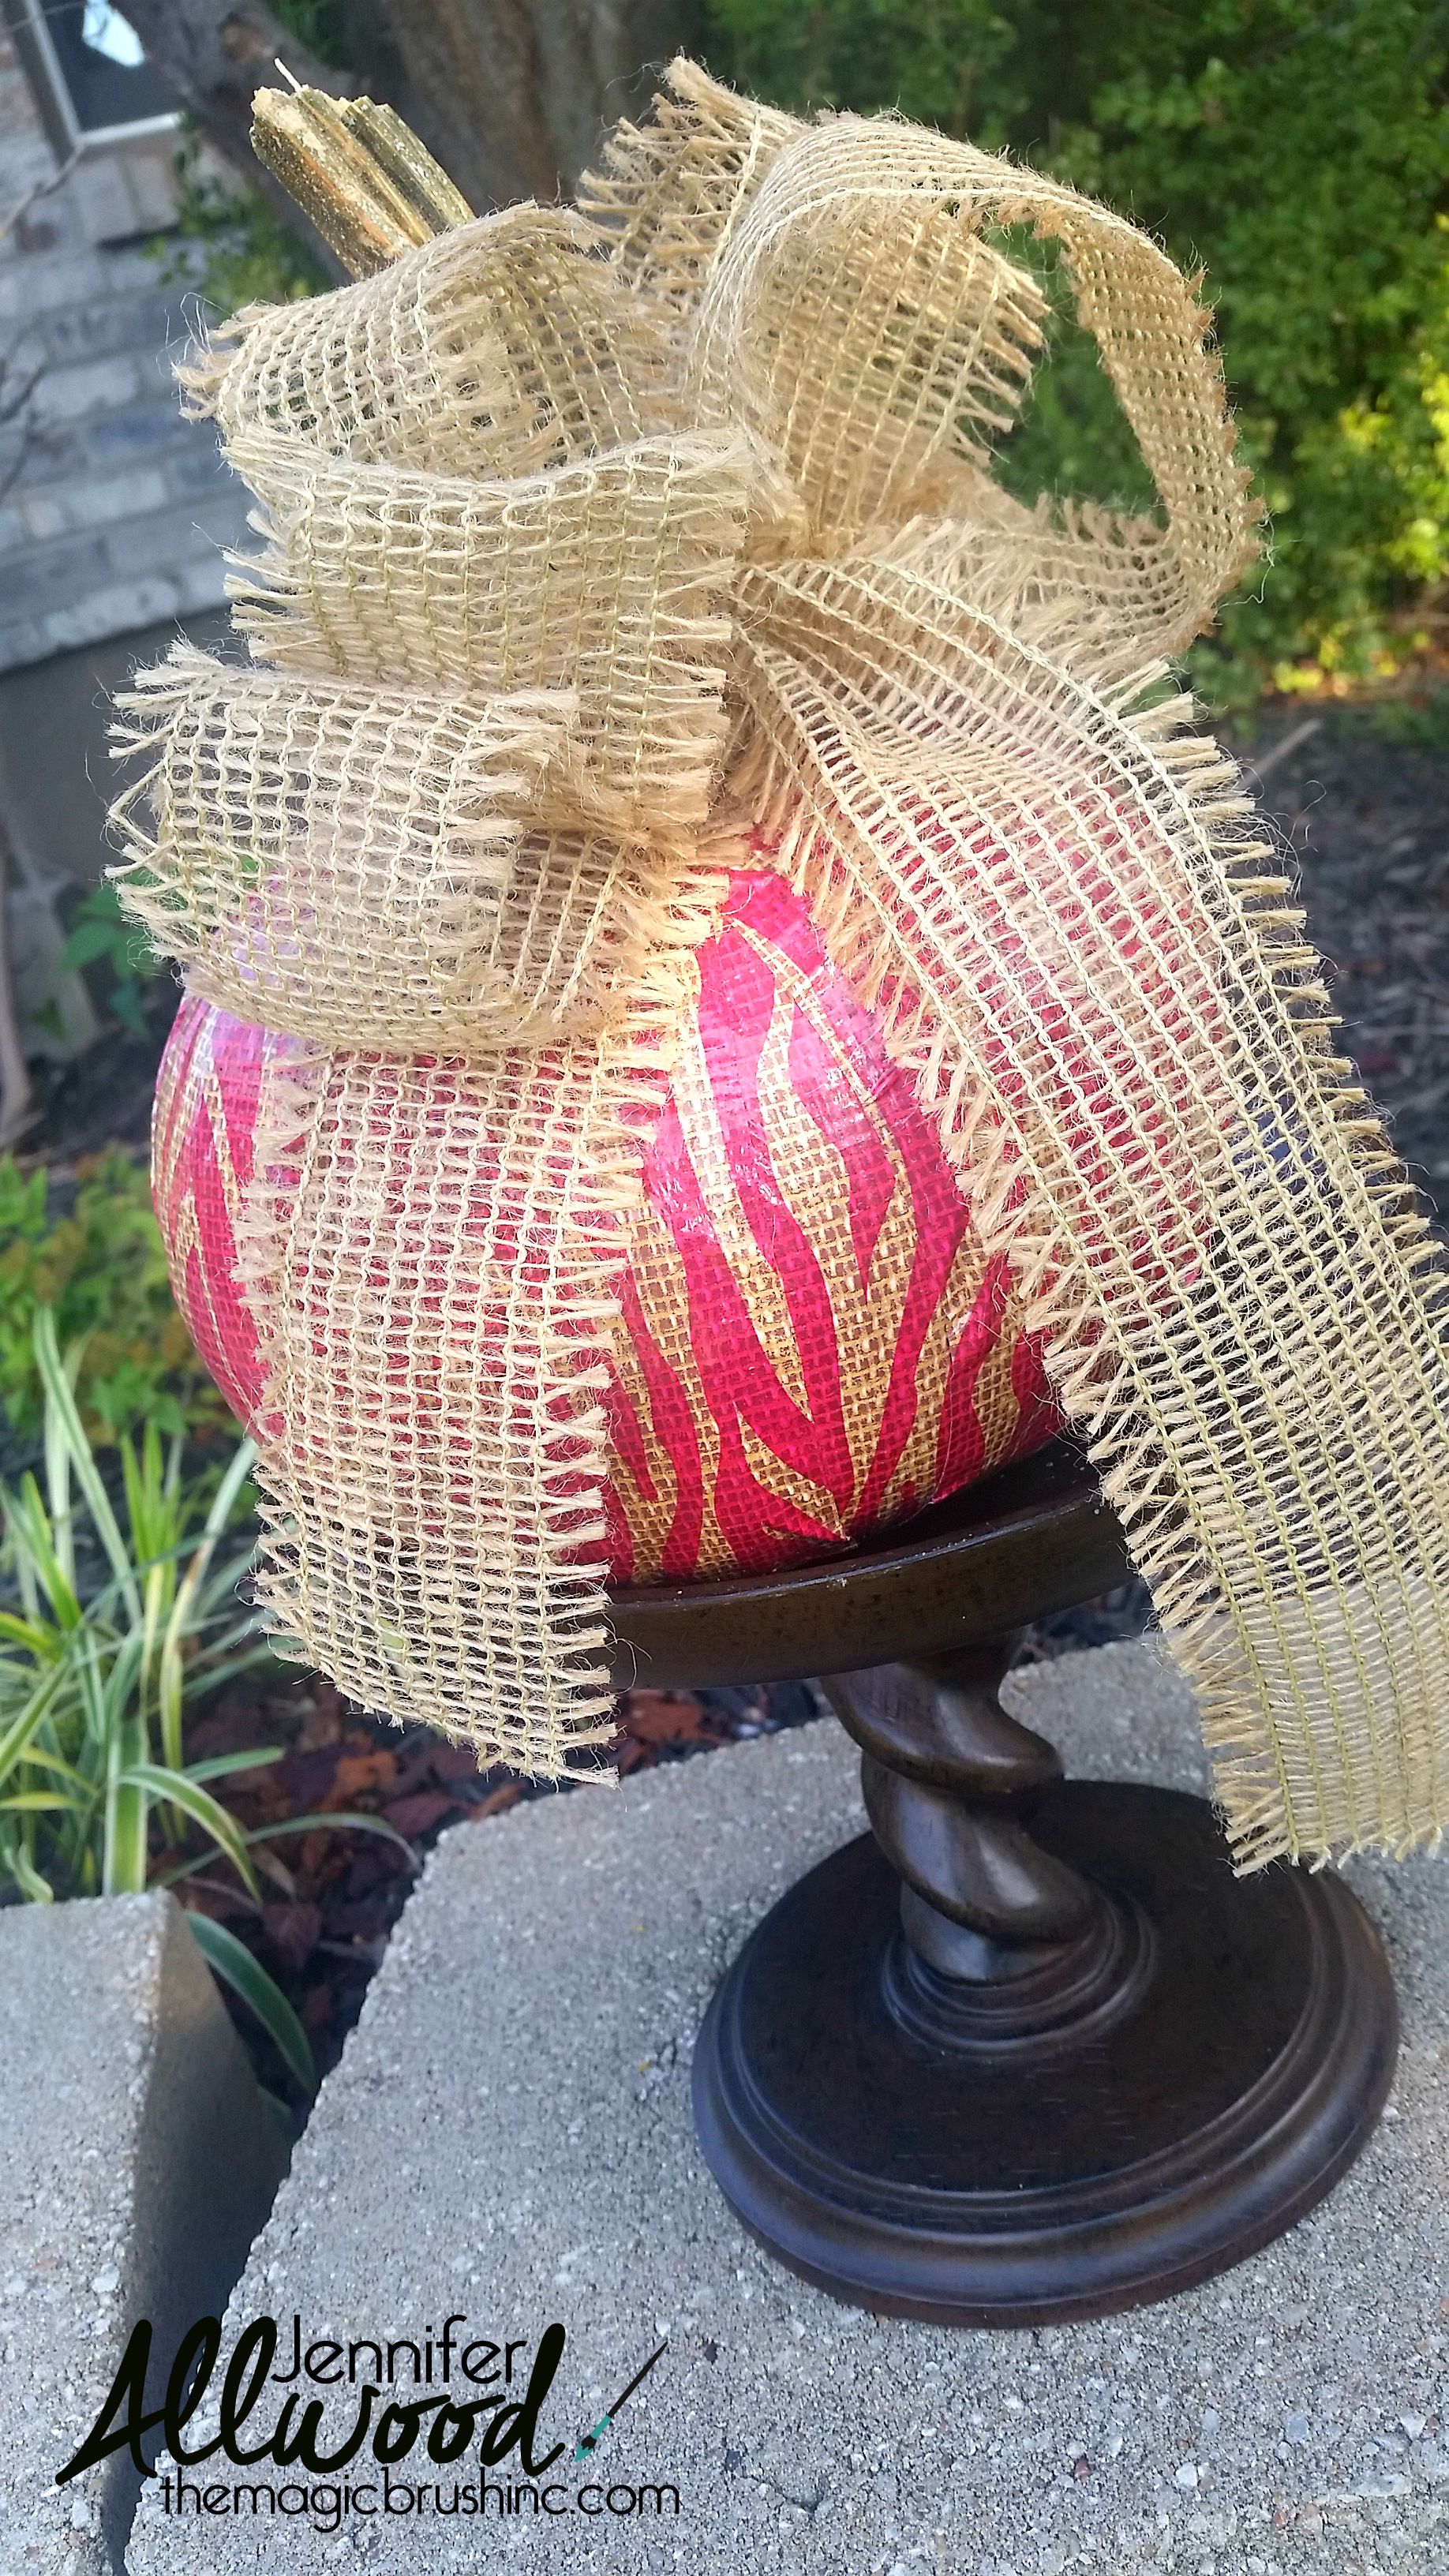
So I’ve come up with tons of ways just to decorate my pumpkins. This duct tape pumpkin is a huge hit with my BOYS because they think everything is better with duct tape!
First, you need to find a small pumpkin and your duct tape. Hobby Lobby has a great duct tape selection. One roll will do a couple small pumpkins!
https://www.facebook.com/themagicbrushinc/videos/vb.169989218746/10153192567663747/?type=2&theater
This short video shows you which duct tape patterns will work great for this duct tape pumpkin project and which will NOT. You need a random pattern to make it look good!
Start by cutting 4 strips of duct tape to put on your pumpkin like this.
Then fill in your other areas with more strips of duct tape until it is covered. You WILL have some crinkles and folds but if you press them down tight, they will not show up/matter at the end.
Add a burlap bow to the top and that will cover the fact that your duct tape doesn’t fit perfectly up against the pumpkin stem! ssshhhhhhhhhhhhhh.
This is a cute hostess gift idea or teacher gift or fall project with the kiddos. There is no mess, no cutting and it will last quite a while on your front steps. Yes, you COULD use an artificial pumpkin so you could keep it year after year, but I prefer the cheaper, real pumpkins and I like to do different pumpkins every year. So, it’s up to you!
This Duct Tape Pumpkin is pinned HERE if you’d like to save it!
Happy fall!
Jennifer
Need more pumpkin ideas? I have a ton that involve superheroes, glitter and spray paint! Go pumpkin crazy!
And if you’re looking for help INSIDE your home, check out my free video on my favorite paint colors. My top picks will help you make some big changes in your home!


One Comment